You click remove background, the subject pops out, and then you see it: the hair is gone. Curls look chopped with scissors, the flyaway strands have vanished, and a pale ring of the old wall clings to the edge of a dark ponytail. This is the most common complaint about cutouts, and it has fixable causes.
This article shows how to remove a background and keep hair with two routes that work. The first is an AI model that handles soft edges automatically. The second is the Photoshop method, built on Select and Mask, Refine Hair and channels for the stubborn photos. You also get shooting tips, repair steps for halos, and a table to pick the right route for each image.
💡 Short answer: run the photo through an AI cutout first. If the edges pass a quick test over a dark and a light background, you are done. If they fail, finish the job in Photoshop with Refine Hair or a channel mask.
Why Hair Breaks Most Cutouts
Hair is the hardest thing to cut out because a single strand is often thinner than one pixel. At that scale, the pixels along a hair are a blend: part hair, part background. A cutout tool has to decide what to do with those blended pixels, and basic tools usually make the wrong call.
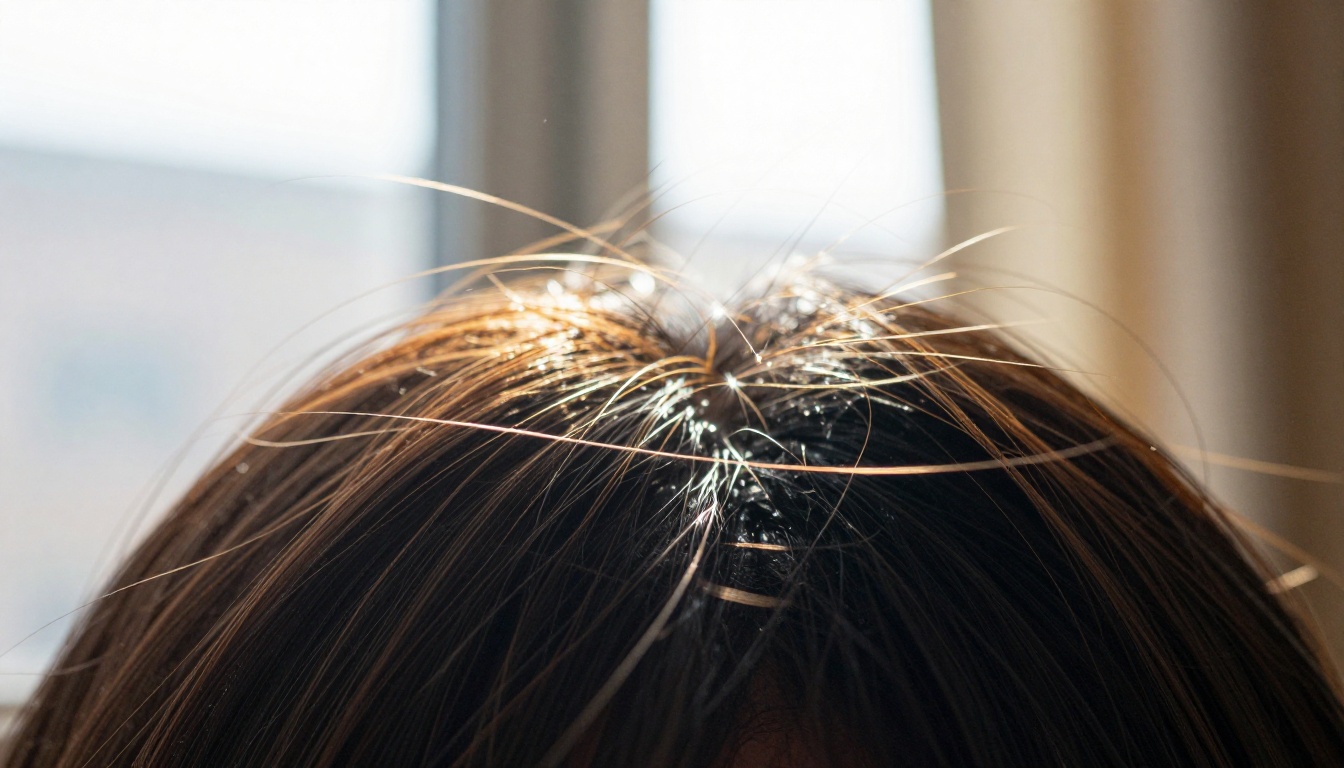
Strands Are Semi-Transparent Pixels
A tool has only three options for an edge pixel:
- Keep it solid. The pixel carries its old background color into your new scene, which creates a halo.
- Delete it. The thin strand disappears and the hairline looks chopped.
- Keep it partly transparent. The pixel holds the hair color at, say, 40% opacity, so the strand blends into whatever sits behind it.
Only the third option looks natural. That partial opacity is called the alpha value, and a good cutout is really an alpha matte, not a hard selection. Every method below is a way of getting soft, accurate alpha along the hairline. A selection that only says "inside" or "outside" will always look cut with scissors.
Backgrounds That Cause the Worst Trouble
Not every photo is equally hard. The table shows what tends to go wrong and where to start.
| Situation | Why it is hard | Best first move |
|---|
| Blonde hair on a white wall | Almost no contrast between hair and background | AI cutout, then paint weak spots by hand |
| Dark curls against bright sky | Light shines through gaps and tints edge pixels | AI cutout, then decontaminate colors |
| Hair over foliage or a crowd | Strands overlap similar colors and textures | AI cutout, check at 200% zoom |
| Dark hair on a plain light backdrop | Strong contrast, the easiest case | Either route works |
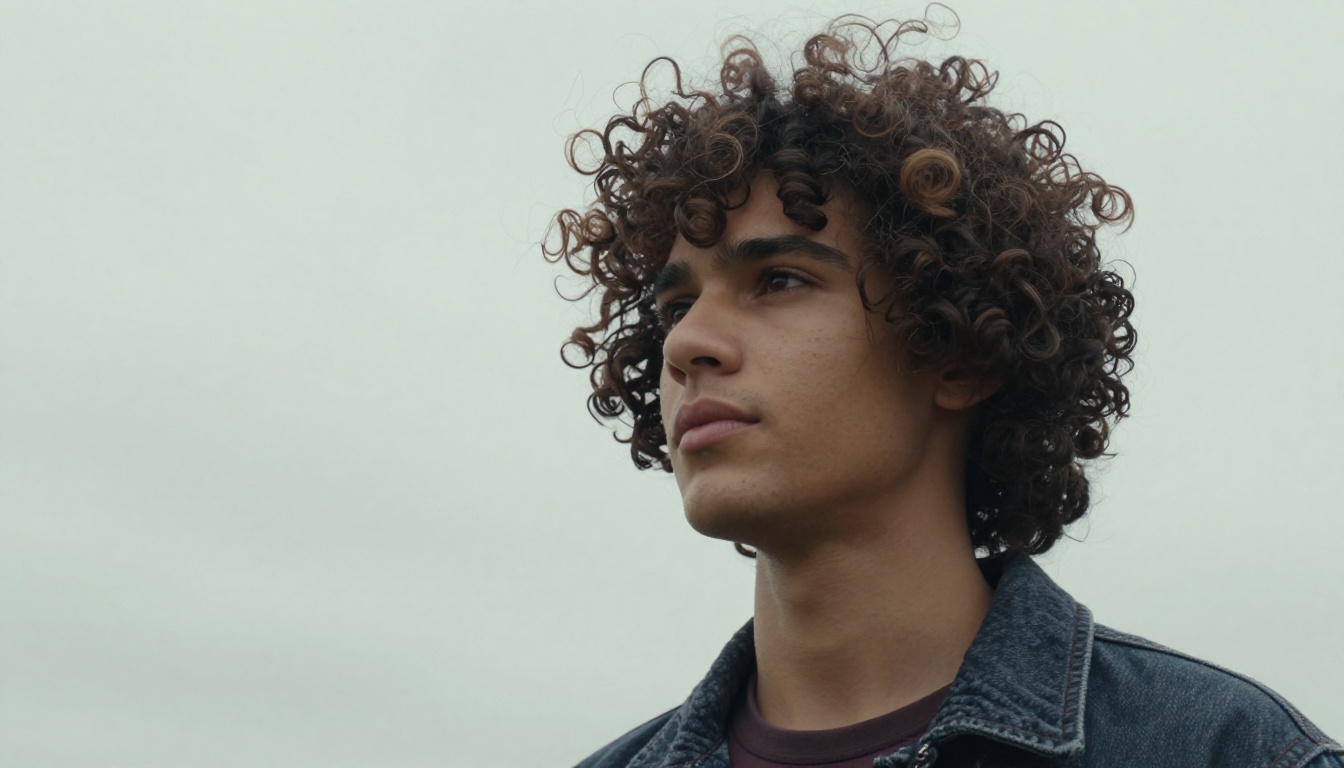
Curls like these are a classic stress test. Thousands of tiny gaps let the sky through, and each gap is a place where a hard selection either leaves a bright speck or deletes a curl.
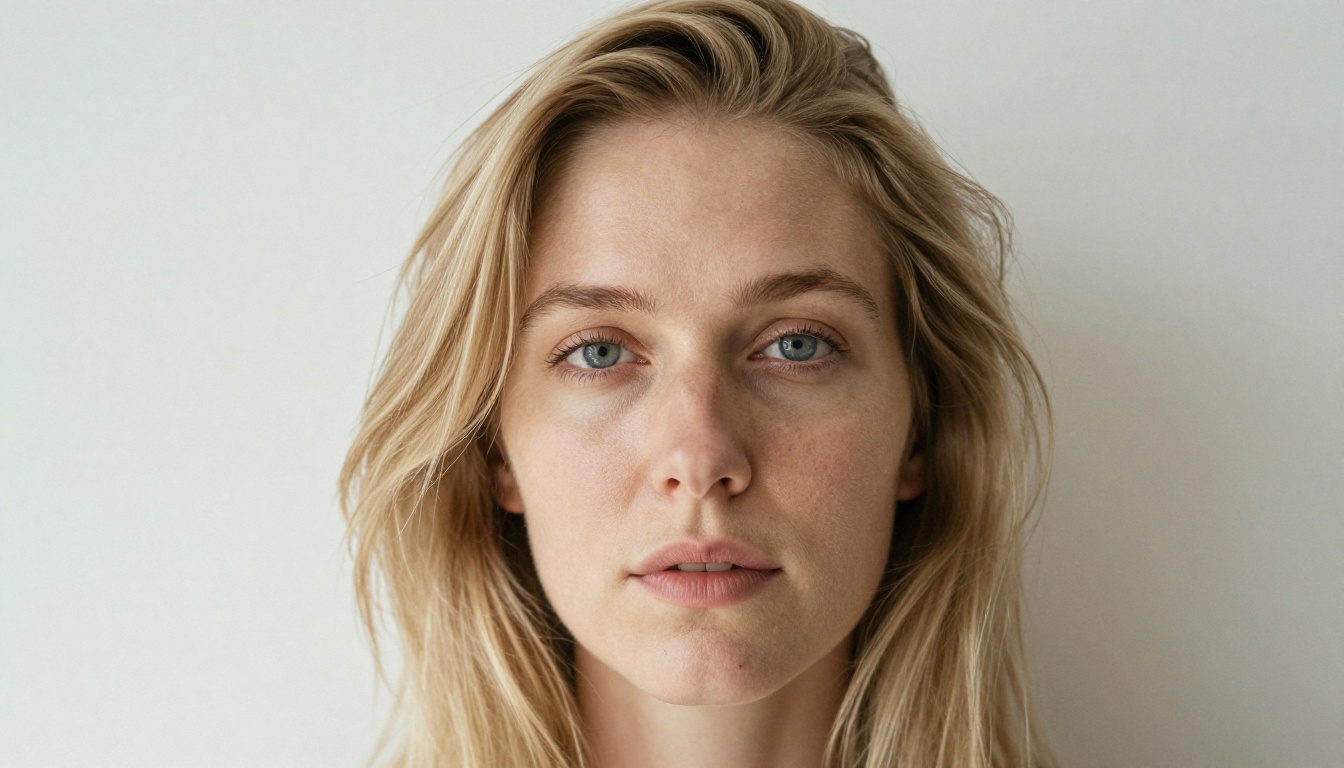
The blonde portrait is the opposite problem. There is hardly any edge for a tool to find, so even good models sometimes need a little help. The sections below show both the automatic fix and the manual one.
Remove Backgrounds With AI in Seconds
AI cutout models predict a soft matte instead of drawing one outline around the subject, which is why they usually beat the old Magic Wand and Quick Selection tools on hair. Remove Background on PicassoIA finds the foreground automatically and returns a transparent PNG. By default it preserves partial transparency, so soft hair strands and feathered edges stay natural instead of being clipped.
How to Use Remove Background on PicassoIA
- Open the model page. Go to Remove Background.
- Add your photo. Upload a file or paste an image URL. Use the largest, least compressed original you have, because a 3000 pixel original holds far more strand detail than a small, heavily compressed copy.
- Leave Preserve Alpha on. This is the default and keeps the transparency channel in the output.
- Leave Preserve Partial Alpha on. Also the default, and the setting that protects soft edges.
- Decide on Content Moderation. Keep it off for your own photos. Switch it on for shared or public workflows.
- Run it. The model returns a clean transparent PNG in a few seconds.
- Download the PNG and test the edges before you use it.
💡 The two-color test: drop the PNG onto a pure black layer, then a pure white one, and zoom to 200%. A light ring on black or a dark ring on white means leftover background color in the edge pixels. The halo fixes further down remove it.
Settings That Protect Hair Edges
| Setting | Default | What to do for hair |
|---|
| Preserve Alpha | On | Keep on so the output keeps its transparency channel |
| Preserve Partial Alpha | On | Keep on to retain soft strands and feathered edges |
| Content Moderation | Off | Turn on only for shared or public workflows |
The model also offers a hard-edge mode, which forces fully opaque output by switching partial alpha off. That suits a boxy product photo on a white background. It is the wrong choice for a portrait. If a result looks chopped, confirm both alpha settings are still on.
Fur, Pets, and Wool Work Too
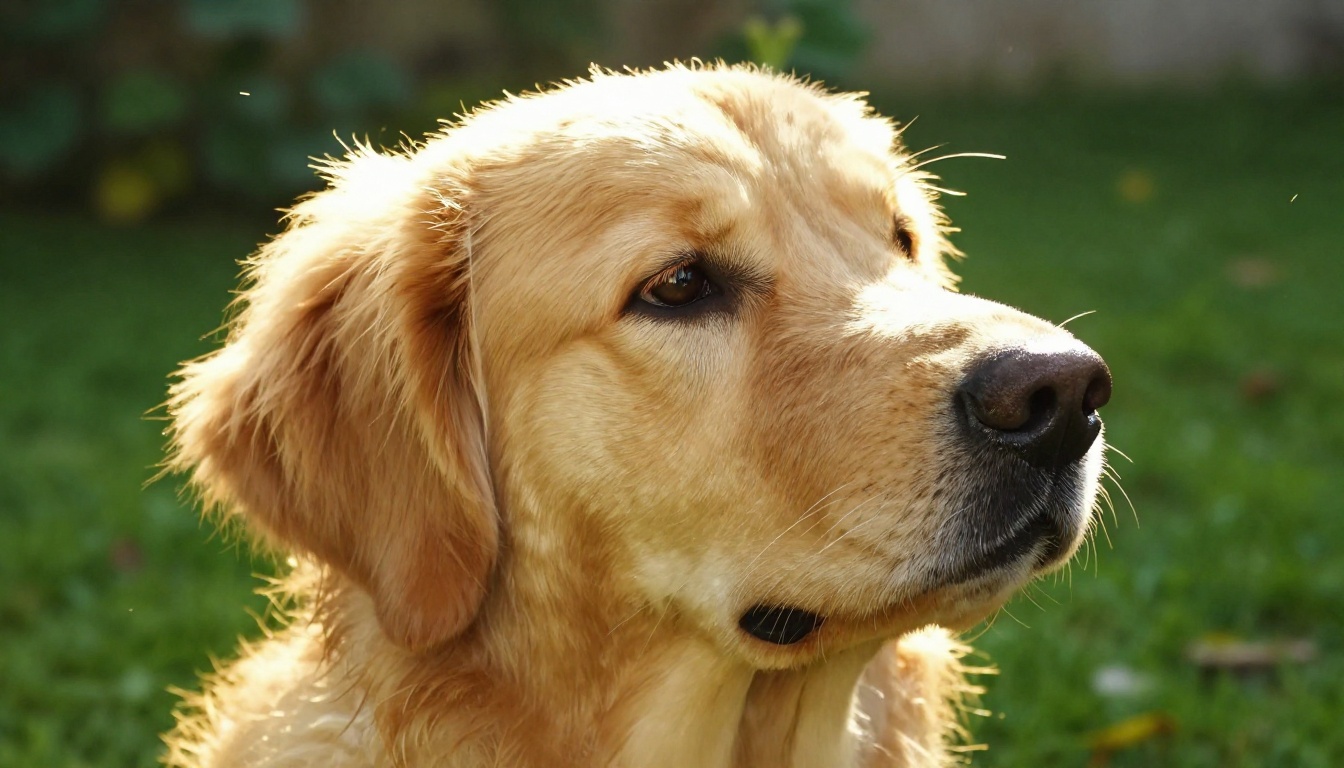
The same soft-matte approach handles animal fur, knit sweaters and frizzy edges. A backlit retriever is a tough case because light passes through every hair, so the edge is more translucent than solid. Run the photo with the default settings, then do the two-color test. Fur is where hard-edge settings do the most damage.
💡 Small photo? More pixels give any tool more edge to work with. Enlarge the original first with Increase Resolution, which upscales up to 4x, or with Clarity Pro Upscaler, then remove the background.
The Photoshop Method Step by Step
Photoshop gives you control over single strands, at the cost of time. Use it when an AI result fails the two-color test, when the print is large, or when the photo is a hero image that deserves care.
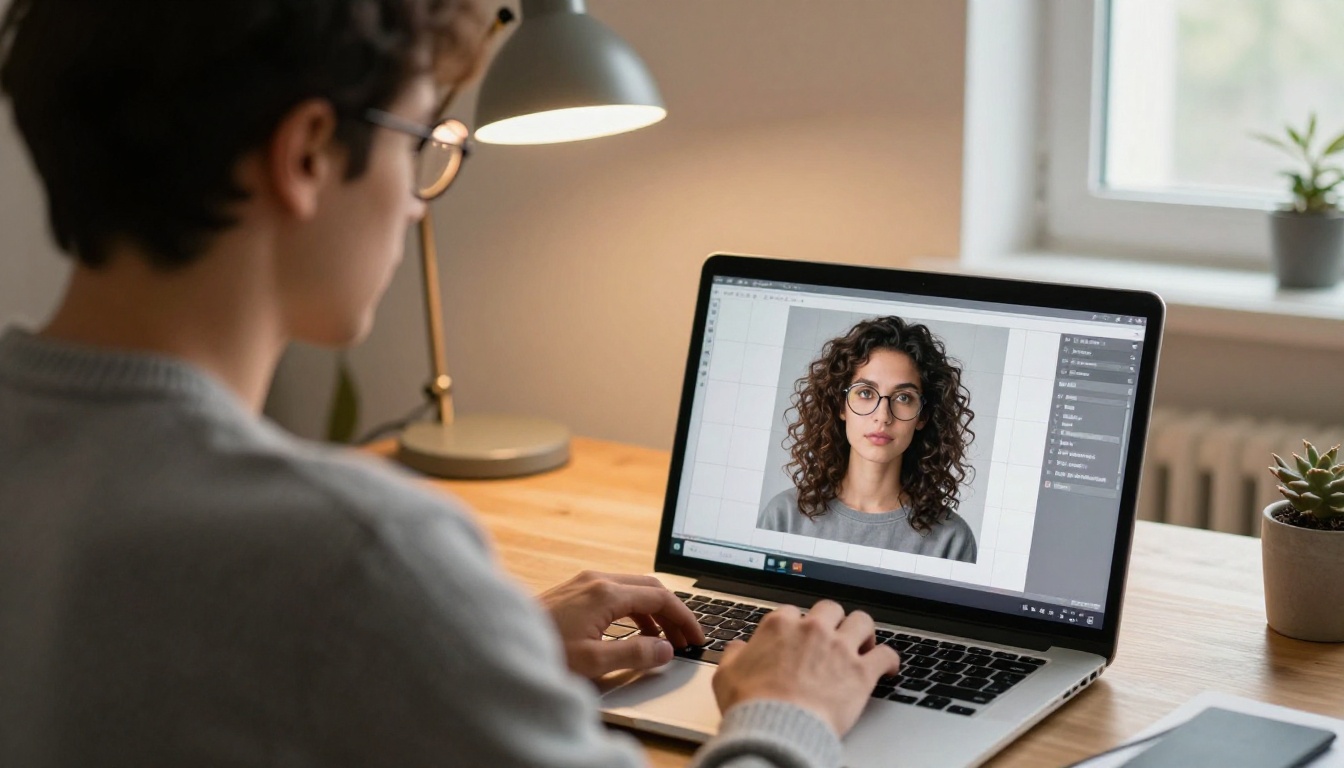
Select Subject, Then Refine Hair
- Open the photo, convert the Background layer into a regular layer by double-clicking it, and duplicate it with Ctrl/Cmd + J so the original stays safe.
- Choose Select > Subject. Photoshop builds a first selection of the person.
- Click Select and Mask in the options bar.
- Set the View Mode to On Black, then flip to On White. Halos show up fast against both.
- Press Refine Hair for automatic hair detection, then use the Refine Edge Brush Tool to paint along the hairline. Stay on the hair and keep the brush off skin and the face.
- Try these starting values in Global Refinements: Smooth at 0, Feather between 0 and 0.5 px, Contrast between 0 and 20%, and Shift Edge between -10% and -20% to pull the selection in and drop the old fringe. Treat them as starting points, not rules.
Smooth deserves a warning: it rounds off the tips of strands, so keep it at or near zero for hair.
The Channels Method for Hard Cases
When the hair has solid contrast against the backdrop but Refine Hair still misses strands, a channel mask can pull out finer detail.
- Open the Channels panel and click through Red, Green and Blue. Pick the one where hair and background differ the most.
- Duplicate that channel by dragging it onto the new channel icon.
- Open Image > Adjustments > Levels (or Curves) and drag the black and white sliders in until the background turns pure white and the hair turns near black.
- Invert the channel so the hair is white, then paint the inside of the body white with a hard brush and the outside black.
- Hold Ctrl/Cmd and click the channel thumbnail to load it as a selection, return to the RGB channel, and click the layer mask button.
A pressure-sensitive pen makes step 4 easier than a mouse, because you can paint with light touches near the strands.
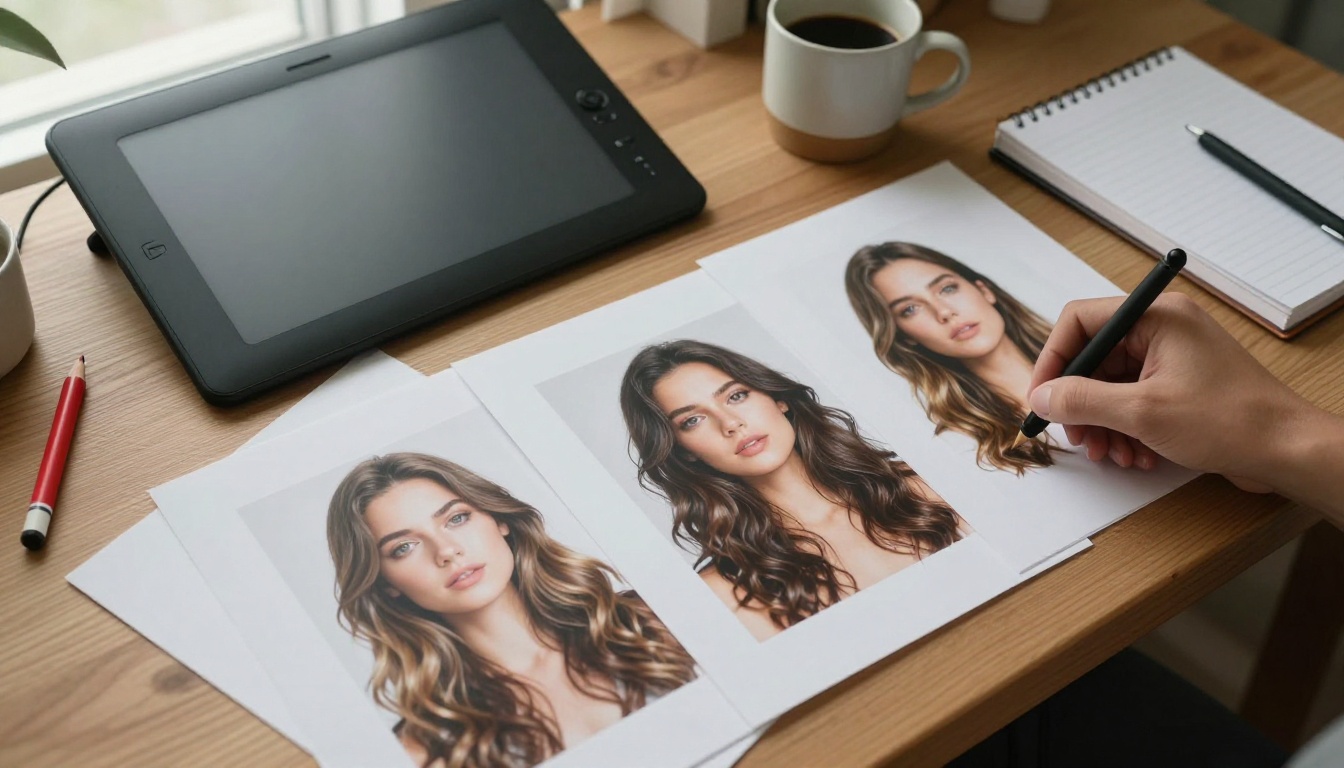
Decontaminate Colors and Export Clean
Back in Select and Mask, scroll to Output Settings and tick Decontaminate Colors. It replaces edge colors with colors from nearby subject pixels, which is what removes the old wall's tint from the hair. Raise the amount until the fringe is gone. Set Output To to New Layer with Layer Mask so every change stays editable, then export with File > Export > Export As as a PNG with transparency enabled.
AI vs Photoshop: Which Wins?
Neither wins everywhere. The honest answer depends on the photo and the deadline.
| Factor | AI cutout | Photoshop |
|---|
| Time per photo | Seconds | Minutes, up to an hour for tough hair |
| Hair on a contrasting backdrop | Very good | Excellent |
| Hair on a low-contrast or busy backdrop | Good, sometimes needs fixes | Best, with manual painting |
| Control over single strands | Low | Full |
| Skill needed | Almost none | Moderate to high |
| Batch work | Easy | Slow without actions |
| Best for | Catalogs, profile photos, quick composites | Magazine retouching, large prints, hero images |
The smartest workflow combines both:
- Run the AI cutout first and do the two-color test.
- Open the PNG in Photoshop over your new background if it fails.
- Add a layer mask to the cutout and paint with a soft brush only where strands are missing, sampling nearby hair color as you go.
You spend Photoshop time only on the few photos that need it.
Shoot Photos That Cut Out Cleanly
The easiest cutout is the one you plan in the studio. A few choices at the shoot save an hour of repair.
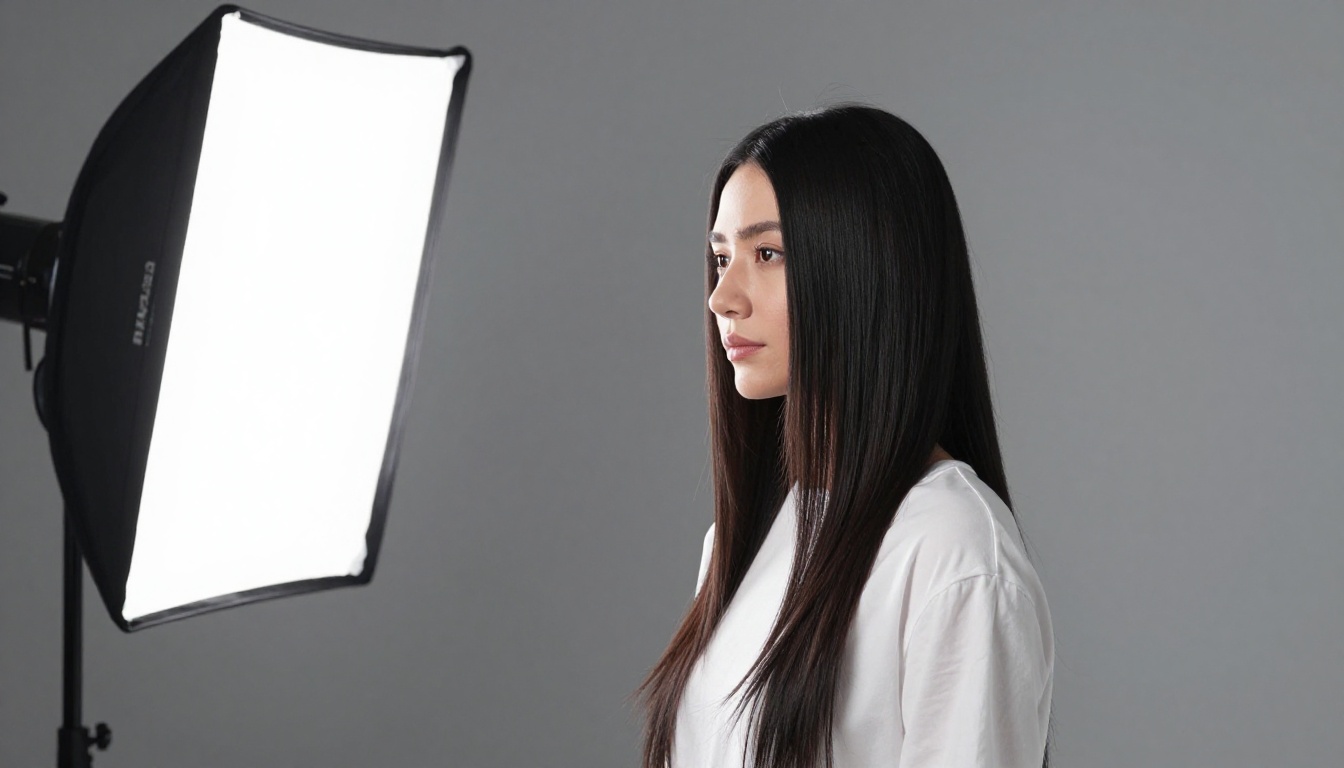
Backdrop, Distance, and Contrast
- Pick a backdrop that contrasts with the hair. Mid-gray works for both blonde and black hair.
- Keep the subject about a meter (three feet) from the backdrop. Color bouncing off the paper will not tint the hair edges.
- Shoot at f/5.6 to f/8. A shallow depth of field leaves the hair edge soft, and soft edges are harder to cut.
- Use 1/200 s or faster. Motion blur turns strands into smears.
- Keep ISO low. Noise breaks up fine strands and confuses edge detection.
Light the Hair Separately
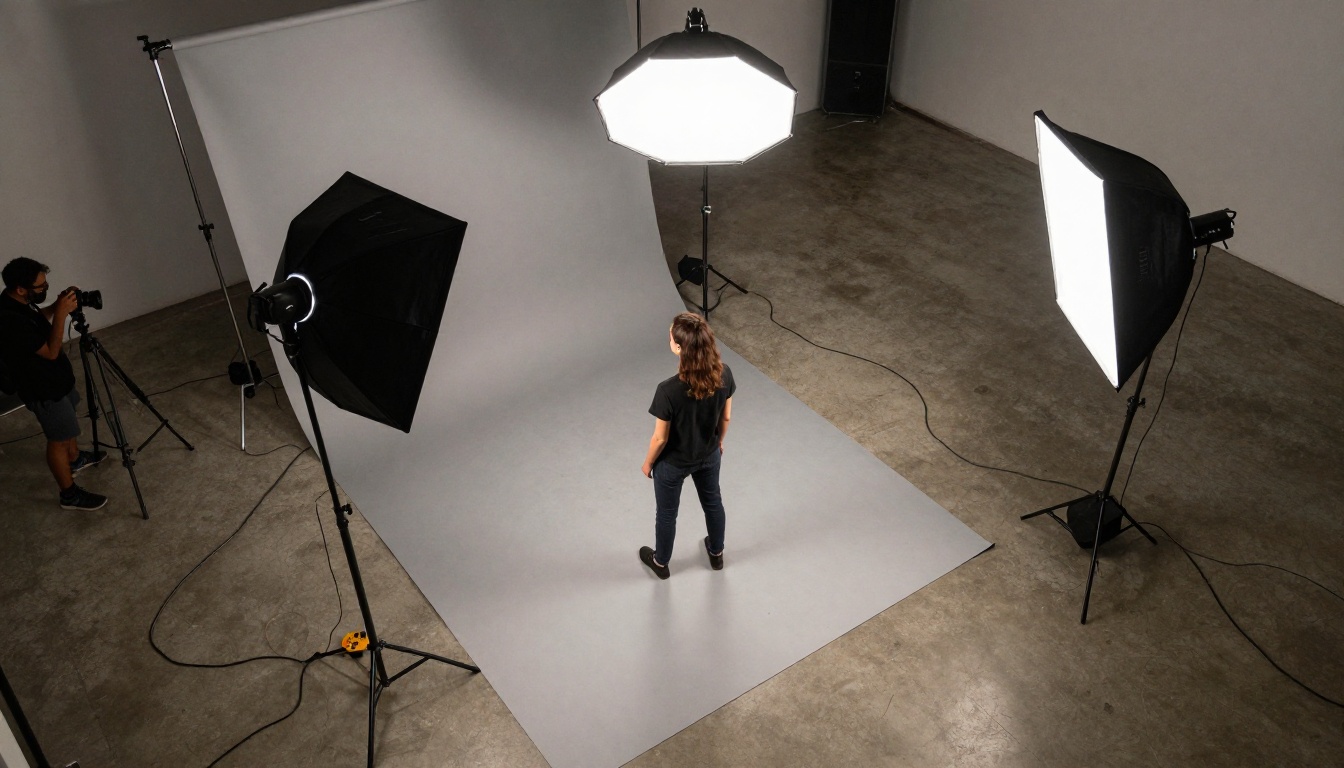
A strip light or small softbox behind the shoulder draws a thin rim along the hair and separates it from the backdrop. Keep it subtle. A hot, bright rim looks fake once the subject lands on a darker scene. Light the backdrop evenly too, so no shadow lines run through the hair.
Fix Halos After the Cutout
Even a good cutout can carry a faint fringe. Fixing it takes a couple of minutes.
Remove the Light Fringe
- In Photoshop, try Layer > Matting > Defringe at 1 to 2 px, or Remove White Matte for a white halo and Remove Black Matte for a dark one.
- For a stubborn fringe, add a new layer clipped to the cutout, set its blend mode to Color, sample the hair color with Alt/Option + click, and paint over the fringe with a soft brush at 10% to 20% opacity.
- Re-run the two-color test after each fix.
Five Mistakes That Ruin Hair Edges
- Starting from a small, compressed photo. The edge detail is already gone.
- Using Magic Wand or Quick Selection alone. They draw hard edges and cannot hold fine strands.
- Smoothing the selection. Smoothing rounds off the strand tips.
- Ignoring the new background. A cutout with bright edge color on a dark scene looks pasted on.
- Exporting as JPEG. JPEG has no transparency, so the soft edge fills with a flat color. Export PNG.
Build a Background That Fits
Once the subject is clean, the new background decides whether the edit looks real. If you do not have a suitable photo, generate one with a text-to-image model such as Nano Banana Pro, Seedream 4.5 or Flux 2 Pro.
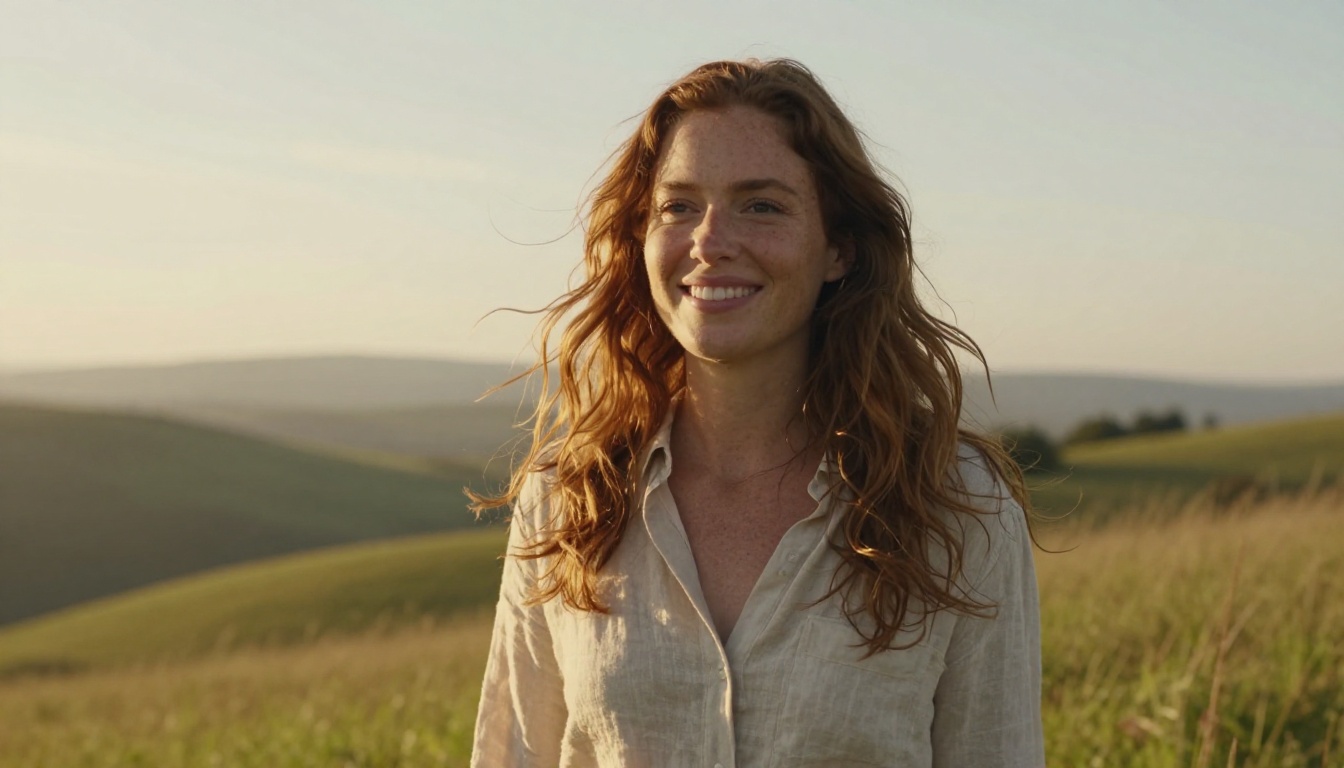
Match the Light Direction
Look at where the highlights sit on the hair, then describe the same light in your prompt. If the strands glow from behind and to the left, ask for a low sun behind and to the left. Match the time of day, the color temperature and the camera height too. Add the lens look you want, such as 85mm with a shallow depth of field, so the background blur agrees with the subject.
💡 Prompt example: Empty grassy hillside at golden hour, low sun behind and to the left, warm haze over distant hills, shallow depth of field, 85mm lens, no people, photorealistic.
Place the cutout, add a soft shadow if the subject stands on ground, and apply a very light film grain over both layers so they share the same texture.
Try It on Your Own Photos
Pick the hardest photo in your library, the one with curls, flyaways or a busy backdrop, and run it through Remove Background on Picasso IA. Do the two-color test on the result. If the edges hold, you just saved yourself an hour. If they do not, you now have a clean base to finish in Photoshop with Refine Hair or a channel mask.
Then build the scene around your subject: generate a matching background, upscale the final image if you need a larger print, and compare the results side by side. You can browse every image, video and editing model at picassoia.com/en/all-models. Start with one photo today and see how much of the hair survives.


