Scanning a document should take 30 seconds. Getting text you can actually read from that scan can take a lot longer if your scanner is mediocre, the original paper is old, or the file got compressed somewhere along the way. The result is always the same: blurry characters, jagged edges, and text that makes your eyes work overtime. AI has a very direct solution to this problem, and it works in under a minute.
Why Scanned Text Ends Up Blurry
Resolution Is the Root Problem
Most consumer flatbed scanners capture images at 150 to 300 DPI by default. That sounds reasonable, but when you zoom in on small print (8pt or 10pt fonts are common in legal documents, contracts, and older books), those tiny characters are only a handful of pixels wide. At that scale, every letter becomes a smear of gray pixels rather than crisp black ink.
The math is straightforward: a 10-point font character at 150 DPI occupies roughly 20 pixels of height. That is technically readable, but the moment any blur or noise is introduced during scanning, you are left with a muddy mess.
What Compression Does to Text
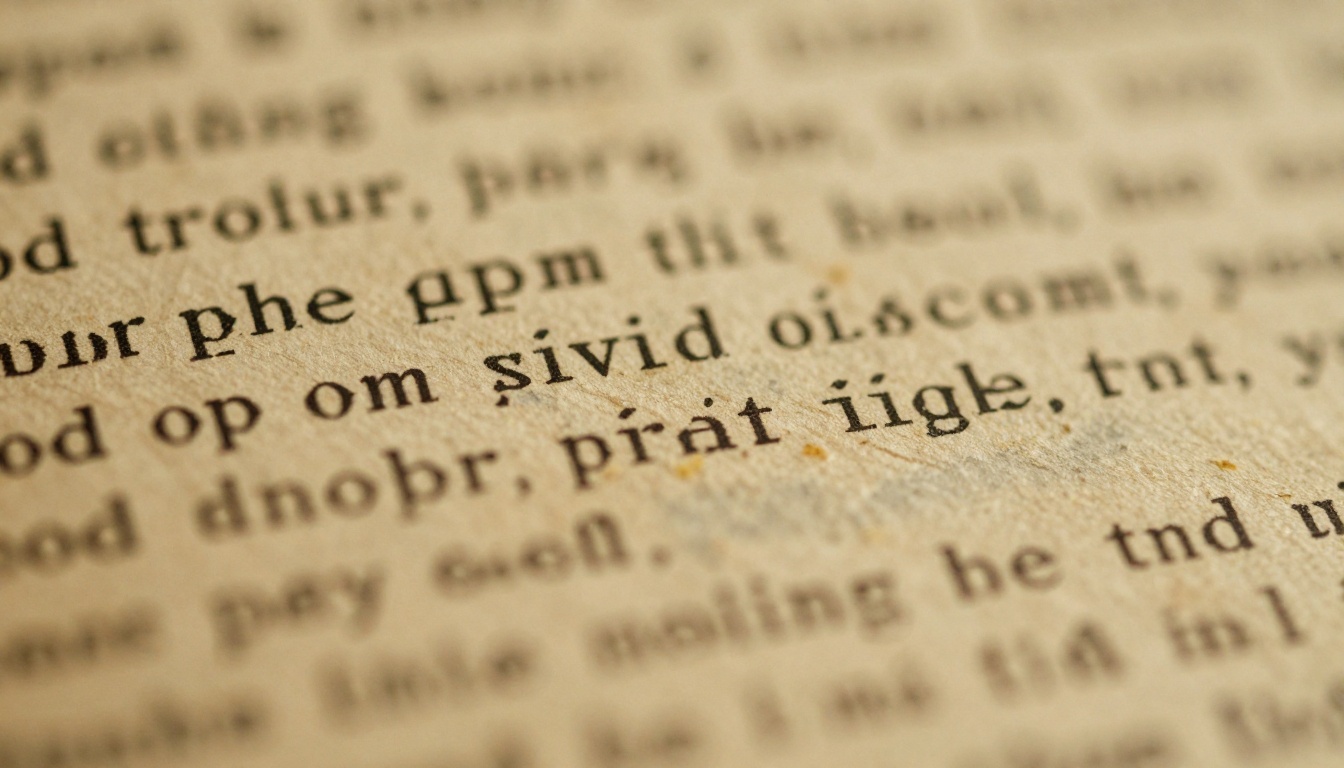
The problem compounds when files get saved as JPEGs or passed through PDF compression. JPEG compression uses a block-based algorithm that groups pixels into 8x8 tiles. Text edges, which should be razor-sharp boundaries between black ink and white paper, turn into "ringing artifacts": a soft halo of gray pixels around every character.
💡 The rule of thumb: JPEG compression below quality 80 will visibly degrade text. Most email attachments and scanned PDFs are compressed well below that threshold.
This is why a document that looks fine in print becomes unreadable on screen, and why traditional software sharpening filters (like Unsharp Mask in Photoshop) can only do so much. They amplify noise that is already there rather than reconstructing what was lost.
What AI Actually Does to Fix It
Super Resolution vs. Classic Sharpening Filters
Traditional sharpening is a math operation. It looks at adjacent pixels and increases the contrast between them to create the illusion of crispness. The problem: it cannot create information that was never there. If a letter's edge is a blurry gradient of gray pixels, sharpening just makes that gradient louder and more obvious.
AI super resolution works completely differently. It uses convolutional neural networks trained on millions of image pairs: a high-resolution original and a deliberately degraded version of the same image. After processing thousands of examples, the model develops an understanding of what crisp text looks like at the sub-pixel level. When it encounters blurry text, it is not guessing randomly. It draws on that learned pattern to reconstruct what the sharp version should look like.
| Approach | What It Does | Text Quality Result |
|---|
| Classic Unsharp Mask | Amplifies existing contrast | Marginal improvement, more noise |
| Bicubic Interpolation | Resizes by averaging pixels | Smooth but still soft |
| AI Super Resolution | Reconstructs detail from learned patterns | Sharp edges, clean characters |
| AI with Artifact Removal | Removes JPEG noise first, then upscales | Best result for compressed scans |
How Neural Networks Reconstruct Text
The best models for this task are trained specifically on document and text data, not just natural photography. That matters because text reconstruction requires a different learned approach than reconstructing a landscape photo. Letter shapes follow predictable patterns: strokes have specific widths, serifs follow consistent rules, character spacing is systematic. A well-trained model exploits all of this structural knowledge.
Models like Real ESRGAN were originally built for general image upscaling, but they perform exceptionally well on text because their training data included scanned documents. Specialized models like Clarity Pro Upscaler go further by using perceptual loss functions that prioritize edge sharpness over pixel-perfect accuracy.
The Best AI Models for Text Sharpening
Several AI super-resolution models excel specifically at scanned document improvement. Here is how the main options compare:
Clarity Pro Upscaler
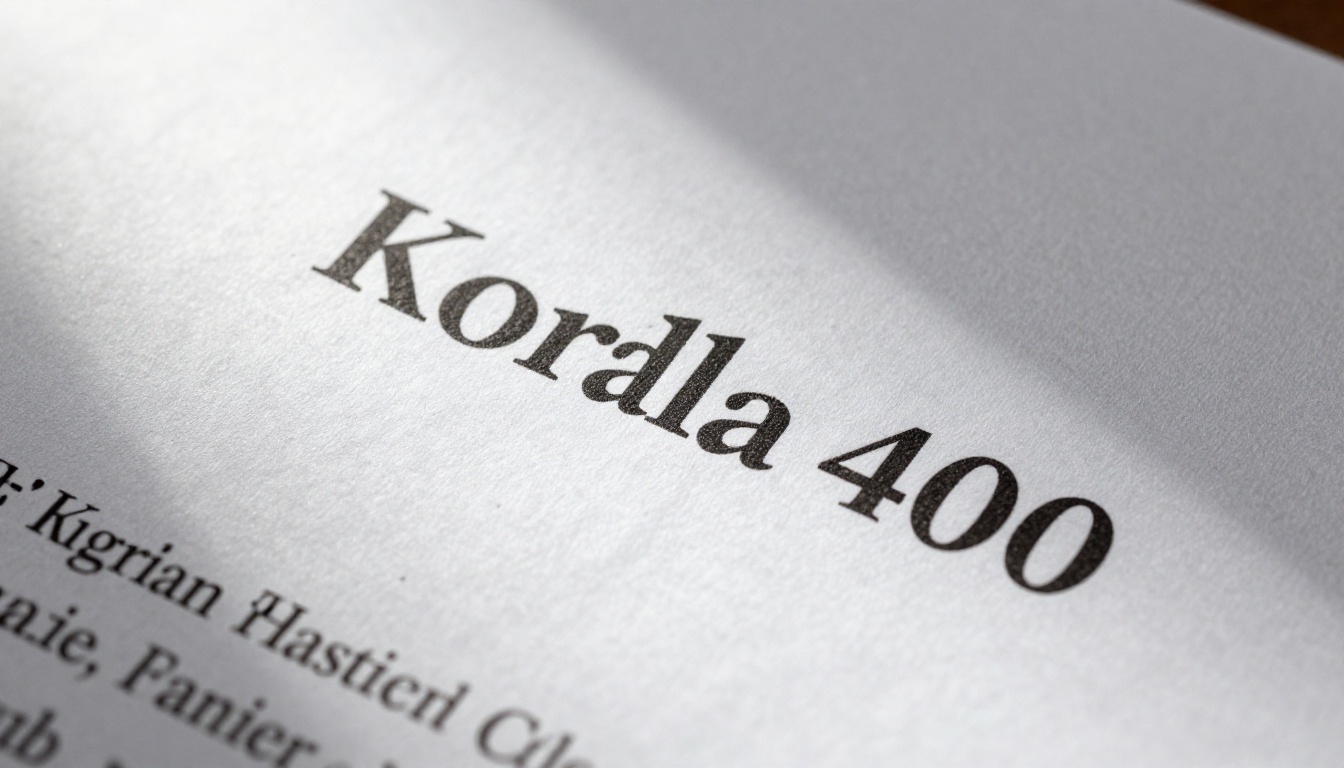
Clarity Pro Upscaler is the go-to for most document sharpening tasks. It uses a modified ESRGAN architecture with additional perceptual loss tuning that specifically targets edge clarity, making it ideal for printed text where you want every character to snap into focus. It handles both 2x and 4x upscaling, and includes built-in artifact suppression that cleans up JPEG ringing before the upscale takes place.
Real ESRGAN for Documents
Real ESRGAN is a workhorse. It was one of the first open-source models to reliably fix severely degraded images, including old scans with significant noise, blur, and color fade. For documents scanned from aged paper with visible grain and foxing, Real ESRGAN's noise reduction capabilities are particularly effective. It processes quickly and produces consistent results across a wide range of input quality levels.
P Image Upscale
When speed matters, P Image Upscale by Prunaai delivers fast results without sacrificing too much quality. If you are batch-processing a large archive of scanned pages, this is the model to use. It provides solid text sharpening at 4x magnification with processing times significantly faster than heavier models.
Topaz Image Upscale
Topaz Image Upscale is the premium choice for archival work where quality is non-negotiable. It supports up to 6x upscaling, meaning a 150 DPI scan can be brought to an effective 900 DPI equivalent. The trade-off is processing time, but for rare manuscripts, historical records, or legal documents that need to be printed at large format, the output quality justifies the wait.
How to Use Clarity Pro Upscaler on PicassoIA
PicassoIA hosts Clarity Pro Upscaler directly in the browser, so there is nothing to install. Here is the full process from upload to download.
Step 1: Open the Model
Go to Clarity Pro Upscaler on PicassoIA. No local software, GPU, or Python environment required. The model runs entirely in the cloud.
Step 2: Upload Your Scanned Page
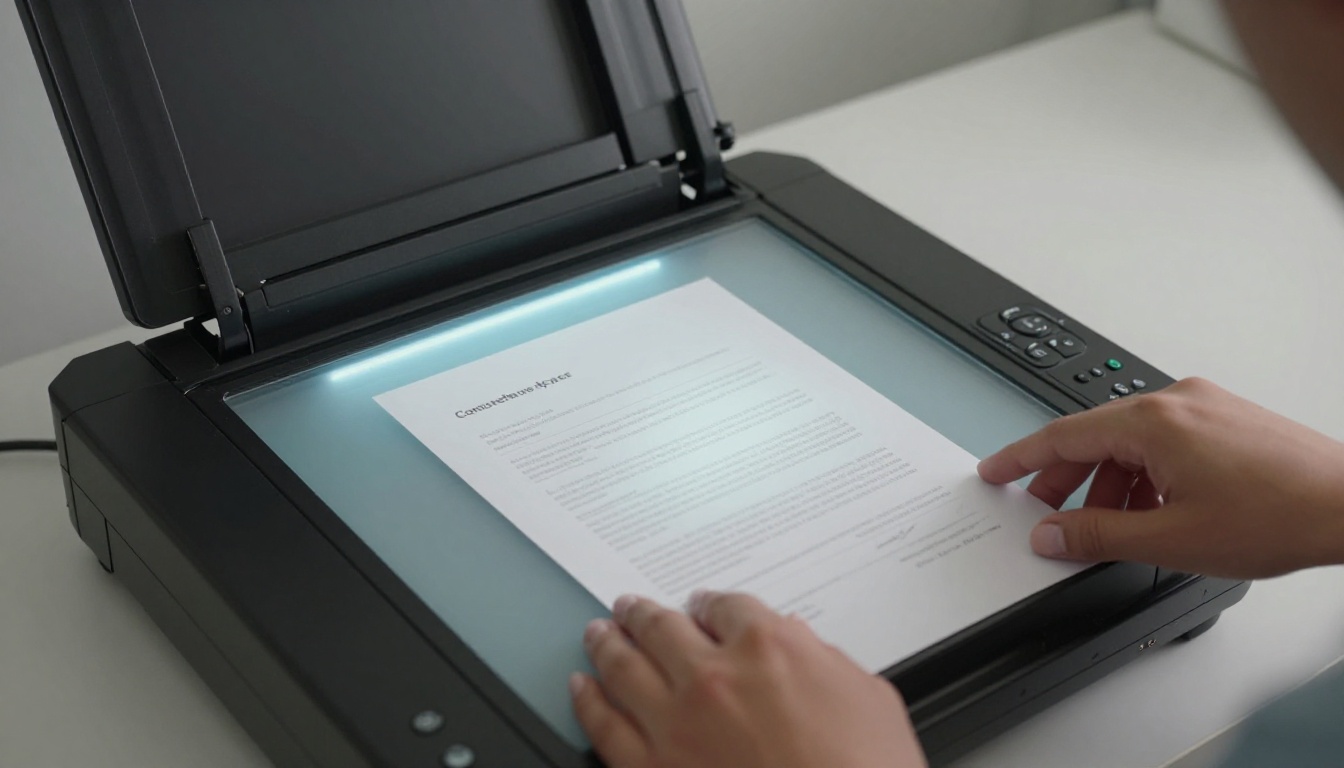
Click the upload area and select your scanned image. Accepted formats include JPEG, PNG, and WebP. For best results:
- Scan at the highest DPI your scanner supports (600 DPI if possible)
- Save as PNG before uploading to avoid double-compression artifacts
- Crop to just the text area if you only need a specific section processed
💡 Pro tip: If your original scan is a multi-page PDF, extract the pages you need as individual images first. Free tools like PDF.co or Adobe Acrobat's export function handle this in seconds.
Step 3: Set the Right Parameters
Clarity Pro Upscaler gives you control over the settings that matter most for text:
| Parameter | Recommended for Text | Notes |
|---|
| Scale Factor | 4x | Most visible improvement on low-DPI scans |
| Creativity | 0.2 to 0.4 | Lower values preserve original text shapes |
| Resemblance | 0.8 to 1.0 | High values keep character forms intact |
| HDR Strength | 0.1 to 0.3 | Adds micro-contrast without over-sharpening |
For handwritten text, reduce Creativity to 0.1 to 0.2 to prevent the model from interpreting ambiguous letterforms in ways that alter meaning. For printed text, you can push it slightly higher for more defined edges.
Step 4: Run and Download
Click generate. Processing typically takes 15 to 45 seconds depending on image size. When finished, you get a direct download link to the upscaled image at full resolution. The result is ready to use in documents, presentations, or re-import into your PDF workflow.

Results by Document Type
AI text sharpening is not one-size-fits-all. Different types of scanned content have different characteristics, and knowing what to expect helps you set the right parameters from the start.
Printed Books and Manuscripts
Older printed books, especially those printed before 1950, suffer from ink bleed into paper fibers over time, yellowing of the page, and offset printing artifacts. Real ESRGAN and Clarity Pro Upscaler both handle this category well because they were trained on similar degradation patterns.
The typical improvement is dramatic: characters that were previously ambiguous between 'e' and 'c', or 'l' and 'I', become clearly distinguishable after processing. This is particularly valuable when feeding the output to an OCR (optical character recognition) system, where a single misread character can change the meaning of a word.
💡 OCR accuracy: Running AI sharpening before OCR consistently raises character recognition accuracy. Research on historical document digitization shows 15 to 40% reductions in character error rates when scans are pre-processed with super-resolution before recognition.
Legal Contracts and Forms
Legal documents present a specific challenge: fine print, dense columns of text, official stamps, and handwritten signatures often appear on the same page. Fine print (commonly 6 to 8pt font) is where low-resolution scans fail most severely.
For these cases, Topaz Image Upscale at 4x or 6x is the right call. The higher upscale factor ensures even the smallest footnote text is readable. Increase Resolution by Bria is also a strong option with its commercial-grade processing and fast turnaround.
What to watch for:
- Signature areas: AI models sometimes over-smooth handwritten signatures. Use lower Creativity settings here.
- Stamps and seals: High-contrast areas process well but verify embossed text has not been filled in.
- Form fields: Thin ruled lines in forms can disappear at high creativity settings. Use Resemblance closer to 1.0.
Handwritten Notes
Handwriting is the most challenging category because it is inherently irregular. Unlike printed text, there is no "correct" form for any given letter, and the model cannot rely on typography rules to guide reconstruction.
Crystal Upscaler excels here because it was built with fine detail preservation in mind, which translates well to the irregular strokes of handwriting. Recraft Crisp Upscale is another strong option when the page mixes handwriting with background graphics or printed headers.
Settings for handwritten text:
- Keep Creativity at 0.1 to 0.15 to preserve original letterform shapes
- Use 2x upscale first, review the result, then apply 4x only if needed
- If the handwriting is very light (pencil on white paper), adjust brightness and contrast before uploading
Which Model Should You Pick?
Use this decision table to match the right tool to your situation:
A few practical rules worth following:
- Always try a 2x upscale before jumping to 4x. If the text is already close to readable, 2x is usually enough.
- For OCR pipelines, prioritize models that suppress artifacts (Clarity Pro, Real ESRGAN) over pure resolution gain.
- When you need speed over perfection (scanning a whiteboard at a meeting, for example), P Image Upscale is the right pick.
- Test one page before batch processing a full archive. Different scanners introduce different degradation patterns, and a quick test tells you which model handles your specific input best.
Try It on Your Documents
Every scanned page sitting in a folder somewhere, too blurry to read or too degraded to run through OCR, is fixable. AI super-resolution brings genuine, measurable improvements to text clarity in a way that traditional software never could. The models on PicassoIA are ready to use right now, in your browser, with nothing to install.
Start with a page you have been struggling with. Upload it to Clarity Pro Upscaler, run it at 4x, and compare the result against the original. The difference is usually visible within seconds.
If you scan documents regularly, it is worth spending time across different models. Real ESRGAN handles noise better, Topaz Image Upscale wins on fine print, and P Image Upscale is best when you need results fast. PicassoIA gives you access to all of them in one place, so finding the right model for your workflow takes minutes, not months.
Your documents deserve to be readable. Now they can be.


