Shaky AI-generated video is one of the most common frustrations creators face after spending time and credits generating footage. You run a model, wait for the output, and what comes back is promising in concept but plagued by jitter, frame instability, or that characteristic AI "wobble" that immediately signals synthetic origin. The good news is that this is a solvable problem, and the fix does not require starting over from scratch.
Why AI Video Comes Out Shaky
AI video generators produce footage frame by frame, or in short temporal segments. Unlike a real camera that captures physical motion in continuous time, these models make probabilistic decisions at every frame about where objects, edges, and textures should be. Even small inconsistencies between those decisions accumulate into what we visually perceive as shakiness.
Frame-to-Frame Temporal Drift
Temporal drift is the core cause of AI video jitter. When a model generates frame 12 and then frame 13, it is not literally moving objects through space. It is independently sampling from a probability distribution, and the objects in each frame have slightly different positions, edges, and proportions. At normal playback speed (24-30fps), this reads as jitter, wobble, or what the community often calls the "AI shimmer."
The effect is worse when:
- The scene contains fine detail (hair, leaves, text, complex backgrounds)
- The subject is moving fast relative to the background
- The video is short (fewer frames mean less temporal context for the model)
- The model was not specifically optimized with temporal coherence loss functions
- You used high guidance scale values, which amplify per-frame randomness
The Motion Estimation Problem
Most AI video models use some form of optical flow internally to estimate how pixels should move between frames. But optical flow is imperfect. It fails on occluded areas, reflective surfaces, and regions with repeated textures like brick walls or dense foliage. When optical flow makes an error, the model compensates by snapping nearby pixels to a different estimate, creating the micro-jitter that post-stabilization has to correct.
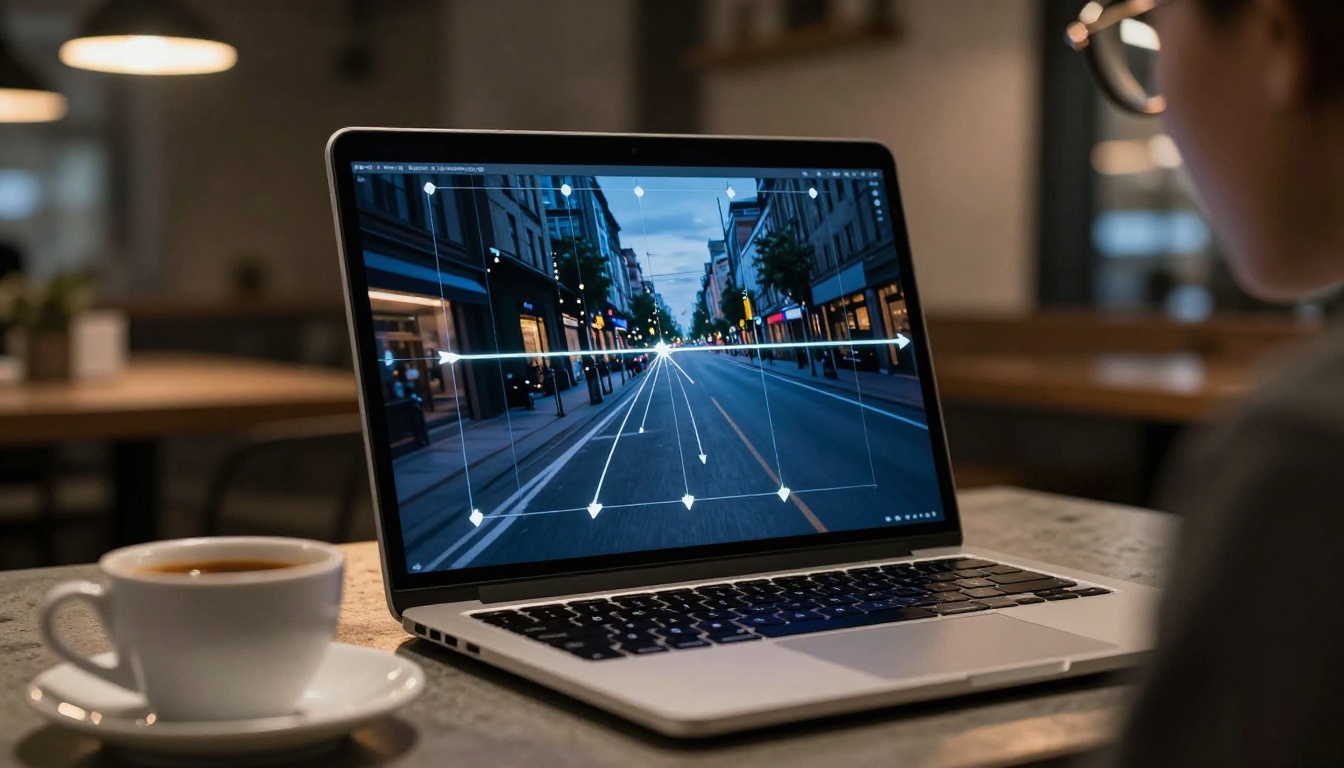
💡 Worth knowing: Temporal jitter from AI models is structurally different from camera shake. Camera shake has a physical trajectory you can mathematically reverse. AI jitter is pseudo-random noise in pixel position, which requires a different correction approach entirely.
What "Stable" Actually Means
Before applying any stabilization filter, it helps to define what you are targeting. Not all instability looks the same, and fixing the wrong type wastes time and can degrade your footage in new ways.
Smooth Does Not Mean Static
A common mistake is over-stabilizing. When you lock a video completely rigid, it looks artificial and lifeless. Human vision expects a small amount of natural camera float, especially in handheld-style footage. The goal is to remove erratic, high-frequency jitter while preserving any intentional drift or slow panning that was part of the original creative intent.
The Instability Types That Matter
| Instability Type | Primary Cause | Best Fix |
|---|
| High-frequency jitter | Temporal drift between frames | Warp stabilizer with feature tracking |
| Low-frequency wobble | Model motion estimation errors | Re-timing and motion blur |
| Edge flickering | Inconsistent edge sampling per frame | Upscale before stabilizing |
| Background warping | Depth inconsistency in the model | Regenerate or isolate layers |
| Subject smearing | Fast motion with short frame window | Increase frame count at generation |
Understanding which type you are dealing with changes your entire approach. Treating background warping with a warp stabilizer, for instance, usually makes things worse rather than better.
Post-Processing Is Your Best Friend
The fastest path to smooth AI video is post-processing, not re-generation. Stabilization in editing software has matured significantly and can correct AI-specific jitter with surprisingly little quality loss when applied correctly.
Warp Stabilization in Desktop Apps
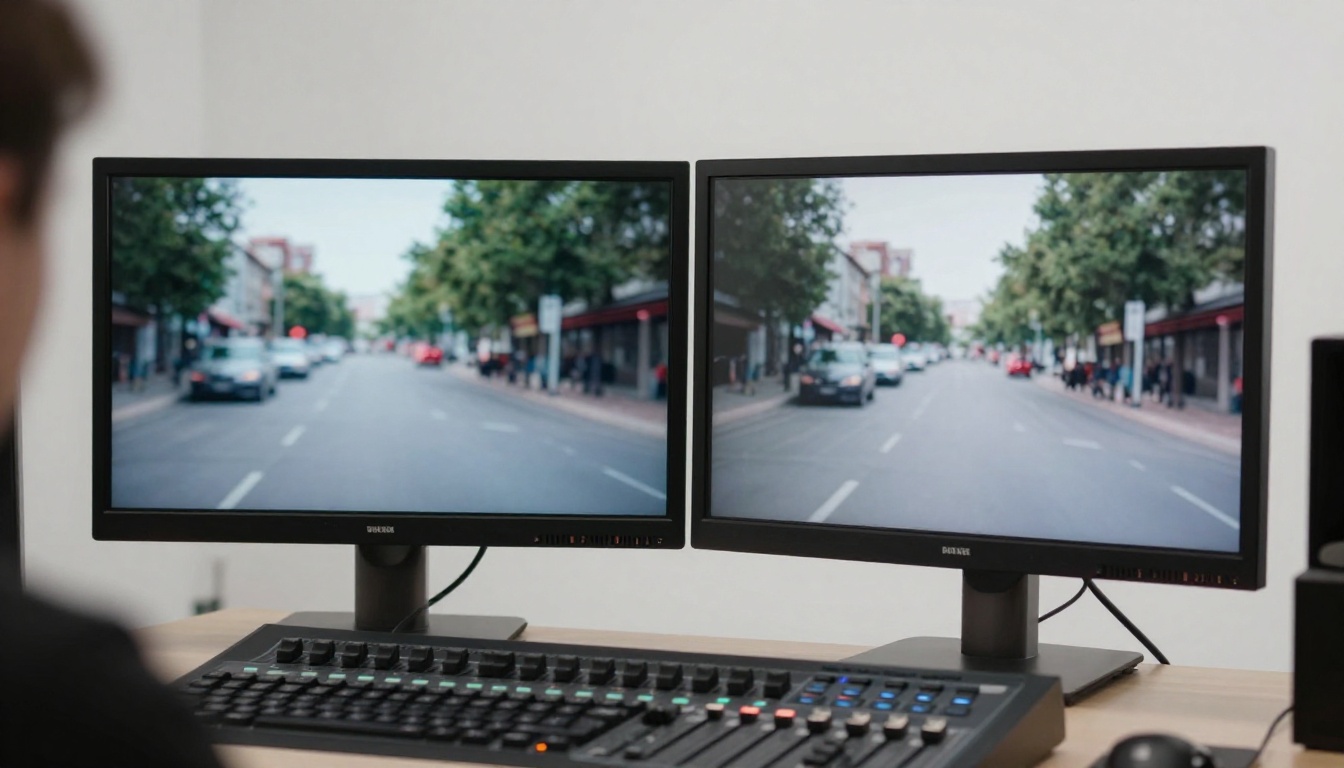
Most professional editing tools include warp stabilization. Adobe Premiere's Warp Stabilizer, DaVinci Resolve's stabilization module, and Final Cut Pro's built-in tools all operate on similar principles: they analyze motion across frames, build a motion path, and apply inverse transforms to compensate.
For AI-generated video, the default settings usually need adjustment:
- Set method to "Subspace Warp" for complex scenes with depth variation
- Reduce Smoothness to 30-50% to avoid the "jello" effect that over-stabilization creates
- Disable "Crop Less, Smooth More" if you see edge warping artifacts appearing after processing
- Apply a gentle 2% zoom to hide the border artifacts stabilization introduces at the clip edges
💡 Pro tip: Always stabilize on a copy of your clip. Stabilization is destructive to framing, and you may want to revisit original settings later.
Optical Flow vs. Feature Tracking
There are two main approaches inside stabilization algorithms:
Optical flow (pixel-level): analyzes every pixel's movement between frames. More accurate for organic, detailed scenes but computationally expensive and prone to errors on AI video's unnatural textures.
Feature tracking (point-level): locks onto specific high-contrast features like corners and edges, stabilizing based on those anchor points. Faster, and more robust for AI footage because it ignores the chaotic micro-texture changes happening at the pixel level between frames.
For AI-generated video specifically, feature tracking generally produces better results because it does not get confused by the frame-level texture noise that optical flow reads as legitimate motion.
Beyond manual stabilization in editing software, dedicated AI video processing tools can correct instability as part of a broader quality improvement pass. This is often the most efficient path when working with multiple clips.
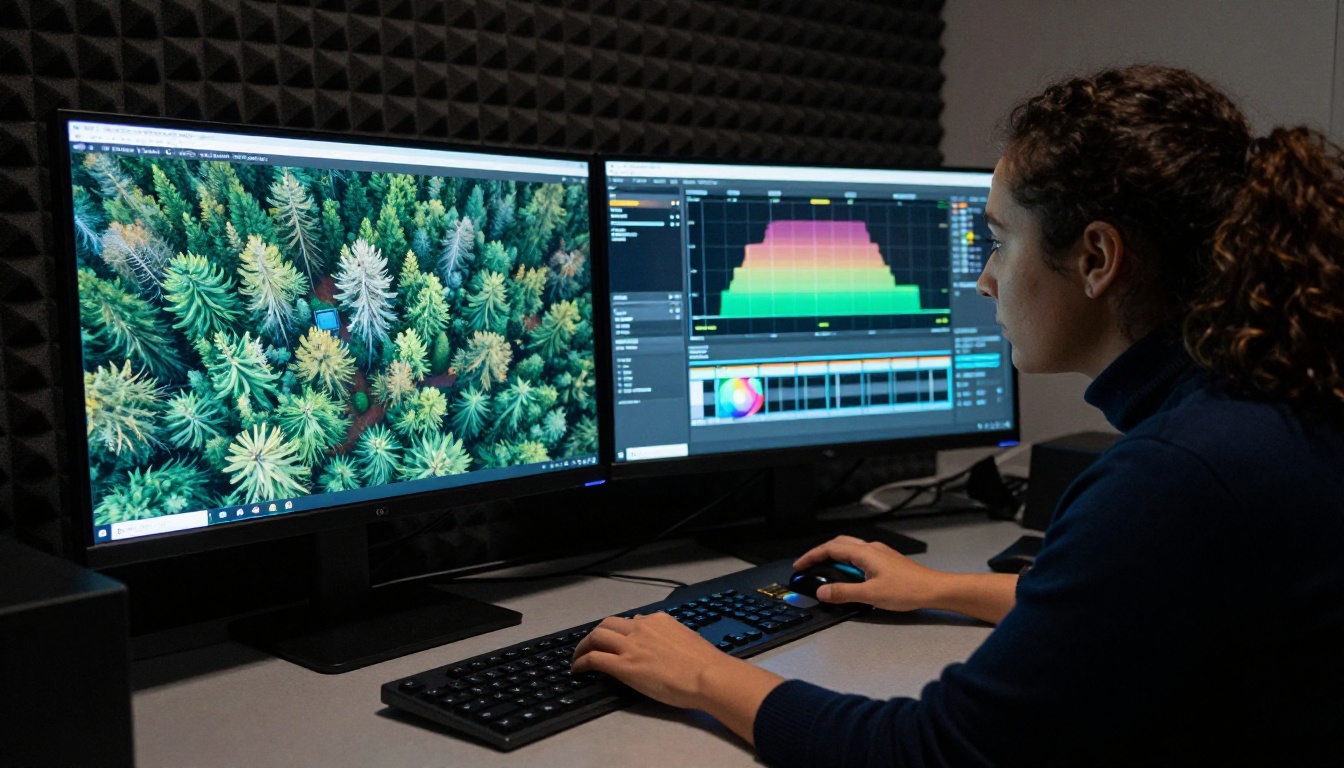
Topaz Video AI on PicassoIA
Topaz Labs Video Upscale on PicassoIA is one of the most capable tools for this task. It does not just upscale resolution. It applies temporal consistency processing during upscaling, which has the side effect of smoothing inter-frame jitter. The process works because the model is trained to maintain consistent detail across frames as it fills in resolution, so objects stay in the same relative position between frames rather than drifting.
When to use it: When your AI video is both shaky and lower resolution than you need. Upscaling first, then stabilizing in your editing software, produces cleaner results than the reverse order.
Real ESRGAN Video on PicassoIA
Real ESRGAN Video on PicassoIA handles 4K video upscaling with strong sharpening and noise reduction baked in. Like Topaz, the temporal processing in ESRGAN-based models helps with frame consistency as a byproduct of the upscaling pass.
It is particularly effective on AI video because ESRGAN was trained on degraded footage, and AI jitter reads somewhat like a degradation artifact to the model. The result is naturally smoother output without an explicit stabilization pass.
RunwayML Upscale v1 on PicassoIA
RunwayML Upscale v1 takes a more conservative approach, focusing on photorealism during the upscale. It makes fewer aggressive changes to motion, making it the right choice when your footage is mostly stable but has isolated jitter sections you want to correct with a light touch.
💡 Stacking works: Run Topaz Labs Video Upscale for temporal smoothing first, then RunwayML Upscale v1 for a final photorealism pass on the output.
Bria Video Increase Resolution
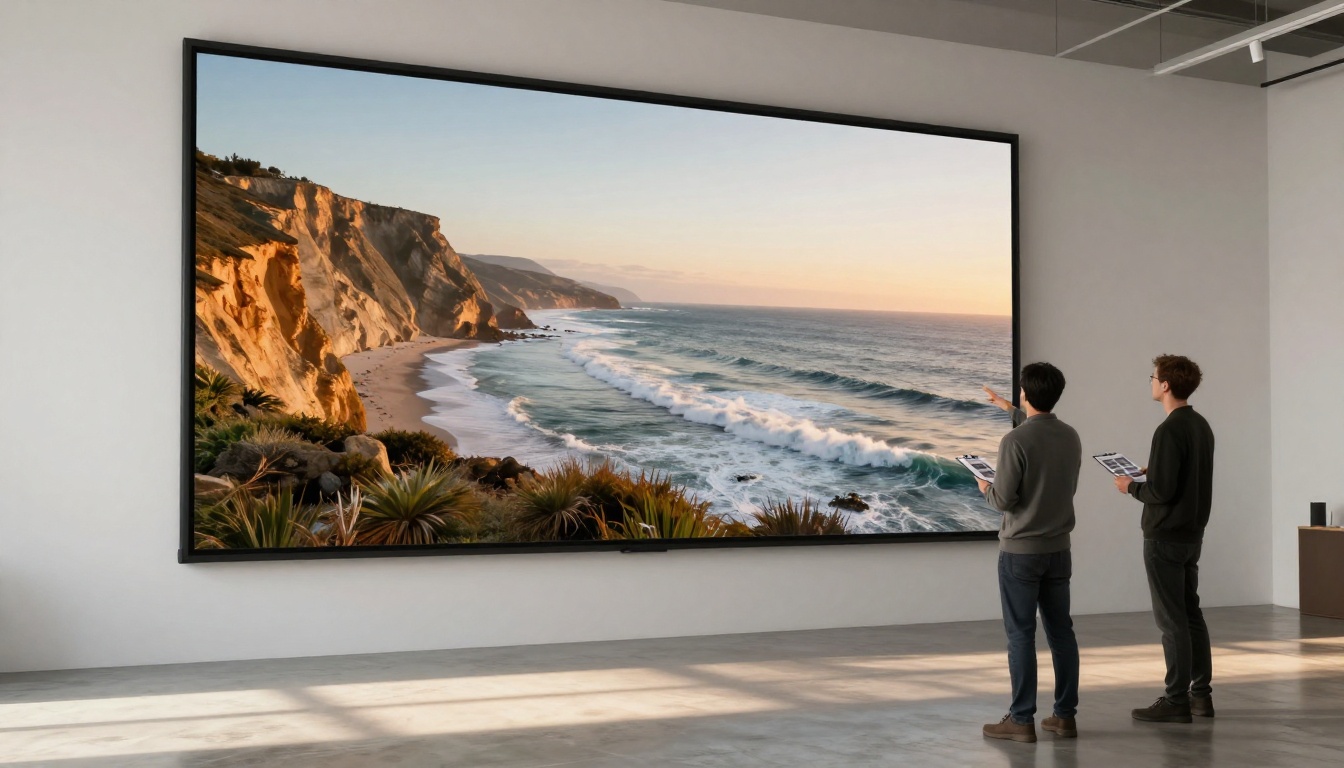
Bria Video Increase Resolution on PicassoIA pushes output all the way to 8K, making it the right choice when you need maximum resolution for large-format display or when mastering footage for a platform that demands very high bitrates. Like the other upscaling tools, the temporal reconstruction it applies during upscaling also reduces frame-level jitter as a side effect.
Fixing It at the Source
Post-processing stabilization is effective, but the cleanest result comes when you reduce instability in the AI generation step itself. There are specific things you can control before you ever need to run a stabilization pass.
Prompt Engineering for Stable Output
The way you write your prompt affects how much temporal consistency the model tries to maintain. Certain phrases signal to the model that motion should be smooth and continuous:
- Add "smooth camera movement" or "steady cam" to your prompt
- Specify "locked off shot" if you want zero camera movement in the scene
- Avoid words like "dynamic", "handheld", "action", or "energetic" unless you specifically want movement artifacts
- Include "cinematic" and "film grain" to trigger more conservative temporal sampling in many models
- Use "slow motion" or "slow dolly" if you want movement that is more predictable for the model to generate consistently
These are not guarantees. They are signals that shift the probability distribution the model samples from. Combined with appropriate motion strength settings, they measurably reduce output jitter.
Seed and Motion Controls
Most AI video models expose a seed parameter. When you find a generation where the motion is mostly stable but has one or two bad frames, regenerating with the same seed and slightly modified settings can give you a cleaner version without abandoning the clip entirely.
Some models also expose explicit motion controls worth paying attention to:
- Motion strength / motion scale: lower values produce slower, more stable output
- Camera motion type: "static", "pan", or "tilt" are generally more stable than "auto" or "dynamic"
- CFG scale: higher values increase adherence to prompt but can increase frame-level noise. Moderate values (5-8) often give better temporal stability
When to Regenerate vs. When to Fix
Not every shaky AI video is worth fixing in post. Knowing when to cut your losses and regenerate saves significant time and creative energy.
The 30% Rule
If more than 30% of your frames are genuinely unusable, whether from heavy warping, objects dissolving and re-appearing, or backgrounds shifting dramatically, post-stabilization will not save the clip. You will fight the stabilizer throughout and end up with a result that is still visibly problematic. Regenerate.
If less than 30% of frames have issues, stabilization is almost always faster and cheaper than re-generation.
Saving Time on Large Batches
When generating multiple clips for a longer video or a batch workflow, build a quick triage step into your process before committing to stabilization passes:
- Play through each clip at 2x speed to spot obviously broken footage
- Flag any clip with warping backgrounds for immediate discard
- Group remaining clips by severity: light jitter, moderate jitter, heavy jitter
- Apply stabilization settings by group rather than tuning per-clip
This batch approach is significantly faster than processing clips individually and discovering stabilization problems only at the output stage.
A Workflow That Actually Works
Putting everything together into a repeatable, efficient sequence:
Step 1: Assess the Clip
Before touching any tool, play the full clip and categorize it:
- Discard: background warping, object dissolution, more than 30% bad frames
- Upscale-first: noisy, low resolution, light jitter throughout the clip
- Stabilize-first: higher resolution output with isolated jitter spikes in specific sections
Step 2: Upscale If Needed
Run Topaz Labs Video Upscale or Real ESRGAN Video on PicassoIA. Upscaling before stabilization gives the stabilizer more pixel data to work with, producing cleaner motion estimates and sharper output.
Step 3: Stabilize in Your Editor
Apply warp stabilization in your editing software. Use feature tracking mode if available. Set smoothness to 30-50%. Apply a gentle 2% zoom to hide edge artifacts introduced by the stabilization process.
Step 4: Fix Problem Sections
After your main stabilization pass, review the clip again at 1:1 scale. If specific sections still show instability:
Step 5: Final Export Pass
Run a final check at full resolution. Export at a slightly higher bitrate than usual to preserve the detail the upscaler added.
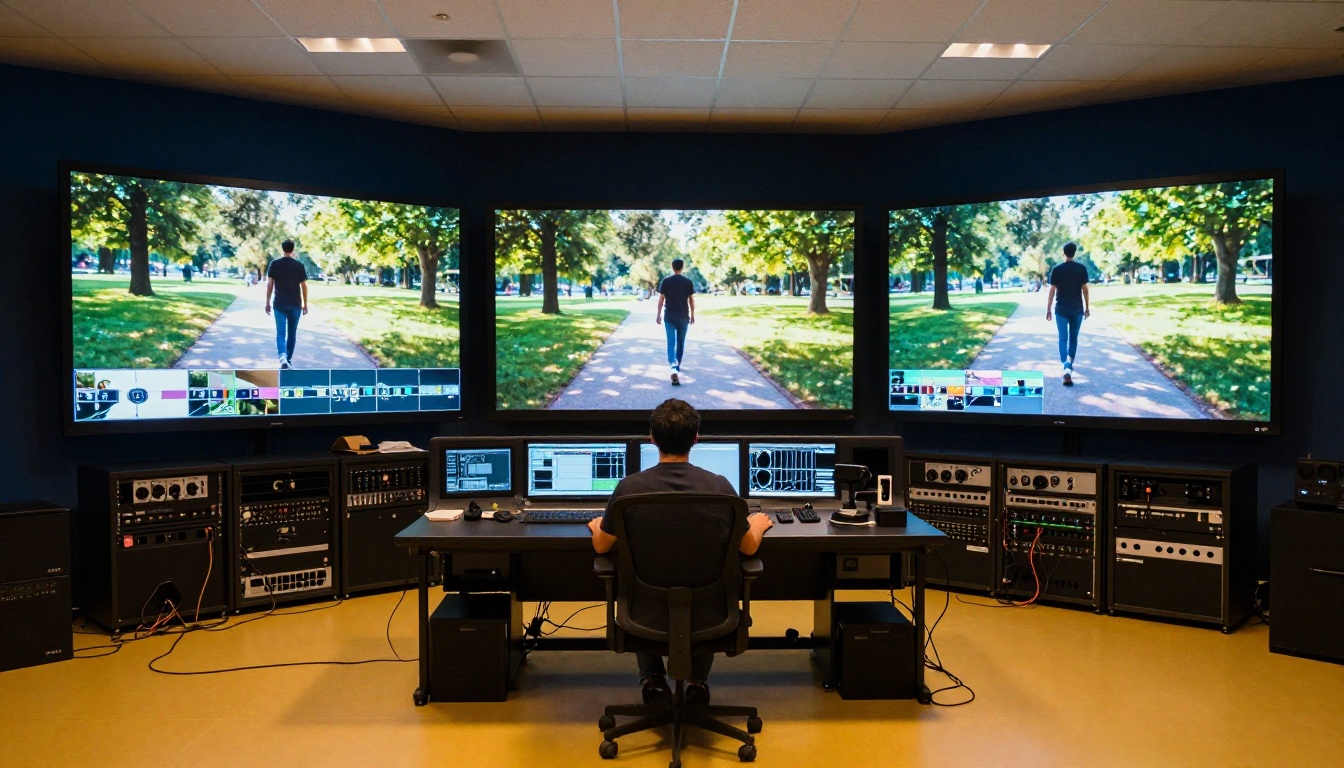
💡 Bitrate note: AI video after upscaling has significantly more fine detail than the original. Use at least 1.5x your normal export bitrate so that compression does not erase the work done in the upscaling and stabilization passes.
The Models Worth Using on PicassoIA
Here is a quick reference of models directly relevant to AI video stabilization workflows:
Try It on PicassoIA Right Now
The entire workflow described above is available on PicassoIA without installing anything locally. Every tool in the table above runs in your browser, billed per use, with no subscription required to start.
If you work with AI video regularly, the combination of Topaz Video Upscale for the stabilizing upscale pass and LTX 2 Retake for section-level re-generation covers the vast majority of stabilization problems you will encounter. Start with those two, assess your specific footage type, and build your personal workflow from there.
The jitter problem in AI video is manageable. Stop fighting the output and start working with it.