Swapping backgrounds on AI-generated photos is one of those skills that looks complicated from the outside but follows a simple, repeatable process once you know the steps. Whether you're placing a portrait against a cinematic mountain range or dropping a product into a clean studio void, the result lives or dies on three things: how cleanly you cut the subject out, how well your new background matches the original lighting, and which AI tools you use to make it happen. The good news is that the entire workflow now takes minutes instead of hours, and every tool you need is available on a single platform.
Why Background Swapping Changes Everything
Background replacement is not just a convenience feature. It is the difference between a photo that works and one that needs a full reshoot. Fashion brands use it to place the same campaign model in fifteen different environments without leaving the studio. Product teams use it to drop merchandise into lifestyle scenes. Portrait photographers use it to give clients cinematic backdrops without ever renting a location.
The real power shows up when you combine it with AI-generated images. You can generate a subject in Seedream 5 Pro against a flat studio gray, then swap in any background you want, then generate that background scene with a different model altogether. The whole workflow stays inside AI tools, start to finish, with no physical location required and no lighting rig to hire.
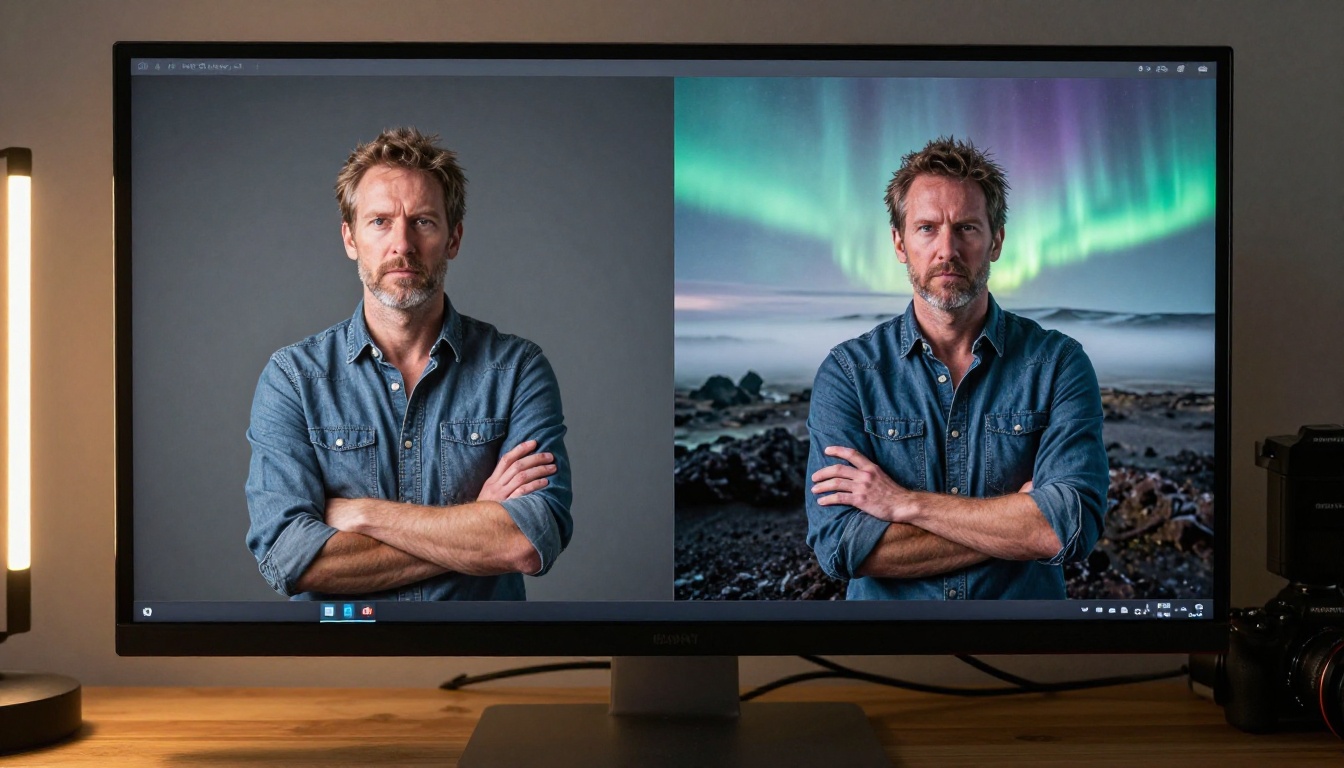
The Old Way vs. the AI Way
| Traditional Photoshop Method | AI Background Swap |
|---|
| 45 to 90 minutes of manual work | Under 60 seconds |
| Requires masking expertise | Automatic edge detection |
| Complex hair selection tools | AI handles fine strands |
| Manual color matching | Smart tone adaptation |
| $50+ per month software | Available in free tiers |
The quality gap has also closed dramatically. Three years ago, AI background removal created obvious halos around hair and lost transparency in fine details. Current models like Remove Background by Bria process edge complexity at a level that rivals a professional retoucher working by hand for an hour.
What the AI Actually Does
When you run a background removal tool, the AI does not simply select pixels below a certain color threshold. It uses semantic segmentation: it identifies what the subject is, builds a confidence map of where that subject ends and the background begins, and outputs a clean alpha mask. This is why AI tools handle complex scenes that would require hours of manual labor. The model has been trained on millions of images and has learned what "hair against sky" looks like at the pixel level.
💡 Pro Tip: Generate your initial AI image against a solid, high-contrast background, plain gray or plain white. It gives the removal AI the cleanest possible signal and produces a sharper cutout.
Step 1: Remove the Original Background First
The background swap process always starts with isolation. You need a clean cutout before you can place the subject anywhere new. This is where most people rush and ruin the final result.
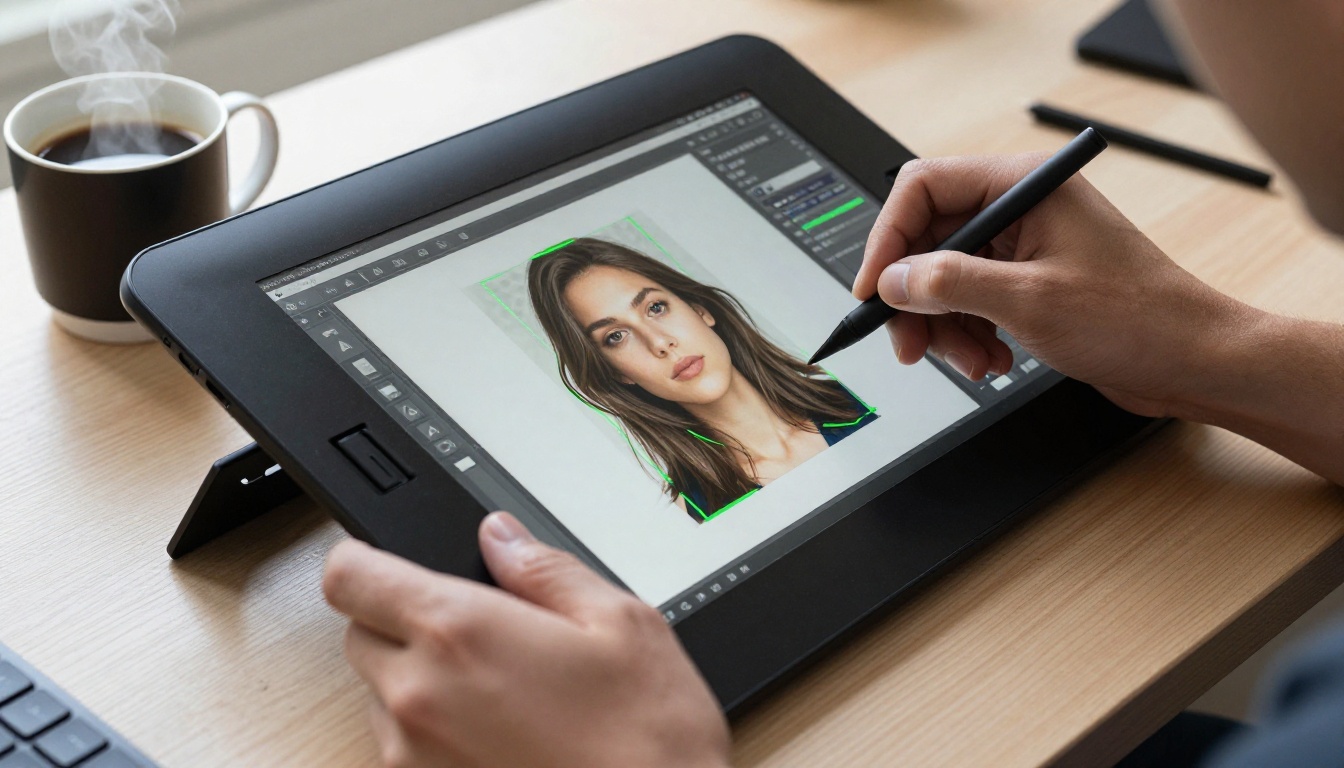
How AI Background Removal Works
The Remove Background tool by Bria on PicassoIA uses a deep learning model trained for high-fidelity cutouts. Upload your image, and within seconds you get a transparent-background PNG with the subject cleanly isolated. The model handles:
- Hair and fur: Individual strands are preserved, not blurred into a mass
- Transparent objects: Glass and clear plastics retain their see-through quality
- Complex clothing edges: Lace, mesh, and loose fabric cut cleanly
- Motion blur: Even slightly blurred edges at the frame receive an accurate mask
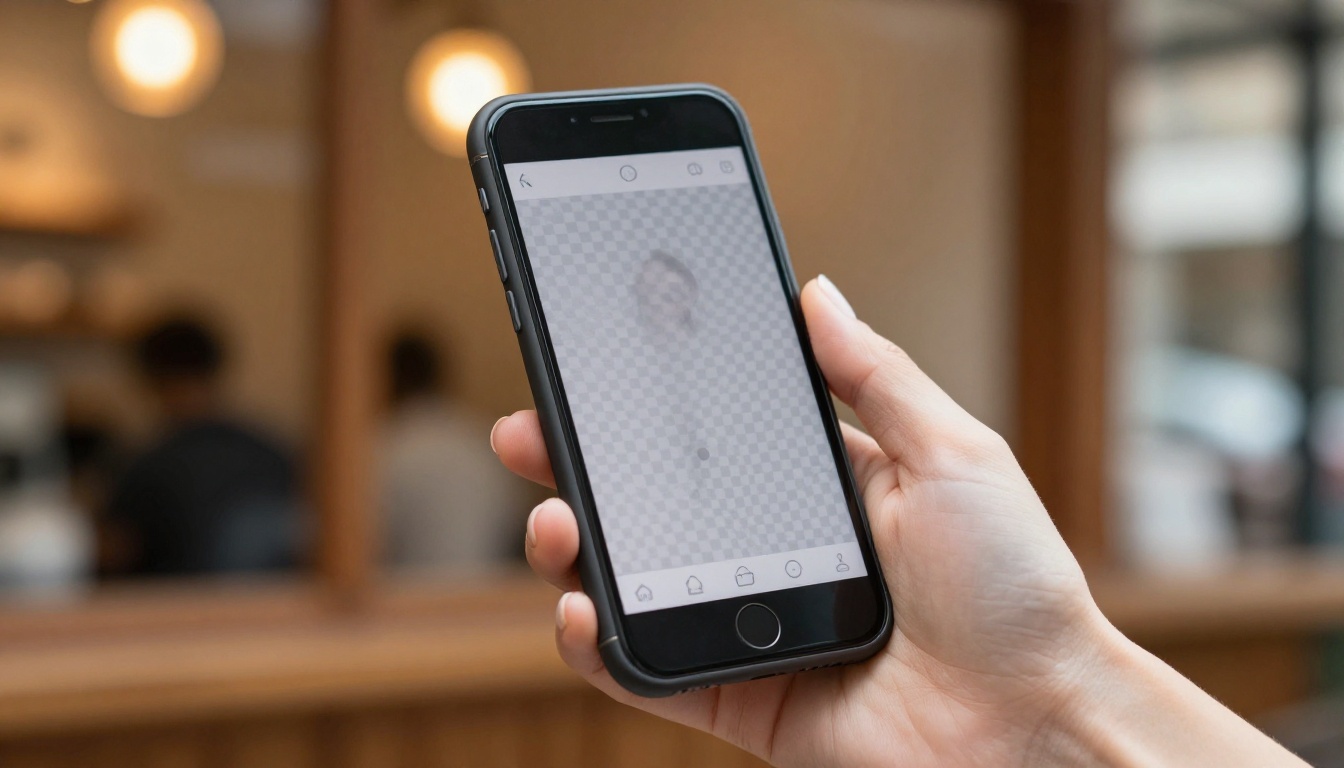
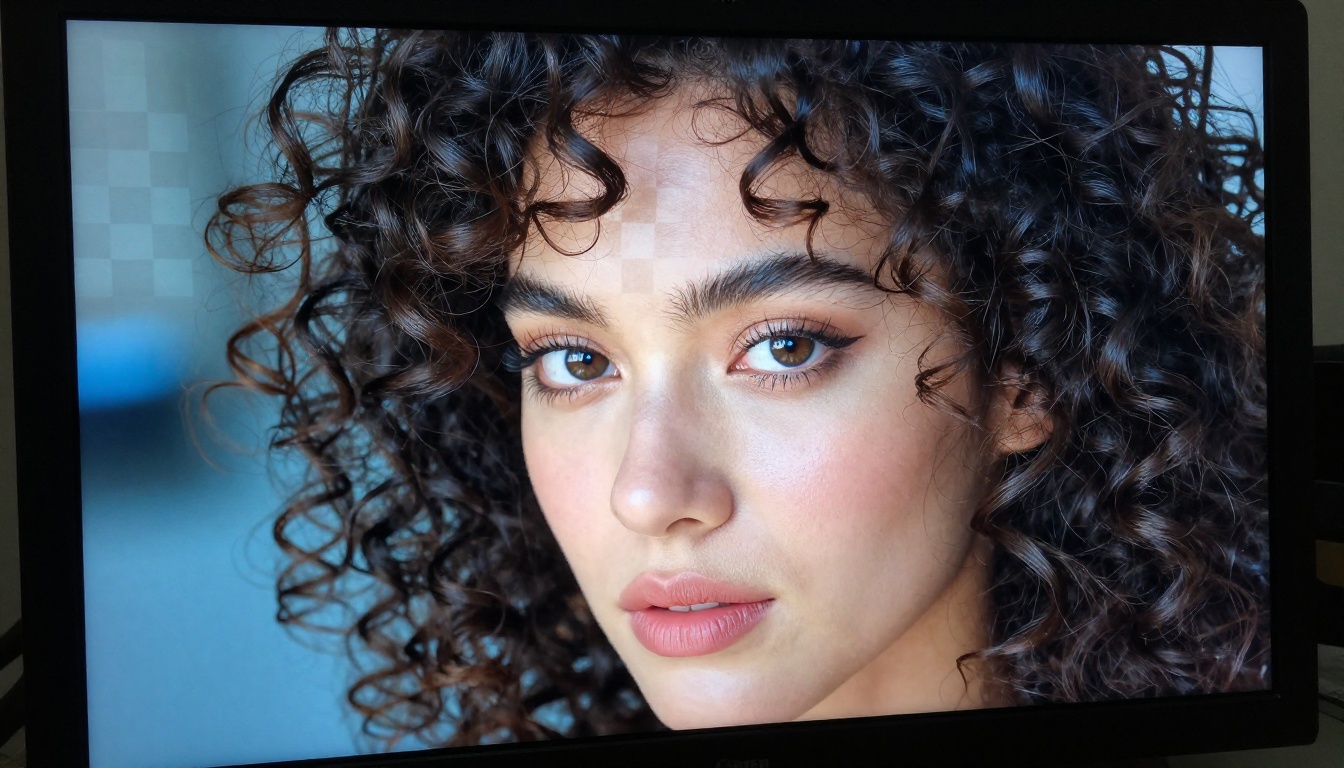
The checkerboard pattern in the result confirms the transparent background is working correctly. That PNG is now ready for compositing.
Getting the Best Cutout Quality
Not every image produces the same cutout result. These factors improve quality dramatically:
- Use a contrasting background at generation time. A subject with dark hair against a light background removes far more cleanly than dark hair against a dark wall.
- Generate at high resolution. The more pixels the removal model has to work with, the more accurately it maps complex edges.
- Avoid busy clothing that matches the background. A plaid shirt against a plaid wall confuses edge detection.
- Include separation in your prompt. When using Riverflow v2.5 Pro or Reve 2.1, add "plain gray studio background" to your prompt to start with a clean base image.
Step 2: Pick or Generate the New Background
This step is where most people underestimate the difficulty. Picking a background is not just about what looks visually appealing. It is about what looks believable in the same frame as the subject.
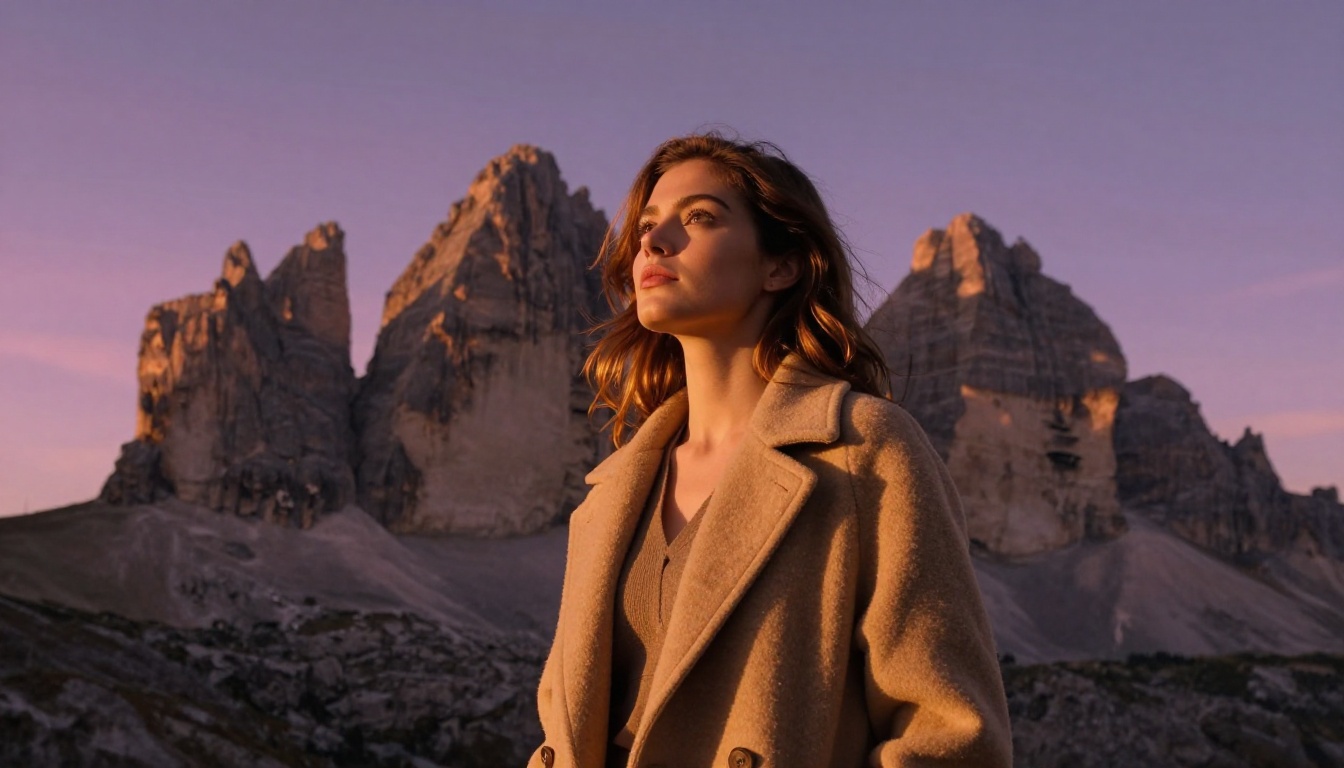
Light Direction Is Everything
The single biggest giveaway in a bad background swap is mismatched lighting. If your subject was generated with light coming from the right and your new background has a sunset on the left, the composite reads as wrong immediately, even to viewers who cannot articulate why.
When selecting or generating a background, check the dominant light direction in your subject image first. Then match it:
- Note where the eye catchlights appear in the subject's eyes (they reveal the light source position)
- Check which side of the nose or cheek carries the shadow
- Match the color temperature: warm golden light in the subject needs a warm background
If you are generating the background from scratch using Seedream 5 Pro or P-Image Ideogram, specify the exact same light direction and color temperature in your prompt. This gives you precise control that no stock photo library can match.
Depth of Field Must Match Too
Another common tell is depth of field mismatch. Portraits shot at f/1.4 have extremely blurry backgrounds. If you paste that subject onto a tack-sharp landscape background, it immediately looks artificial.
Your options:
- Generate a naturally blurry background. Use bokeh-style prompts: "shallow depth of field, f/1.4 background blur, creamy bokeh."
- Match focal lengths. If your subject looks like a telephoto shot with compressed perspective, specify a telephoto-style background in your prompt.
- Use depth blur tools. PicassoIA's visual effects capabilities include tools to add or adjust background blur after compositing.
💡 Pro Tip: Generate backgrounds at a slightly larger canvas than your subject image, so you have room to adjust framing and crop after compositing.
Best AI Models for Background Work
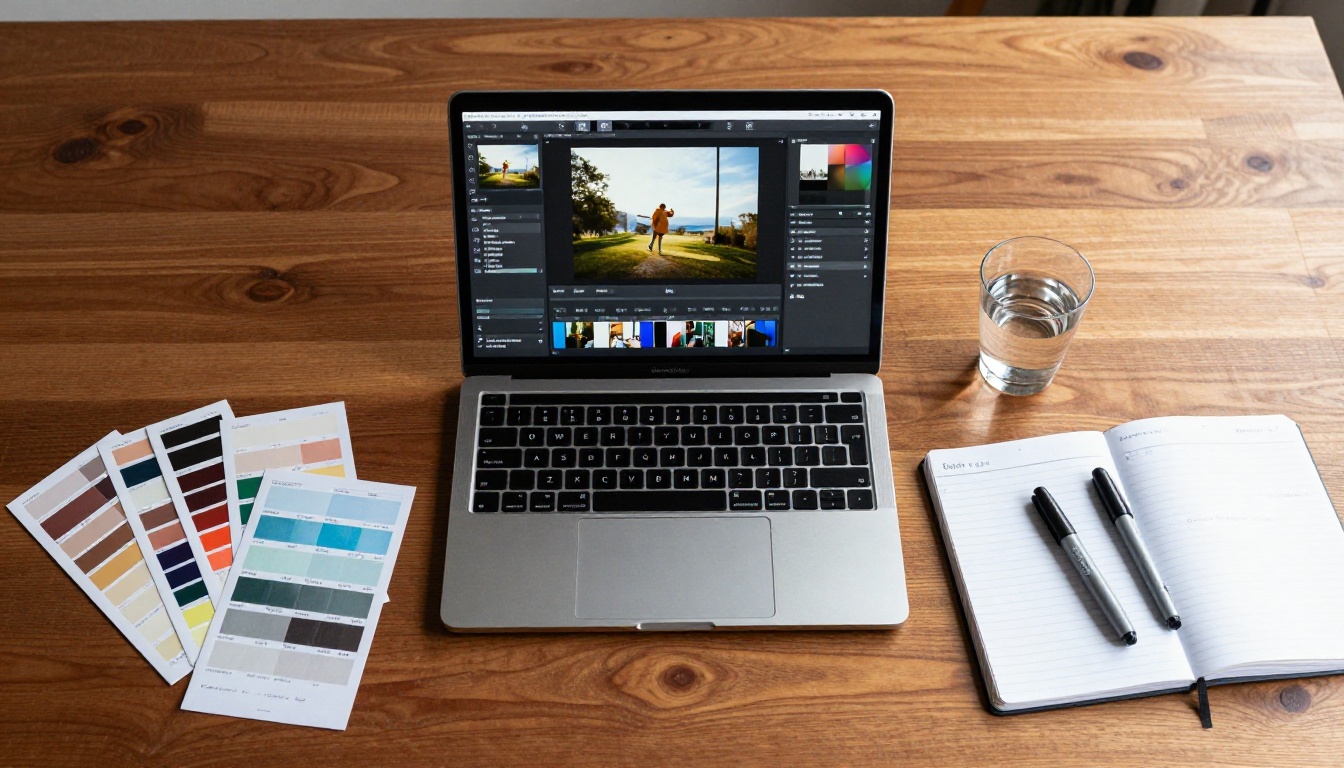
Not every AI model handles background-related tasks the same way. Here is a clear breakdown of which tools to use at each stage of the workflow:
Which Model Should You Start With?
For most background swapping workflows, start with Seedream 5 Pro for your subject. It produces images with sharp, well-defined edges that feed cleanly into the background removal step. Then generate your background scene with Reve 2.1, which excels at photorealistic environments and landscapes.
For fast iteration when testing multiple background concepts, Riverflow v2.5 Fast lets you generate and evaluate options quickly before committing to the final high-resolution render.
The workflow on PicassoIA is straightforward. Here is the exact sequence:
Step 1: Generate your subject image. Use any text-to-image model and include "plain gray studio background" or "solid white background" in your prompt. This gives the removal model maximum contrast to work with.
Step 2: Open the Remove Background tool. Go to Remove Background by Bria on PicassoIA. Upload your generated image directly.
Step 3: Download the transparent PNG. The tool outputs a PNG with full alpha channel transparency. Check the checkerboard area around fine details like hair to confirm edge quality before proceeding.
Step 4: Generate your background. Create a new background image that matches the light direction and color temperature of your subject. Use Seedream 5 Pro or Reve 2.1 with specific environment descriptions.
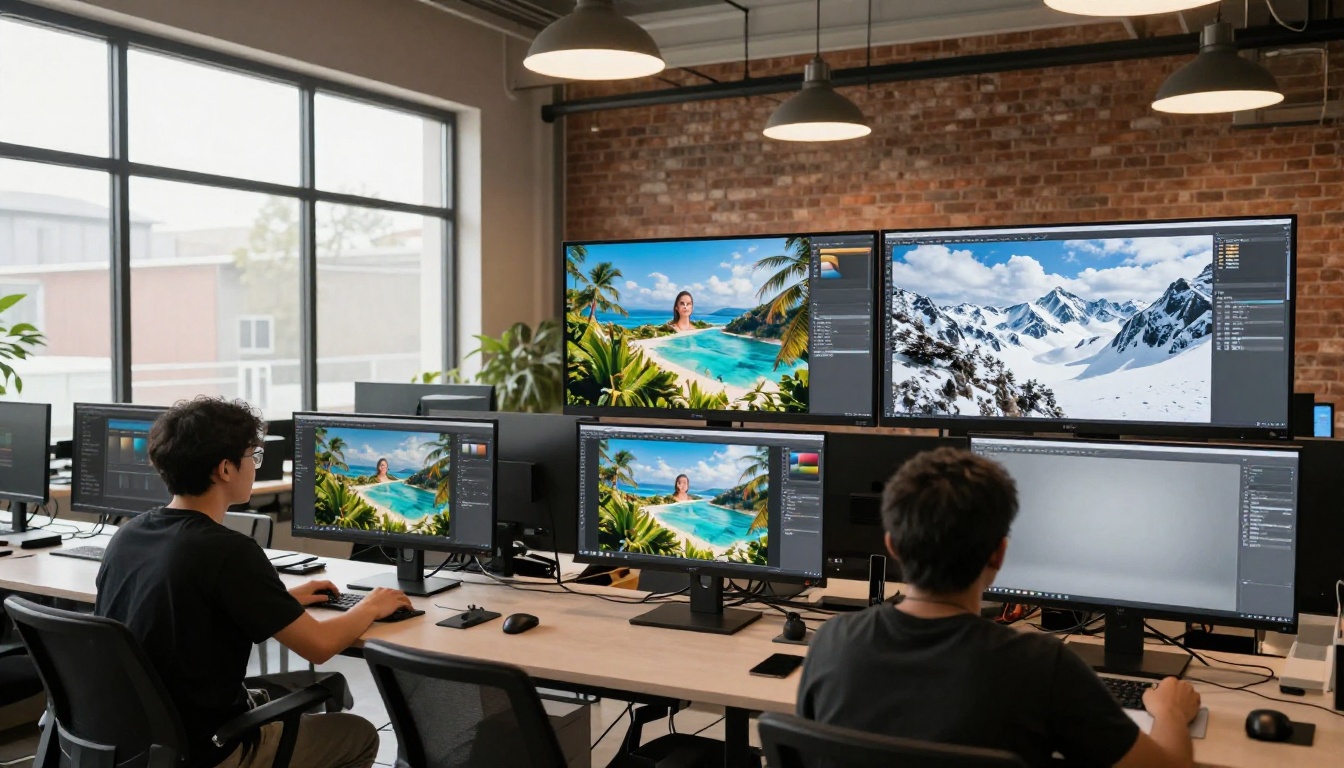
Step 5: Composite the layers. Place the transparent PNG over your background image. Adjust scale, position, and apply slight blur to the background if the subject was generated with a shallow depth of field look.
Step 6: Final color match. Check that skin tones and clothing colors look natural in the new lighting environment. A slight warm or cool tone adjustment is often all it takes to make the composite feel completely natural.
💡 Pro Tip: Always keep the original transparent PNG. If you generate a better background later, you can re-composite without going through background removal again.
Prompt Additions That Consistently Improve Cutout Quality
When generating your subject image for background removal, these prompt additions produce cleaner results:
plain neutral gray background, no shadows behind subjectsubject clearly separated from backgroundeven studio lighting, no background gradientno background elements overlapping or touching subject
3 Mistakes That Ruin Every Swap
Even with the right tools, these errors show up repeatedly in AI photo compositing work.
Wrong Light Source Direction
You can match the light color temperature perfectly and still fail if the direction is opposite. A subject lit from the left placed on a background with clear sunlight from the right will have shadows pointing in contradictory directions. The viewer reads this as wrong without knowing why.
Fix: Before compositing, identify the primary light direction in your subject by looking at eye catchlights and shadow direction on the nose and chin.
Not Matching Background Scale
A portrait taken at 85mm has a narrow background angle of view. If you composite it onto a background generated with a 24mm wide-angle perspective, the background appears overwhelmingly large relative to the subject. The spatial relationship reads as physically impossible.
Fix: When generating your background, specify the focal length in your prompt. "Background scene photographed with 85mm lens, compressed perspective, narrow field of view" produces a background that integrates naturally with a telephoto-style portrait.
Ignoring Color Fringing at Edges
Some background removal tools leave a thin fringe of the original background color around the subject edge. A portrait removed from a white background will have a faint white halo when placed on a dark background.
Fix: After compositing, zoom in to 200% or 400% and check the edge perimeter. The Remove Background by Bria model handles this better than most alternatives, but checking at high magnification is always worth the 30 seconds it takes.
Real-World Use Cases That Work
Background swapping adapts to completely different professional contexts. Here are the three where it delivers the clearest, most immediate results.
Product Photography for E-Commerce
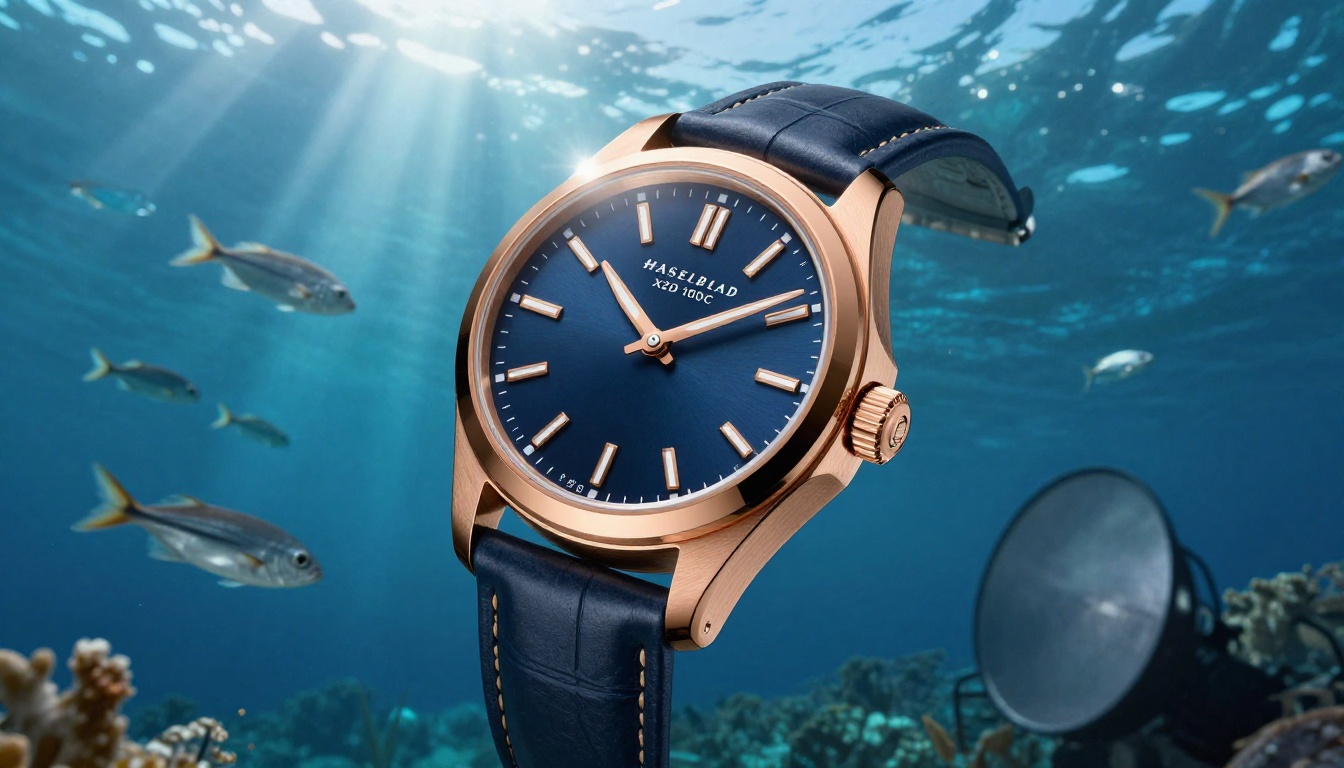
Generate your product against a plain white or gray background, remove it cleanly, then composite it onto lifestyle backgrounds that match your brand. A skincare product can appear in a spa environment, a bathroom countertop, or a natural outdoor setting, all from a single generation session. E-commerce teams using AI background replacement reduce content production time by an order of magnitude compared to location shoots.
Portrait and Headshot Work
AI background replacement is especially useful for headshots where the client wants a specific environment they cannot physically access. A business headshot becomes a library setting, a cityscape, or a corporate office in seconds. The subject stays identical across every version. Use Seedream 5 Pro to generate the initial headshot against a plain background, remove it, then use Reve 2.1 to create the environment versions.
When you need to produce multiple headshot variations quickly, the full background removal workflow takes about two minutes per variation once you have the base transparent PNG in hand. Ten background versions, twenty minutes total. That is the actual production speed this workflow delivers.
Fashion and Campaign Production
Fashion brands can generate a model in a single outfit, then swap the background to create multiple campaign versions: beach, city rooftop, mountain range, indoor studio. The model's pose, expression, and clothing stay identical across every version. This is how AI-powered creative teams produce campaign volume that previously required multiple location shoots and separate travel budgets.
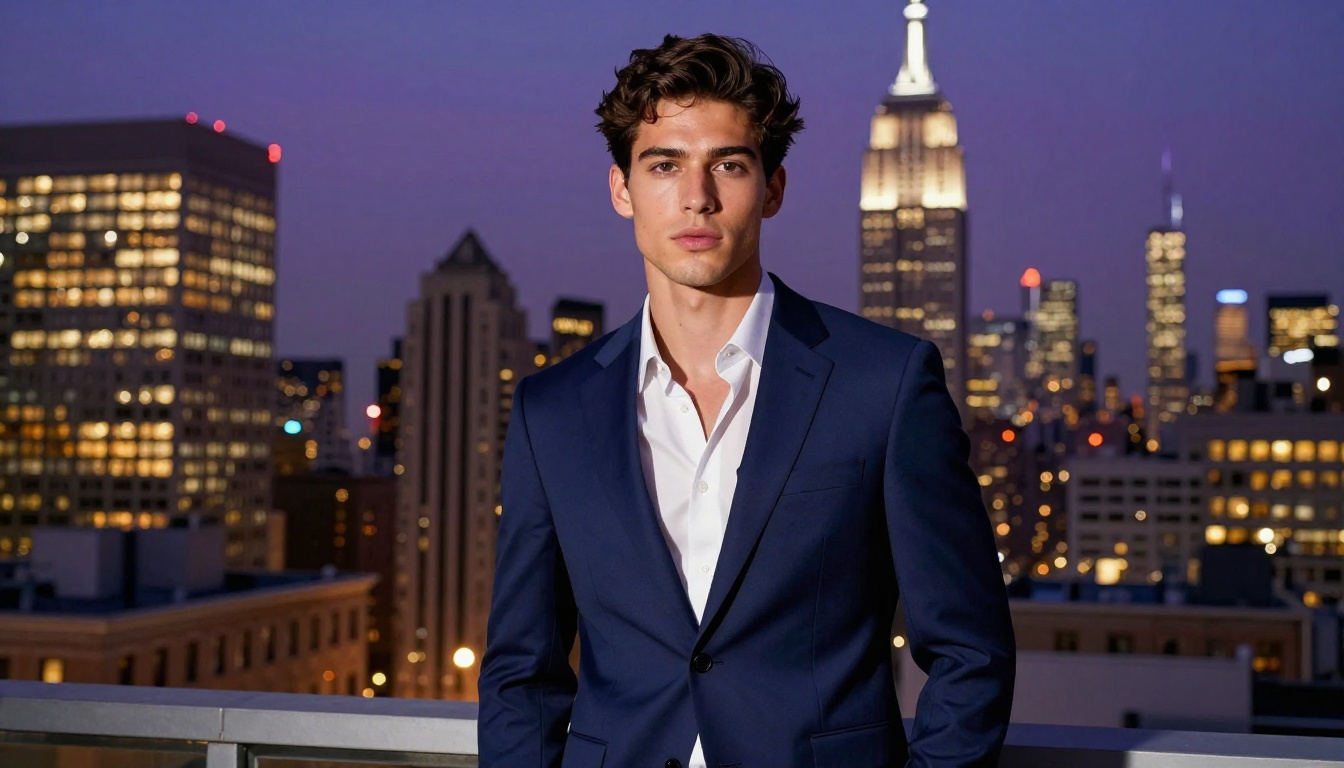
The same approach applies to visual effects work. Once you have a clean transparent subject, you can composite it onto any environment, generated or photographic. Dramatic lighting conditions, unusual locations, or scenes that are physically impossible to photograph become straightforward once the background swap workflow is in place.
Start Swapping on PicassoIA
Background swapping on AI-generated photos is one of the most immediate, visible wins you can get from AI image tools. The workflow is short, the results are measurable, and once you have run it a few times the quality becomes predictable and repeatable.
PicassoIA puts every tool in this workflow in one place. Generate your subject with Seedream 5 Pro or Reve 2.1, remove the background cleanly with Remove Background by Bria, generate a photorealistic environment with Riverflow v2.5 Pro, and composite your result without juggling between different platforms or software subscriptions.
There is no better way to build confidence with the technique than running the workflow on a real image. Pick a subject, swap the background, and see what the tools deliver at full resolution. Browse the full model catalog at picassoia.com/en/all-models.


