How to Turn an AI Photo Into a 3D Model: The Real Workflow
AI photos make surprisingly good source material for 3D conversion, but only when generated with the right settings. This article walks through the full process: from generating a 3D-ready photo to converting it, cleaning it up, and exporting for Blender, Unity, or print.
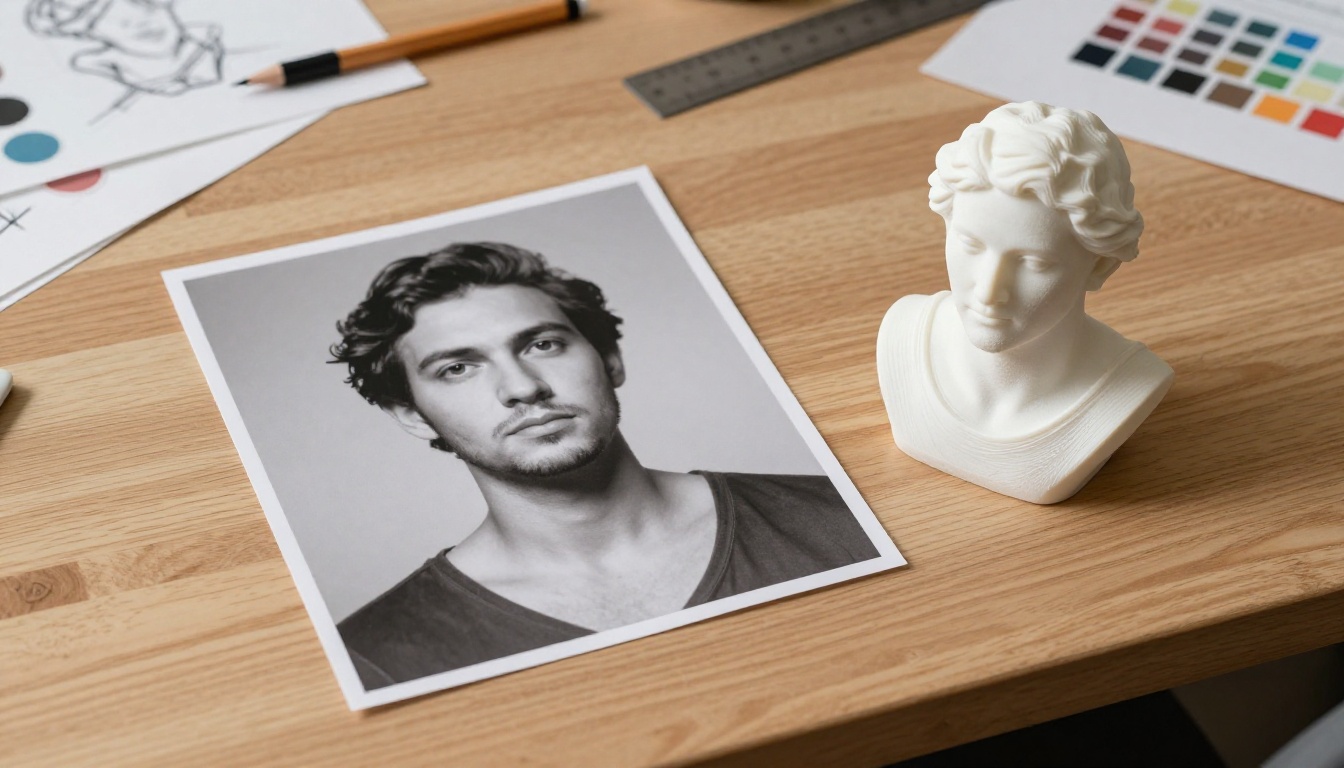
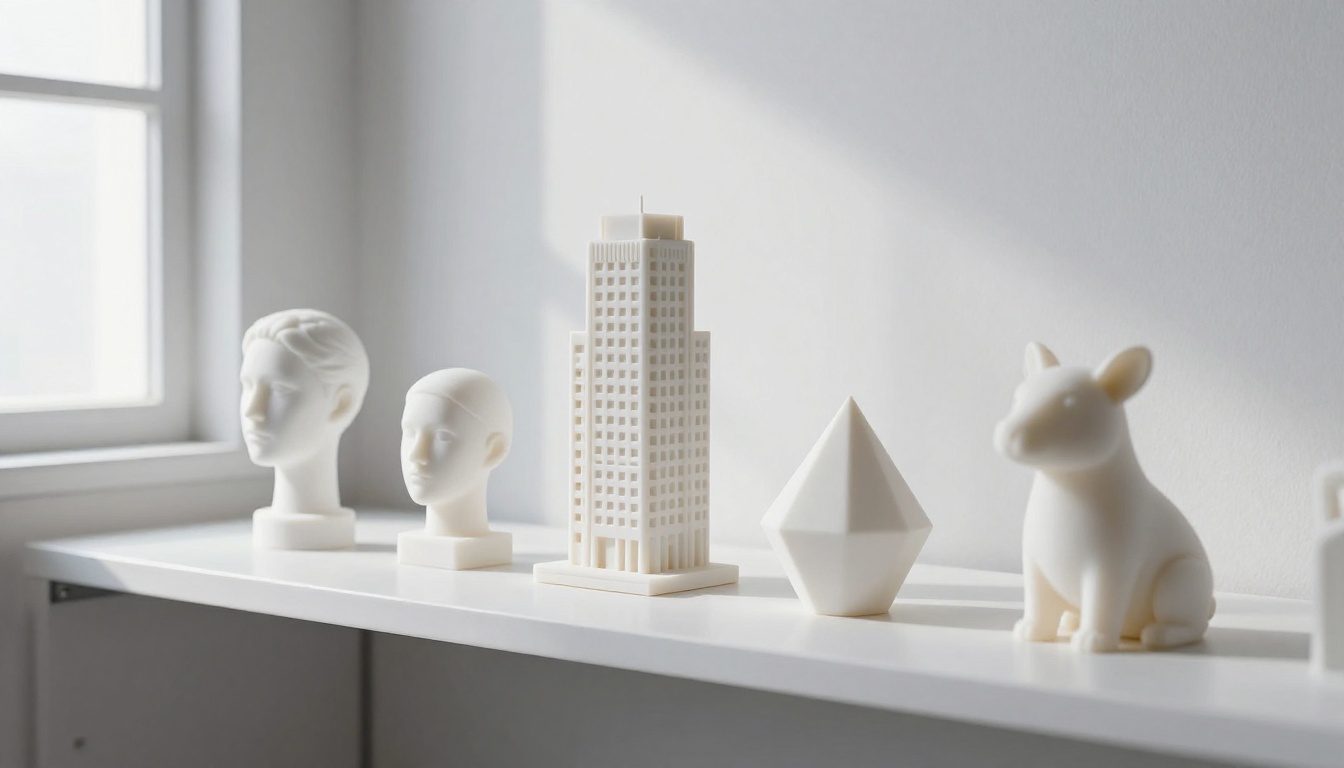
The workflow for turning an AI photo into a 3D model is one of the fastest-evolving skills in the creator ecosystem right now. What used to require a photogrammetry rig, hours of scanning, and expensive software can now happen in under 10 minutes with a single well-crafted image. The catch? The quality of your 3D output is almost entirely determined by the quality of your source photo. This is where AI image generation changes everything, and why starting your workflow on PicassoIA before you touch any 3D tool makes a measurable difference.
What "Image to 3D" Actually Means
Not all photo-to-3D tools work the same way. Understanding the method behind the process helps you choose the right tool and optimize your input image accordingly.
The 3 Methods Behind It
Method
How It Works
Best For
Depth Estimation
Predicts a depth map from a single image
Quick meshes, lower accuracy
Multi-View Synthesis
Generates multiple angles from one photo, then reconstructs
Balanced quality and speed
NeRF-Based Reconstruction
Builds a neural radiance field from sparse inputs
High fidelity, slower processing
Most modern free tools (TripoSR, InstantMesh, Meshy AI) use multi-view synthesis. They generate 4 to 8 virtual camera angles from your single photo, then feed those into a mesh reconstruction model. This means your source image needs to give the algorithm enough visual information to infer what the sides and back of your subject look like.
Why AI-Generated Photos Have an Edge
Real photographs carry noise: lens distortion, chromatic aberration, uneven ambient lighting, reflections, and motion blur. AI-generated images, by contrast, are geometrically consistent and lighting-controllable from the start. You can specify a perfectly centered subject, single-source lighting, and a clean background with a single prompt. That consistency is exactly what depth estimation and multi-view synthesis models need to produce clean point clouds and usable meshes.
💡 The single biggest predictor of mesh quality is not the 3D tool you use. It is the clarity and lighting consistency of your input image.
The best 3D conversion models have been trained on product photography, studio portraits, and structured datasets. They expect images that look like professional product shots. AI generators that produce that aesthetic are a natural fit.
What Makes a Good Source Photo for 3D Conversion
Before you generate anything, think backward from what the 3D algorithm needs. The reconstruction model is essentially trying to answer one question from your image: "what does this object look like in three dimensions?" Your job is to make that answer as unambiguous as possible.
Lighting That Helps the Algorithm
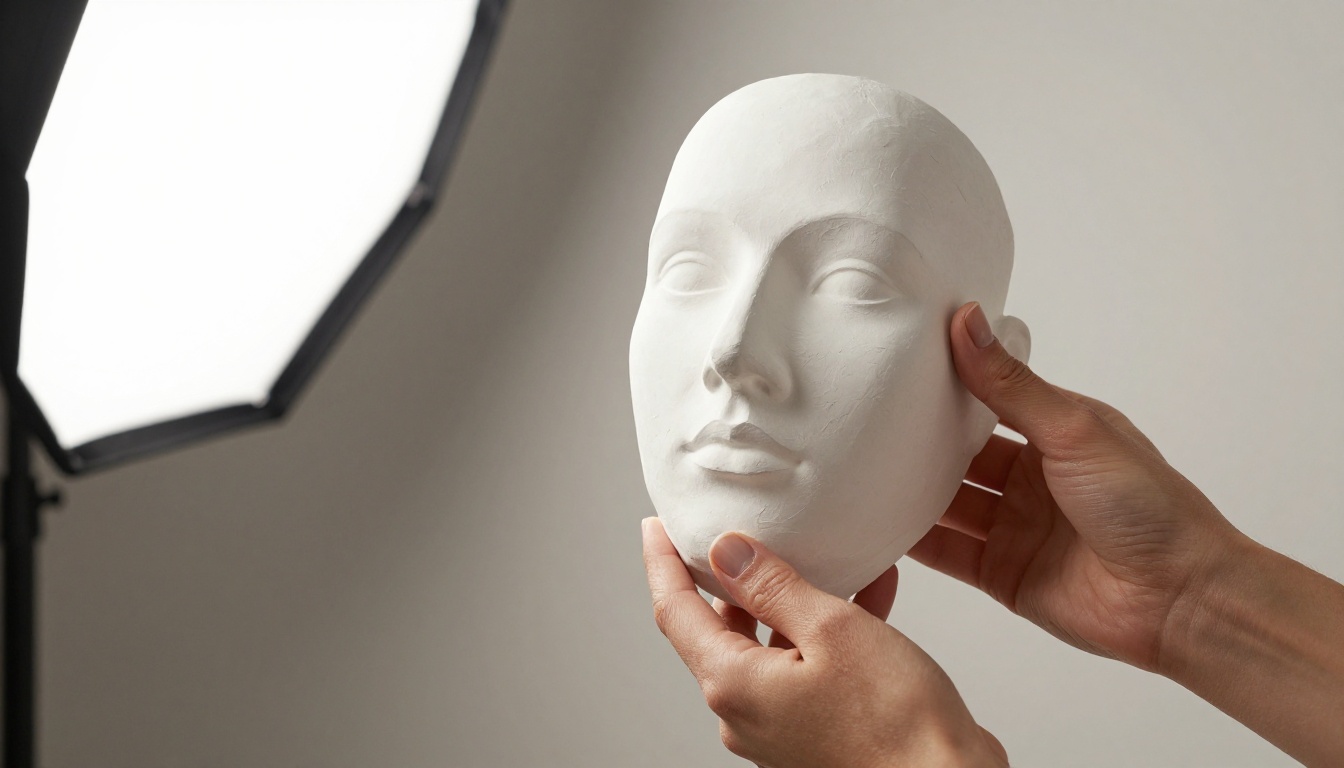
The ideal lighting setup for 3D conversion is diffuse and directional from one side. This creates soft shadows that define the surface contour without creating harsh contrast zones that confuse depth estimation.
Avoid full front-on flat lighting: it flattens the geometry signal and removes shadow cues the model uses to infer depth
Avoid backlit subjects: silhouettes carry almost no depth data
Ideal setup: a single large softbox at 45 degrees from the subject with a weaker fill light on the opposite side
Specular highlights are acceptable on hard surfaces (metal, ceramic, plastic), but avoid them on skin for character work since they create false geometry spikes in the mesh
Subject Position and Framing
The subject should occupy between 60% and 80% of the frame. Subjects that are too small create noisy, low-detail meshes because the reconstruction model has fewer pixels of information to work with. Subjects that bleed off the edges are interpreted as incomplete by the algorithm and get capped or cut off in the final mesh.
Frontal shots work better than angles for characters. The algorithm typically assumes your input image is a front view. If you submit a three-quarter view portrait, the model will mirror-reconstruct the other side from that angle, often creating asymmetric results. For objects and products, a slight three-quarter-from-above angle actually helps since it reveals the top surface.
The Background Problem
Busy backgrounds confuse the segmentation step that separates subject from environment. Even tools that claim to handle complex backgrounds will occasionally include background elements in the final mesh, especially around hair, fingers, or complex object edges. The safest source image has either a pure white or pure black background, or at minimum a single-color neutral field. Gradient backgrounds are acceptable but never preferred.
How to Generate a 3D-Ready Photo with PicassoIA
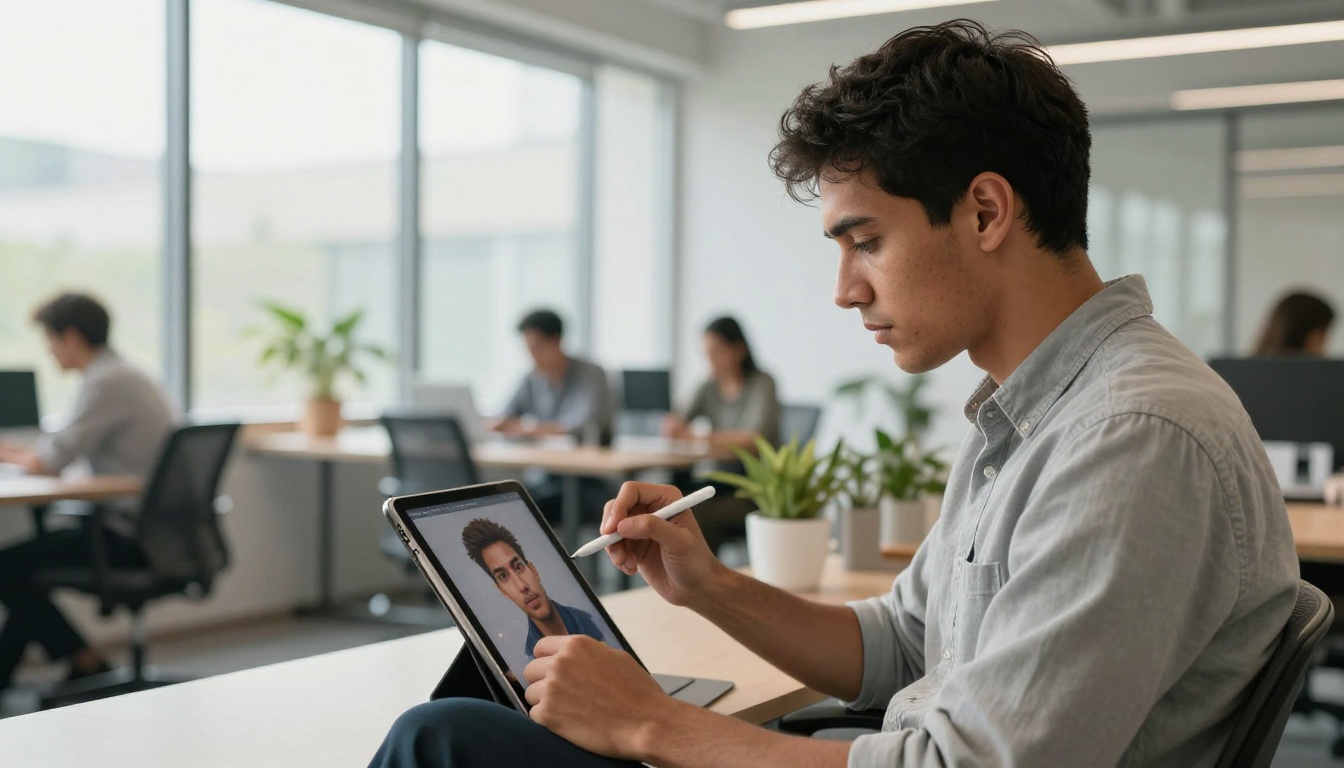
PicassoIA gives you access to over 90 text-to-image models, which means you can generate a near-perfect source image without owning a camera or a studio. The key is knowing which models produce the lighting and geometry consistency that 3D tools need, and how to prompt them.
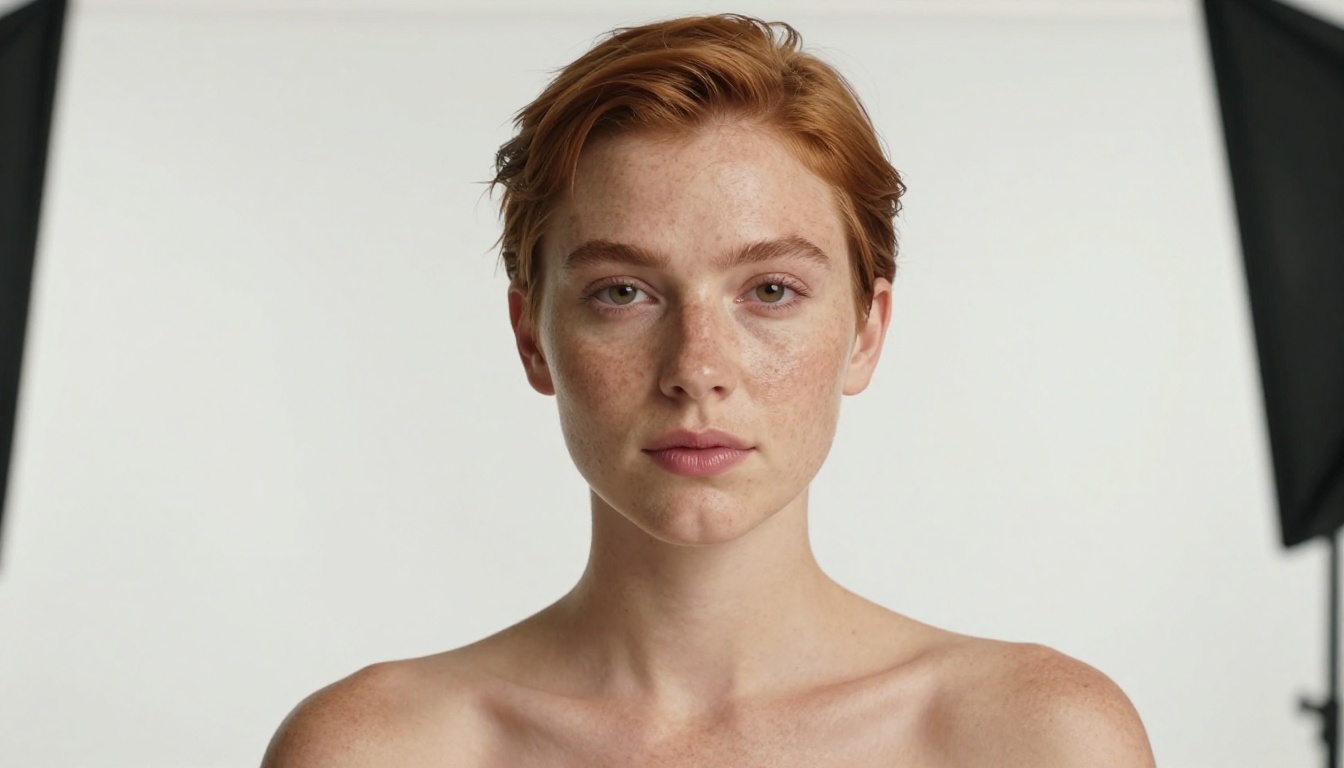
Using Flux for Character Portraits
Flux 1.1 Pro produces sharp, high-contrast portraits with excellent edge definition. For character-to-3D workflows, it handles skin texture and hair boundary definition better than most alternatives. The prompt structure that works best:
[Subject description] + standing upright, facing camera directly,
studio butterfly lighting, single large softbox 45 degrees left,
white seamless background, 85mm lens, no shadows on background,
arms relaxed at sides, photorealistic RAW photography 8K
Keep the subject stationary and in a frontal pose. Avoid dynamic poses where limbs cross in front of the body. The reconstruction algorithm treats overlapping body parts as single merged geometry, which creates blobs where fingers or arms should be distinct.
Using Seedream for Products and Objects
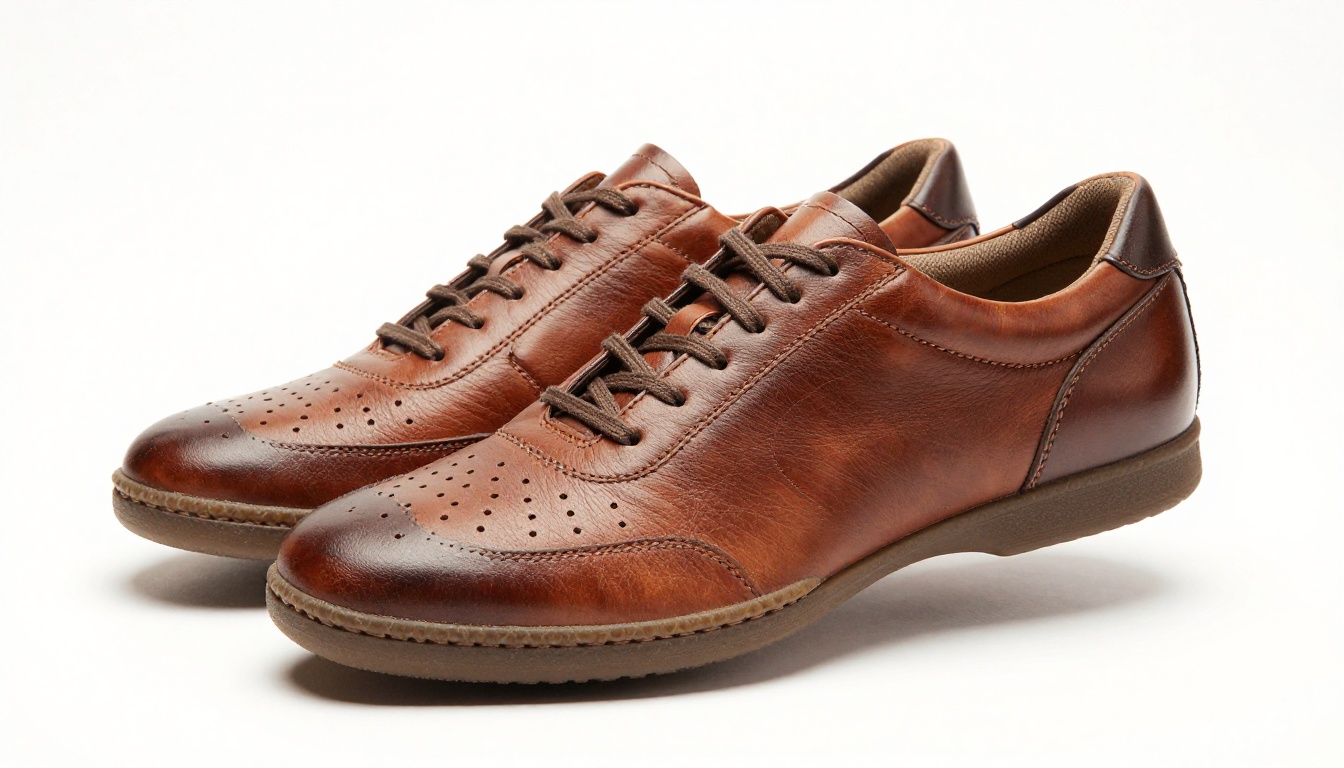
Seedream 4.5 handles product and object shots with precision. It tends to produce more consistent specular response across hard surfaces, which is critical for product-to-3D workflows covering furniture, electronics, and accessories.
For product shots, the prompt structure changes slightly:
[Product name and material] + floating on pure white background,
three-quarter angle from slightly above, 100mm macro lens f/5.6,
single overhead softbox, soft diffused shadow beneath,
no reflections on background, photorealistic 8K product photography
The three-quarter angle from slightly above gives the reconstruction model more surface information than a pure frontal view for objects, since most products are roughly symmetric and the algorithm benefits from seeing the top face.
Prompt Structure for Cleaner Meshes
💡 Always include these terms in your image prompt when generating for 3D conversion: "white seamless background", "no hair flyaways", "arms at sides" (for characters), "sharp focus edge-to-edge", "no motion blur", "no depth of field blur on subject".
Blurry edges around fingers and hair are the number one cause of mesh artifacts. Generating at 8K resolution with sharp edge-to-edge focus reduces reconstruction noise significantly. If you are generating a human face specifically for 3D, avoid adding loose hair across the face or neck. A clean forehead-to-chin silhouette is essential for accurate facial mesh reconstruction.
Preparing Your Image Before Conversion
Even a well-generated image benefits from a preparation pass before you feed it to a 3D tool. Two steps in particular consistently improve output quality.
Remove the Background First
Every major 3D conversion tool attempts background removal automatically, but they do it differently and with inconsistent results. Doing it yourself first, with a dedicated tool, gives you a clean alpha-channel PNG that removes ambiguity for the reconstruction step.
PicassoIA's Remove Background tool handles AI-generated images cleanly, including complex hair boundaries and product edge cases. Run your generated image through it before the 3D conversion step. Export the result as a PNG to preserve the transparency channel. The difference in final mesh quality is noticeable, especially around the silhouette edges.
Upscale to 1024px Minimum
Most 3D conversion models have a minimum effective input resolution. Below 512px, surface detail is lost in the mesh and textures come out blurry and unusable. At 1024px you get adequate UV texture data. At 2048px you get professional-quality textures worth exporting.
Use Clarity Pro Upscaler for portrait and character upscaling since it preserves fine skin and hair detail without introducing halos. For product and object shots, Topaz Image Upscale is the better option as it handles hard surface edges and material textures cleanly. If you need a fast free option, Real ESRGAN provides reliable 4x upscaling at no cost.
💡 For 3D printing workflows specifically, target at least 2048px on the input image. The texture bake onto your mesh will be far more usable for painting or post-processing, and printed pieces at 100mm scale or larger will benefit from the extra resolution.
Lighting Checks Before You Submit
Before sending the image to any 3D tool, run through this quick checklist:
Subject is fully within the frame with no cropping at edges
Background is pure white, black, or neutral single color
No harsh specular highlights creating blown-out white patches on the subject
No motion blur or depth-of-field blur on subject edges
Lighting comes from one primary direction with a soft fill on the opposite side
For characters: arms at sides, face visible, no crossing limbs
The Best Free Tools for Photo to 3D Conversion
Once your source image is prepared, the conversion step is straightforward. Here are the four tools worth knowing, in order of use case.
TripoSR: Fast and Free
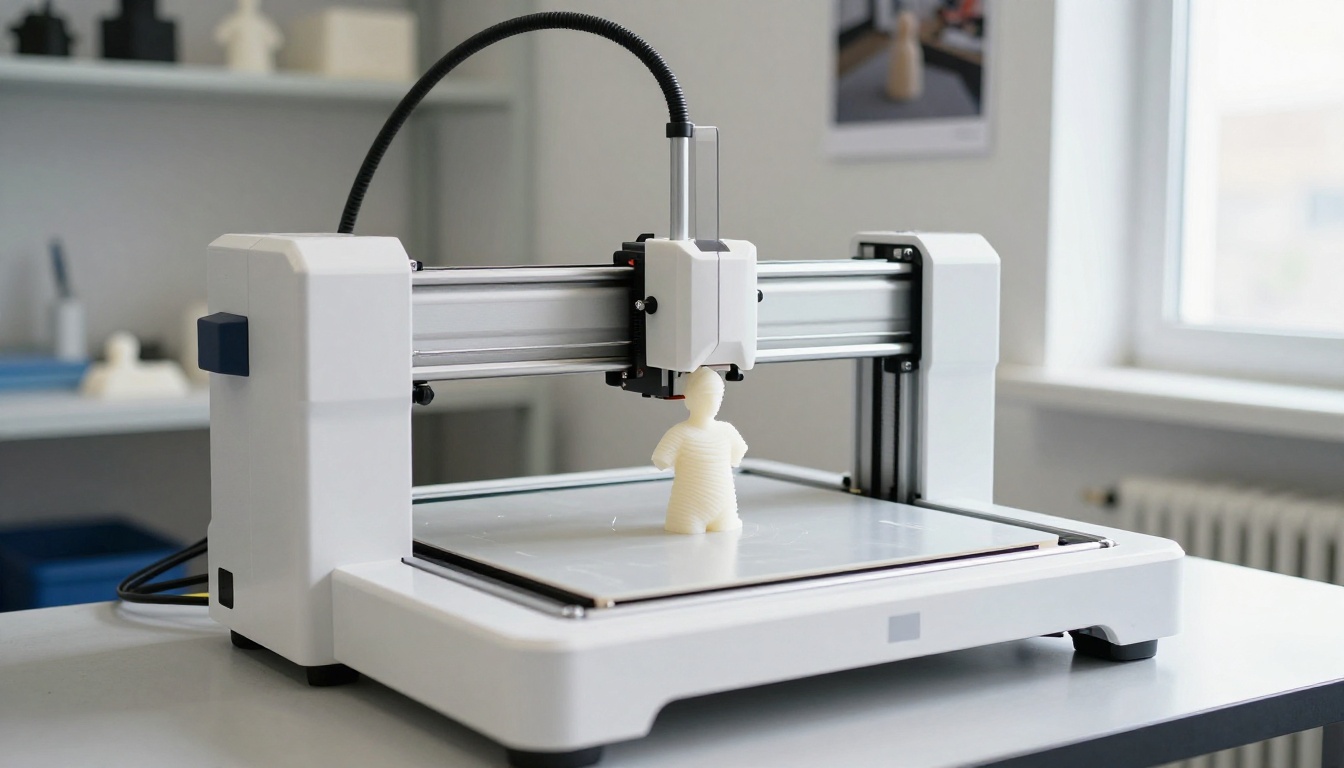
TripoSR is the fastest single-image 3D reconstruction model available publicly. Developed jointly by Stability AI and TripoAI, it generates a GLB mesh from a single image in under 5 seconds. Output quality is acceptable for game asset prototypes and print previews but lacks the surface detail needed for high-fidelity cinematic assets. The best use case is rapid iteration when you need to see a 3D concept fast.
InstantMesh: Better Surface Detail
InstantMesh uses a multi-view generation pipeline that produces 6 virtual camera angles from your input before running reconstruction. This gives it significantly better surface detail than single-view models. It handles character meshes, clothing folds, and object surface curves more accurately. Available free via Hugging Face Spaces with no account required.
Meshy AI: Most Polished Output
Meshy AI is the most production-ready free option available today. It includes automatic UV unwrapping, full PBR texture generation (diffuse, roughness, and metallic maps), and direct export to FBX and GLB. The web interface includes a real-time viewer for inspecting the mesh before download. For anyone who needs a game-ready or print-ready asset without manual cleanup, Meshy AI produces the most usable output.
Zero123++: Best for Characters
Zero123++ was specifically trained on human figures and character models. It generates the most accurate back and side views for character meshes, producing symmetric and anatomically consistent results that other tools struggle with. If your workflow involves turning AI portrait photos into 3D character assets for games, animation, or figure printing, Zero123++ is the right choice.
💡 You can chain multiple tools. Use TripoSR for a fast 10-second preview to validate the concept, then run the same image through InstantMesh or Meshy AI for the final-quality export. Both process the same prepared PNG and the whole second pass takes under 3 minutes.
Photo to 3D in Under 10 Minutes
Here is the complete workflow from first prompt to exported file:
Step 1: Generate your source image on PicassoIA.
Use Flux or Seedream with the prompt structures above. Aim for white background, frontal or slight three-quarter view, single-direction diffuse lighting. Generate at maximum resolution.
Step 2: Remove the background.
Run the output through Remove Background on PicassoIA. Export the result as a PNG with transparency preserved.
Step 3: Upscale if needed.
If your generated image is under 1024px in its shorter dimension, run it through P Image Upscale or Real ESRGAN for a clean 2x or 4x pass.
Step 4: Convert to 3D.
Upload your prepared PNG to your chosen conversion tool. For character assets, use InstantMesh or Zero123++. For products and objects, use Meshy AI. For speed, use TripoSR as a preview pass.
Step 5: Download and inspect.
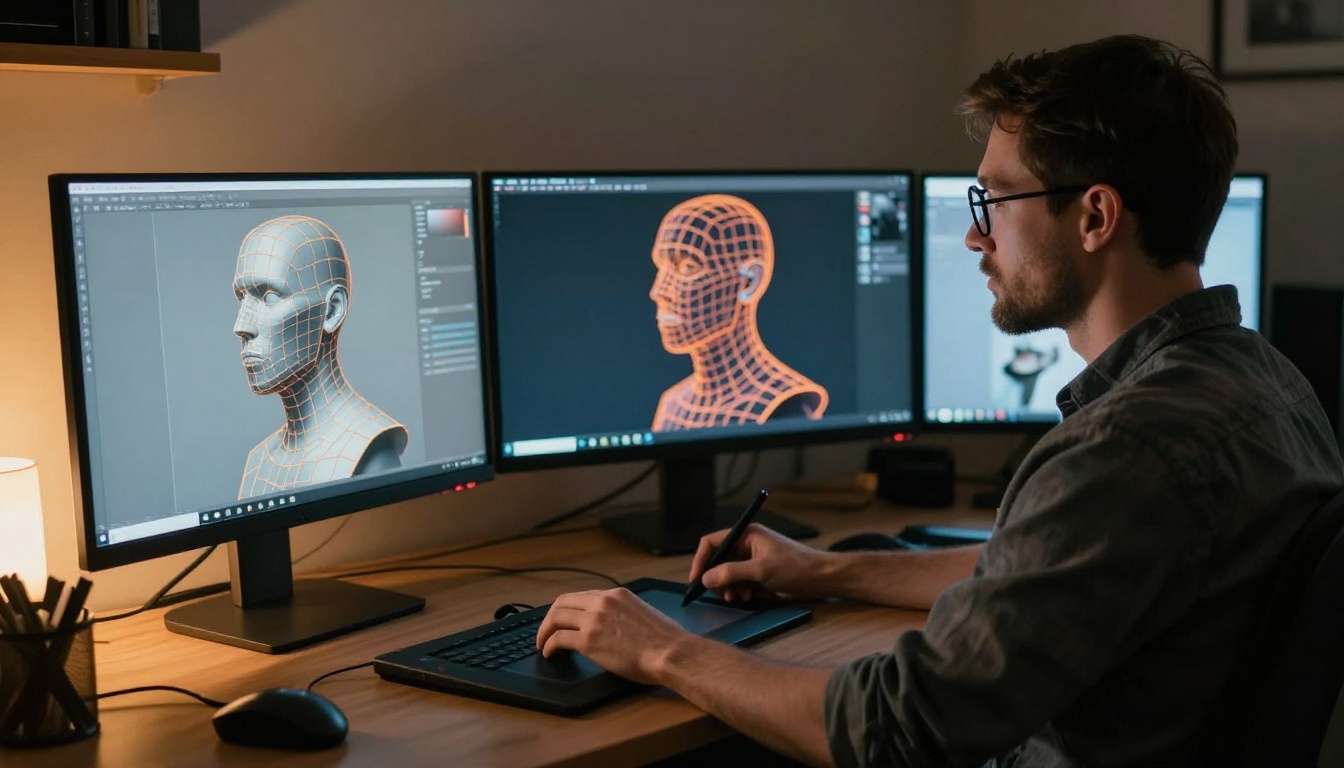
Download the GLB or OBJ file. Open it in a browser-based viewer or in Blender to check for artifacts. Pay specific attention to the back of the model, finger separation, and any areas with complex geometry overlap.
Total time including generation, background removal, upscaling, and conversion: 8 to 12 minutes.
Export Formats and Where to Use Them
The format you export in determines where you can use the asset and what additional steps are needed before it is production-ready.
Format
Best For
Notes
GLB
Web, AR/VR, Sketchfab, Three.js, React Three Fiber
Single binary file, includes textures
OBJ
Blender, 3ds Max, traditional 3D pipelines
Requires separate .mtl and texture files
FBX
Unity, Unreal Engine, rigged character workflows
Preferred for animation-ready assets
STL
3D printing, CNC milling
No texture or material data, geometry only
For most web and game workflows, GLB is the correct default. It is a self-contained binary that includes mesh data, materials, and textures in one file. For 3D printing workflows, export STL or OBJ and bring it into your preferred slicer. For Blender work, OBJ gives you the most control over material editing after import.
When the First Result Isn't Enough
Most first-pass 3D conversions have at least minor issues. Here is what to look for and how to address it at the source, before re-running.
Common Mesh Problems and Fixes
Holes in the mesh: Usually caused by areas of pure black or very dark regions in the source image. The algorithm interprets darkness as absence. Fix this by generating the image with slightly higher ambient fill light on the shadow side.
Merged geometry: Two surfaces that should be separate (fingers, hair strands, clothing gaps) are fused into one blob. This happens when the source image has too little contrast between adjacent elements. Fix by generating the image with more space between elements, or for characters, specify arms held away from the body.
Incorrect back geometry: The back of the model looks mirrored or melted into an unrecognizable form. This is a single-view inference failure. Fix by switching from TripoSR to Zero123++ (for characters) or InstantMesh (for objects), both of which use multi-view synthesis to construct the back from contextual inference.
Low-resolution textures on a high-poly mesh: The UV map appears blurry even when the mesh geometry looks clean. The texture bake resolution is determined by the resolution of the input image. Fix by running the source through Clarity Pro Upscaler or Increase Resolution before the conversion step.
When to Use Inpainting
If the source image has an element you want to remove (an unintended shadow, a watermark, a distracting object near the subject edge), handle it with inpainting before the 3D step, not after. Editing a mesh is far more complex than editing a 2D image. PicassoIA's inpainting tools can target and replace specific regions of a generated image without affecting the surrounding area, giving you a clean input that avoids the problem entirely.
Start Building Your 3D Asset Pipeline Today
The bottleneck in the photo-to-3D workflow has always been the source image. Bad lighting, busy backgrounds, low resolution, and poor subject framing are the reasons most creators get poor mesh results. It has nothing to do with the 3D conversion tool. Fix the image first and the 3D output almost takes care of itself.
PicassoIA gives you direct access to the image generation models that produce 3D-ready photos: clean white backgrounds, controlled single-direction lighting, sharp edge-to-edge focus, and resolutions high enough to produce usable UV textures. From Flux for character portraits to Seedream for product assets, every model you need is already available at picassoia.com.
The full pipeline is faster than most creators expect. Generate a source image on PicassoIA, remove the background with Remove Background, upscale with Clarity Pro Upscaler, then drop the prepared PNG into Meshy AI or InstantMesh. In under 15 minutes you have a GLB file ready for Blender, Unity, or a 3D printer.
Once you have the 3D asset, PicassoIA also has the tools to bring it to life visually. Use P Video Animate to turn a rendered still of your model into an animated clip, or use Wan 2.7 I2V to generate cinematic motion from a single posed frame. The entire production chain, from initial AI image to final animated asset, now runs from a single browser tab.