If you've been generating images with AI tools and feeling like the results are "almost there," Flux 2 Max is the jump in quality you've been waiting for. Built by Black Forest Labs, this model outputs images at up to 4 megapixels from a plain text prompt, accepts up to eight reference images to steer the style, and gives you full control over resolution, aspect ratio, and output format. No design team required, no expensive software, and no waiting a minute per image.
This article walks you through exactly how to use Flux 2 Max on PicassoIA, from writing your first prompt to exporting at the resolution your project needs. Whether you're producing social media assets, editorial photography, print mockups, or product visuals, the process is the same and it starts with understanding what the model actually does.
What Flux 2 Max Actually Does
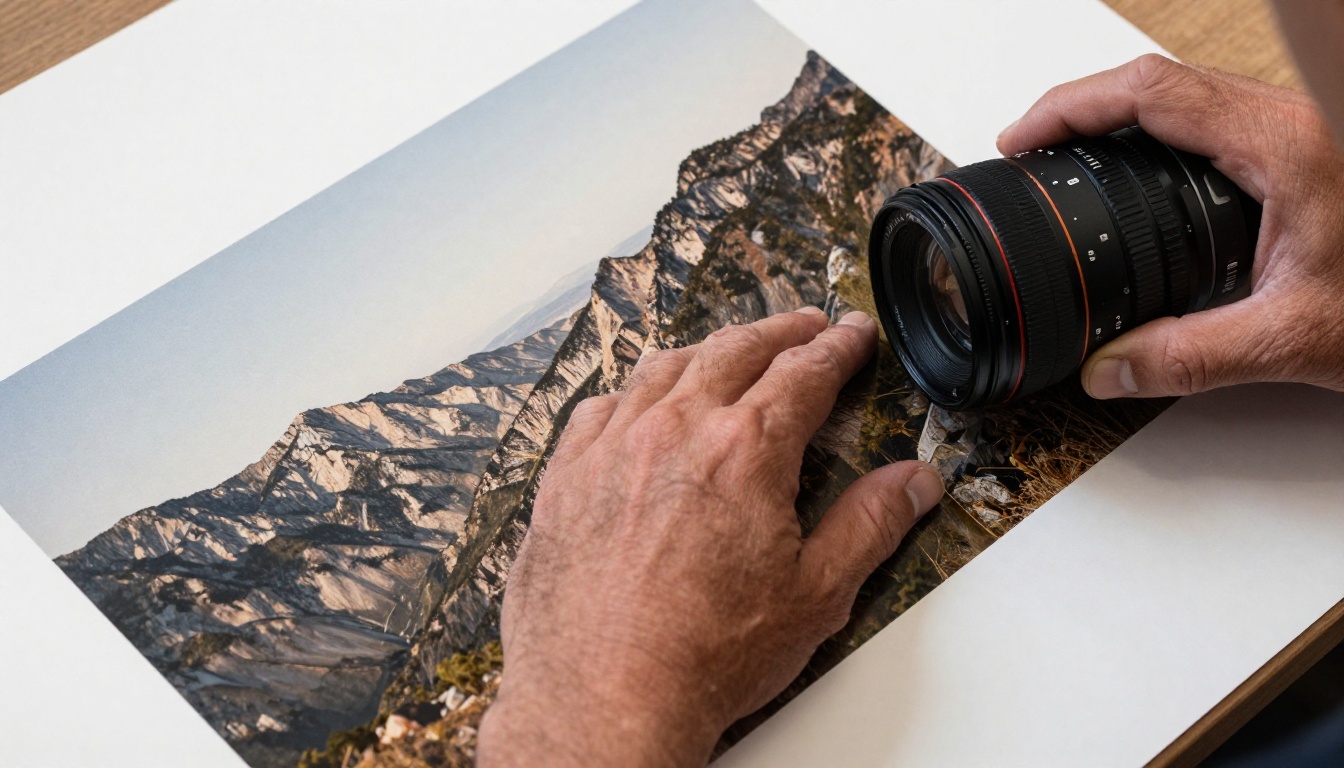
Flux 2 Max is a text-to-image generation model that produces finished images directly from written descriptions. The central difference between Flux 2 Max and older generation tools is the output ceiling: while most models top out at 1 megapixel, Flux 2 Max goes up to 4 megapixels in a single run. That's enough resolution to print billboard mockups, produce large-format editorial spreads, or zoom in on fine texture detail without a blurry mess.
The model reads your prompt closely, then renders subject matter, lighting, composition, and texture according to what you wrote. It doesn't interpret loosely; if you describe "volumetric morning light from the left on rough stone," it places that light where you said. That precision is what makes detailed prompts so worthwhile here.
The 4 Megapixel Difference
For context, a standard social media image runs around 0.25 to 1 megapixel. A full 4MP output from Flux 2 Max is roughly four times the pixel count of a 1080p frame. This matters when:
- You need print-ready files at A3 or larger sizes where pixel density determines sharpness
- You're making product mockups where surface texture has to look real under inspection
- Your design requires cropping and you can't afford to lose sharpness in the final frame
- You want to upscale further using a super-resolution model downstream without starting from a blurry base
At lower resolutions (0.5 MP or 1 MP), Flux 2 Max is just as sharp per pixel, so it's fast enough for rapid iteration when you're still testing prompt ideas before committing to a high-resolution final run.
Reference Images That Change Everything
Most text-to-image models ignore what's already in your creative library. Flux 2 Max accepts up to eight reference images as part of a single generation. You upload them, write your prompt, and the model steers output toward the composition, color palette, texture, or subject matter shown in those references.
This is practical in ways most generators aren't:
- Upload brand photos to generate new on-brand visuals without re-describing the brand aesthetic every time
- Feed in furniture product shots to generate room-setting variations at different times of day
- Use existing character art as reference to produce consistent character poses across a series
- Supply editorial reference images to match a specific lighting mood without shooting new footage
How to Write Prompts That Work
The model is only as good as the prompt it receives. Flux 2 Max follows instructions closely, which means vague prompts produce vague images and specific prompts produce specific images. This is a feature, not a limitation. Writing a strong prompt takes about two minutes and saves you from running five regenerations trying to correct a fuzzy result.
Subject, Setting, and Lighting
Every strong prompt has three layers:
- Subject: Who or what is in the image, and what are they doing. "A woman in a light linen blazer looking out a rain-streaked window" is far more useful than "a woman." Include posture, clothing material, and any action.
- Setting: Where the scene takes place. Include physical details that affect how the scene looks: flooring material, wall texture, furniture style, and how far the background extends behind the subject.
- Lighting: This is the layer most people skip entirely, and it's the one that determines mood more than almost anything else. Describe direction ("from the left"), quality ("soft diffused"), color temperature ("warm amber at 5 PM"), and any secondary light sources.
💡 Tip: Add camera specs to your prompt. "Shot with a 50mm f/1.8 lens, shallow depth of field, Kodak Portra 400 film grain" tells the model the visual distance, blur character, and film texture you want. These specs translate directly into the output.
When you add all three layers, your prompt shifts from a concept to a scene brief. The model renders scene briefs very accurately.
What to Avoid in Your Prompt
Some patterns reliably degrade output quality regardless of the model:
- Stacking adjectives without nouns: "Beautiful stunning amazing gorgeous" tells the model nothing. Replace with a single concrete detail like "velvet texture visible on the chair cushion" or "water droplets on the lens surface."
- Conflicting instructions: "Bright and dark" or "minimal but ornate" create contradictions the model resolves unpredictably. Pick one direction per run and adjust if the result isn't what you wanted.
- Overly abstract concepts: Flux 2 Max handles physical reality very well. Abstract metaphors like "the weight of loneliness" don't generate well unless you translate them into visual elements first, for example: "a single chair in a large empty room, gray morning light, muted gray and beige tones, dust visible in the air."
Resolution and Aspect Ratio
Two settings define the shape and file weight of your output: resolution and aspect ratio. Getting these right before you generate saves you from cropping, padding, or upscaling afterward, all of which degrade the final image compared to generating correctly from the start.
Picking the Right Resolution
Flux 2 Max offers four resolution tiers:
| Resolution | Best For | Generation Speed |
|---|
| 0.5 MP | Rapid iteration, concept testing | Fastest |
| 1 MP | Social posts, web banners, standard output | Fast |
| 2 MP | Large web headers, editorial use, detailed mockups | Moderate |
| 4 MP | Print-ready files, large-format display, archival quality | Slower |
💡 Note: The model documentation recommends 2 MP or below for best results when using non-square aspect ratios, since the 2048 × 2048 pixel ceiling means wide ratios at 4 MP may not achieve full resolution. For a 16:9 image at 4 MP, the output may be capped at 2048 × 1152, which is still excellent for most use cases.
When you just want to see if a prompt idea works, start at 1 MP. Switch to 2 MP or 4 MP only when you've confirmed the composition is exactly right.
Aspect Ratios by Use Case
Flux 2 Max supports ten aspect ratio presets plus a fully custom width and height mode for specific print dimensions:
| Aspect Ratio | Use Case |
|---|
| 1:1 | Instagram posts, profile images, product shots |
| 16:9 | Blog headers, YouTube thumbnails, widescreen banners |
| 9:16 | Instagram Stories, TikTok thumbnails, mobile wallpapers |
| 4:3 | Presentations, tablet display assets |
| 3:2 | Standard photo print format (6×4 inch) |
| 3:4 | Portrait orientation, magazine covers |
| 5:4 | Slightly wider portrait, fine art print format |
| 4:5 | Instagram portrait post format |
| Custom | Billboard mockups, specific print dimensions |
If you're generating visuals for multiple platforms at once, pick one aspect ratio per session and batch your runs. Switching mid-session and comparing results across ratios is harder than batching by format from the start.
How to Use Flux 2 Max on PicassoIA
Flux 2 Max runs directly in the browser on PicassoIA with no code, no installs, and no API token required on your side. Here's the full workflow from opening the model to downloading your final file.
Step 1: Open the Model
Go to the Flux 2 Max model page on PicassoIA. You'll see the prompt field at the top and all parameter controls in the sidebar or beneath it, depending on your screen size. No account setup is required to run your first generation.
Step 2: Write Your Prompt
Type your prompt into the text field. Aim for two to four sentences covering subject, setting, lighting, and camera perspective. If you plan to iterate on the same baseline across multiple runs, write your core prompt in a text file and paste it in each time. This keeps your prompt consistent and makes it easier to isolate what changed between runs.
Step 3: Set Your Parameters
Before hitting Generate, configure these settings:
- Resolution: Start at 1 MP, move to 2 MP or 4 MP once the composition is confirmed
- Aspect ratio: Match your target platform before generating (see the table above)
- Output format: WebP for web publishing, JPEG for general use, PNG for transparent backgrounds or lossless quality
- Output quality: Keep at 80 for most work; push to 95-100 only for print exports
- Safety tolerance: Adjust between 1 (most strict) and 5 (most permissive) depending on your project's content requirements
- Seed: Leave blank for random output each run; set a specific number to get reproducible results you can iterate from
Step 4: Generate and Download
Click Generate and the image returns within seconds to a minute depending on resolution. If the output isn't right, adjust one parameter at a time. Changing the prompt, resolution, and aspect ratio simultaneously makes it impossible to know which variable produced the different result.
Once the output is what you want, click Download to save the file in your chosen format. The file arrives with no watermark, ready to use in any project.
Using Reference Images
The reference image input is one of the more powerful and least-used features of Flux 2 Max. Most users skip it entirely and wonder why their results don't match their brand or style references.
How Many Images You Can Upload
The model accepts up to eight images per generation. Supported formats are JPEG, PNG, GIF, and WebP. You can mix formats in a single batch, so a collection of exported PNGs and downloaded JPEGs works without any conversion. There's no strict rule on how many you "should" use. Start with one or two and observe how the output shifts. Adding more references generally increases fidelity to the reference aesthetic but can constrain the model's creative interpretation of your prompt text.
Steering Style vs. Subject
Two distinct strategies yield very different results depending on what type of reference images you upload:
Style steering: Upload reference images that represent a visual mood or aesthetic rather than a specific subject. Fashion editorial photographs, for example, can push your output toward a particular lighting quality and color treatment without forcing the model to copy the subject. Use this approach when you want the feel of something without reproducing it.
Subject steering: Upload reference images that show the actual subject or object you want to generate. Product photos, character illustrations, and architectural shots work well here. The model will try to reproduce the subject's core characteristics while incorporating your prompt description for context and setting.
💡 Tip: Write your prompt as if you're describing the final image you want to produce, not describing the reference images. The reference images steer the model's interpretation; the prompt tells it what to actually create.
WebP vs JPEG vs PNG
Flux 2 Max exports in three formats. Here's when to use each:
| Format | File Size | Transparency | Best For |
|---|
| WebP | Smallest | No | Web publishing, fast page loads, CMS uploads |
| JPEG | Medium | No | General use, email, client presentations |
| PNG | Largest | Yes | Transparent backgrounds, lossless quality, print handoffs |
For most web article use cases, WebP at quality 80 gives the best balance of sharpness and file size. If you're handing files to a print provider or a designer who will edit further, use PNG at quality 100 to avoid any lossy compression artifacts that become visible at large print sizes.
The Quality Slider Explained
The quality slider (0 to 100) only applies to WebP and JPEG exports. PNG is always lossless, so the slider has no effect on PNG output regardless of where you set it.
- 0-50: Visible compression artifacts at normal screen size; useful only for very small preview thumbnails
- 60-80: The practical range for web images, sharp enough at screen resolution with reasonable file size
- 85-95: High-quality output for editorial, advertising, and marketing use where sharpness is critical
- 100: Maximum quality, noticeably larger file size, best for print exports or archival files you'll reuse later
Comparing Flux 2 Max to Other Models
If you're choosing between the Black Forest Labs model lineup available on PicassoIA, here's how they differ in practice:
| Model | Max Resolution | Speed | Reference Images | Best For |
|---|
| Flux 2 Max | 4 MP | Moderate | Yes, up to 8 images | High-res output, reference-guided work |
| Flux 1.1 Pro | 1 MP | Fast | Image prompt input | Fast professional output, strong prompt adherence |
| Flux Dev | 1 MP | Fast | Yes, img2img mode | Iterative editing, image-to-image workflows |
| Flux Schnell | 1 MP | Very fast | No | Rapid drafting, concept testing, unlimited iterations |
If resolution is your priority, Flux 2 Max is the clear choice. If you need to move through dozens of prompt ideas quickly before committing to a final direction, Flux Schnell is better suited for the draft phase. Use both: Schnell for fast iteration, Flux 2 Max for the final high-resolution output once the prompt is dialed in.
3 Common Mistakes
Vague Prompts
The most common reason for disappointing output is a prompt that describes a feeling rather than a physical scene. "A beautiful sunset" gives the model almost nothing to work with. "A wide-angle shot of a sandstone cliff above a calm ocean, the sun at 5 degrees above the horizon casting orange-pink light across the water surface, 24mm f/4 lens, Kodak Portra 400 film grain, rich warm tones" gives it everything it needs. More specific equals better output, almost without exception. If your first result isn't right, add one specific detail before regenerating.
Wrong Aspect Ratio
Generating a 9:16 portrait image and then cropping it to 16:9 afterward discards more than half the image. Set your target platform's aspect ratio before generating, not after. Two minutes of planning saves 20 minutes of post-processing later, and avoids the visible crop lines and composition issues that come from fitting a portrait image into a landscape frame.
Ignoring the Seed
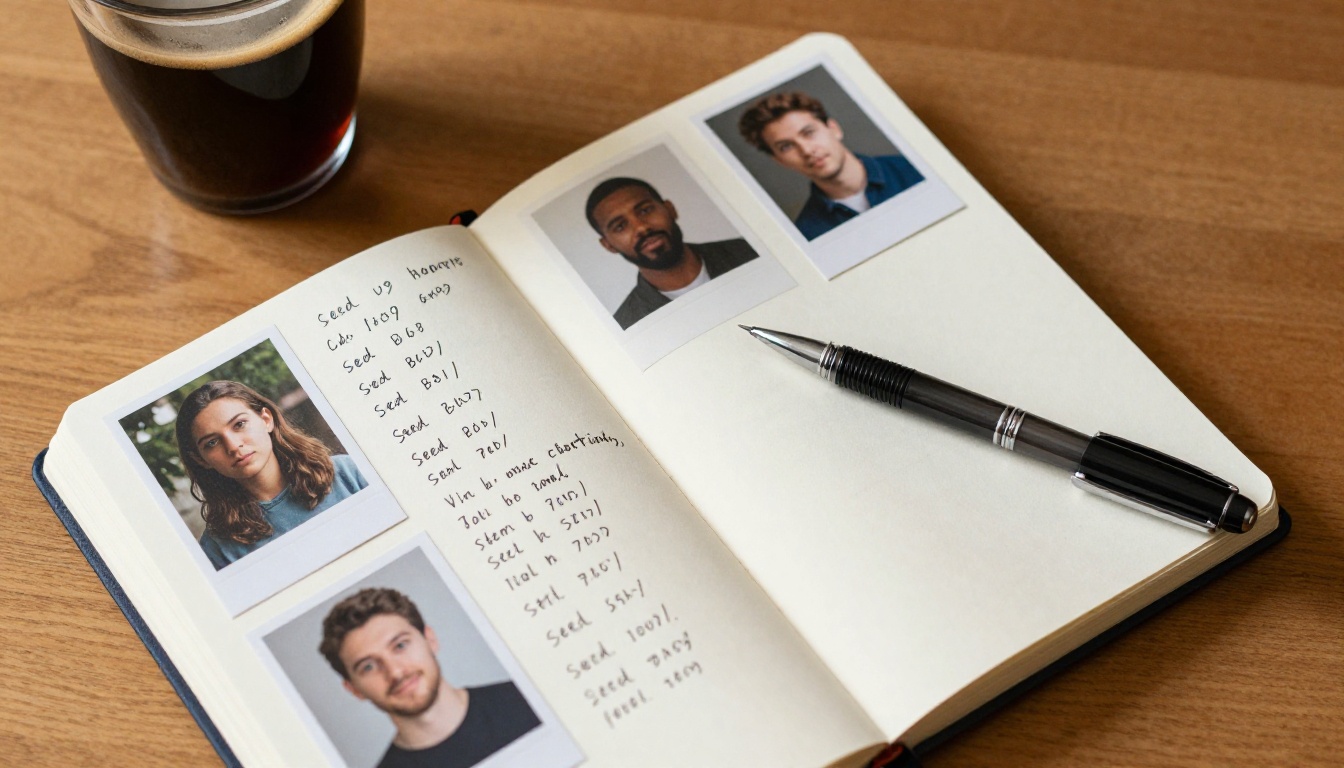
Most users generate an image, see a result they mostly like, tweak the prompt slightly, and get a completely different composition on the next run. The seed parameter prevents this. When you find a composition that works, note the seed number. On the next run, set that seed and change only the prompt elements you want to shift. You'll iterate from a stable visual baseline instead of starting fresh every time and hoping the composition comes back.
Try It on PicassoIA Right Now
You don't need a design background, coding skills, or a subscription to start. Flux 2 Max is available on PicassoIA right now, free in the browser. Write a prompt, set your resolution, and see what comes back within seconds.
If you want to compare how different models handle the same prompt, PicassoIA gives you access to the full Black Forest Labs lineup side by side. Use Flux Dev for image-to-image editing workflows, Flux 1.1 Pro when you need fast professional output with tight prompt adherence, and Flux Schnell for rapid iteration through dozens of concept variations without hitting usage limits. Once your concept is locked in, switch back to Flux 2 Max for the final 4MP version that's ready for print, publication, or presentation.
The full model catalog is at picassoia.com/en/all-models. Pick the right tool, write a precise prompt, and your first quality result is closer than you think.