The clip is good. The cyclist glides across the plaza, the camera drifts at exactly the right speed, and the timing lands. The only problem is the light: flat, gray, and nothing like the warm evening you pictured. A reshoot means another permit, another early call time, another lost day. Luma Ray 3.2 Modify removes that step. You hand it the footage you already have, describe the look you wanted, and it rebuilds the picture while the original movement stays exactly where you filmed it.
This article breaks down how the model behaves, what its nine strength levels actually do, how to word prompts for each one, where it falls short, and how to run it on PicassoIA with the Modify Video model. The limits and settings quoted below come from the model page and provider documentation, not guesswork.
What Ray 3.2 Modify Actually Does
Video in, new look out
Modify is the video-to-video mode of Luma's Ray 3.2 line. You give it a source clip and a text prompt. The model re-renders the clip following the source, so the motion, timing, and camera movement carry through while the surfaces, lighting, and style get rebuilt from your words.
Think of it as a new skin over the same performance. A person walking left to right still walks left to right at the same pace, but the street around them can switch from overcast to golden hour, or the person can become a yarn doll. Provider documentation describes it as a restyling tool, not a surgical editor: the prompt reinterprets whole frames instead of patching individual pixels.
That framing sets the right expectations. If you need one coffee cup removed from one shot, that is a different job. If you need the entire clip to feel like another place, another hour, or another medium, this is the right tool.
Where it sits in the Ray family
Luma's Ray 3.2 is the generation model: text to video or image to video, in 5 or 10 second clips at 540p, 720p, or 1080p, with optional HDR output and EXR export for color grading. Modify is the sibling that starts from your footage instead of from nothing.
The practical split looks like this:
| Task | Starting point | Model |
|---|
| Invent a new shot | Text prompt or still image | Ray 3.2 |
| Change the look of a shot you already have | Your clip plus a prompt | Modify Video |
| Change the aspect ratio of a shot | Your clip | Reframe Video |
Chain them and you get a small pipeline: generate a base shot with Ray 3.2, then run Modify on it to produce alternate looks of that same shot, each one sharing identical motion.
The Nine Strength Levels
Every Modify run takes a mode, and the mode matters more than any single word in your prompt. There are three bands with three steps each, nine values in total: adhere_1 to adhere_3, flex_1 to flex_3, and reimagine_1 to reimagine_3. Lower numbers stay closer to the source, and higher numbers push further inside the same band.
| Band | Levels | Distance from your footage | Best for |
|---|
| Adhere | adhere_1, adhere_2, adhere_3 | Very close | Color grades, surface and material swaps, light texture changes |
| Flex | flex_1, flex_2, flex_3 | Balanced | Art styles, new locations with the same performance |
| Reimagine | reimagine_1, reimagine_2, reimagine_3 | Loose | Dramatic changes, a person becoming a character or creature |
💡 On PicassoIA the default mode is adhere_1, the gentlest setting. Provider documentation for Luma's own API lists flex_2 as its default. If a tutorial elsewhere says "default settings," check which default it means before comparing results.
A simple way to pick a band is to ask what you would be willing to lose. If the answer is "nothing about the shot, only the look," start in adhere. If you can give up exact textures and costume details but must keep the movement, start in flex. If the only thing you want from the source is the rhythm of the action, go straight to reimagine. Most people overshoot on the first run, so begin one notch lower than your instinct says. It is faster to push a gentle result further than to rescue a result that drifted too far.
Adhere: change surfaces, not shots
Adhere keeps composition, motion, and structure nearly intact. Use it when the shot is right and only the materials, color, or light should change. A concrete wall becomes weathered red brick. A flat daylight clip gets a cinematic grade with film grain, which is exactly the first use case listed on the Modify Video model page.
Write prompts about surfaces and lighting only. Asking for new characters or new scenery fights the mode, and you will get a timid result that satisfies neither request.
Flex: restyle and keep the performance
Flex preserves the motion while letting the prompt reshape style and content. The three example outputs on the model page all use flex_1: make it a monochromatic pencil sketch with cross-hatching for shading, make the man into a yarn doll, and make it anime. Each one keeps the movement of the source and replaces how everything is drawn or built.
Name the new setting or style, then lock the performance in the same sentence: "A man walking along a rainy seawall, rendered as a hand-knitted yarn doll, same walking pace and same camera move."
Reimagine: let the prompt lead
Reimagine treats the source as loose grounding. Write the prompt the way you would write a text-to-video prompt, describing what the subject becomes instead of listing edits. This is the band for casting your actor as a creature, turning a realistic clip into a dreamlike music video, or building an entirely new world around the same blocking. Expect the least recognizable results here, which is the whole point.
Writing Prompts That Work
Describe the look, not the edit
The strongest prompts name a target picture. Make it a monochromatic pencil sketch with cross-hatching for shading works because it describes a finished image. Change the colors a bit and fix the sky does not, because the model re-renders the frame instead of applying a list of retouches.
Compare two versions of the same request. The weak one reads: "Make this video look better and more artistic." The strong one reads: "Rework this street scene as a 16mm film shot at dusk, warm tungsten windows, soft grain, same cyclist and same slow camera drift." The second version gives the model a medium, a time of day, a light source, a texture, and a rule about motion. The first gives it nothing to aim at, so it guesses, and the guess rarely matches what you pictured.
Use this checklist before you press run:
- Name the medium or style: pencil sketch, 16mm film, hand-knitted wool, watercolor, anime.
- Name the light: low golden sun from the left, soft overcast, blue-hour dusk.
- Name the material: weathered red brick, brushed steel, wet cobblestone.
- Name what must not move: same walking pace, same slow push-in.
- Skip pixel-level demands: nobody can promise an unchanged face or an untouched background at higher strengths.
Here is how the prompt shape changes by band:
| Band | Pattern | Example |
|---|
| Adhere | Surface plus light | "Make the concrete walls weathered red brick under warm late sun" |
| Flex | Setting plus locked performance | "Move the scene to a rainy harbor town, keep the same walk and camera move" |
| Reimagine | What the subject becomes | "The cyclist is a figure carved from driftwood riding through a handmade diorama" |
Anchor the first frame
Modify accepts an optional first frame: a modified version of the original opening frame. The model page says it steers the starting look and visual tone of the entire output. Provider documentation goes further and recommends anchoring at least the first frame, because it gives the model a concrete target instead of making it infer the look from words alone.
The workflow is short:
- Export the first frame of your clip as a still.
- Restyle that single still in any image editor or image model.
- Upload the result as the first frame.
- Run Modify with the same prompt you used to describe the look.
You are showing the model the destination instead of only describing it. The difference is most visible in flex and reimagine runs, where the model has the most freedom to drift.
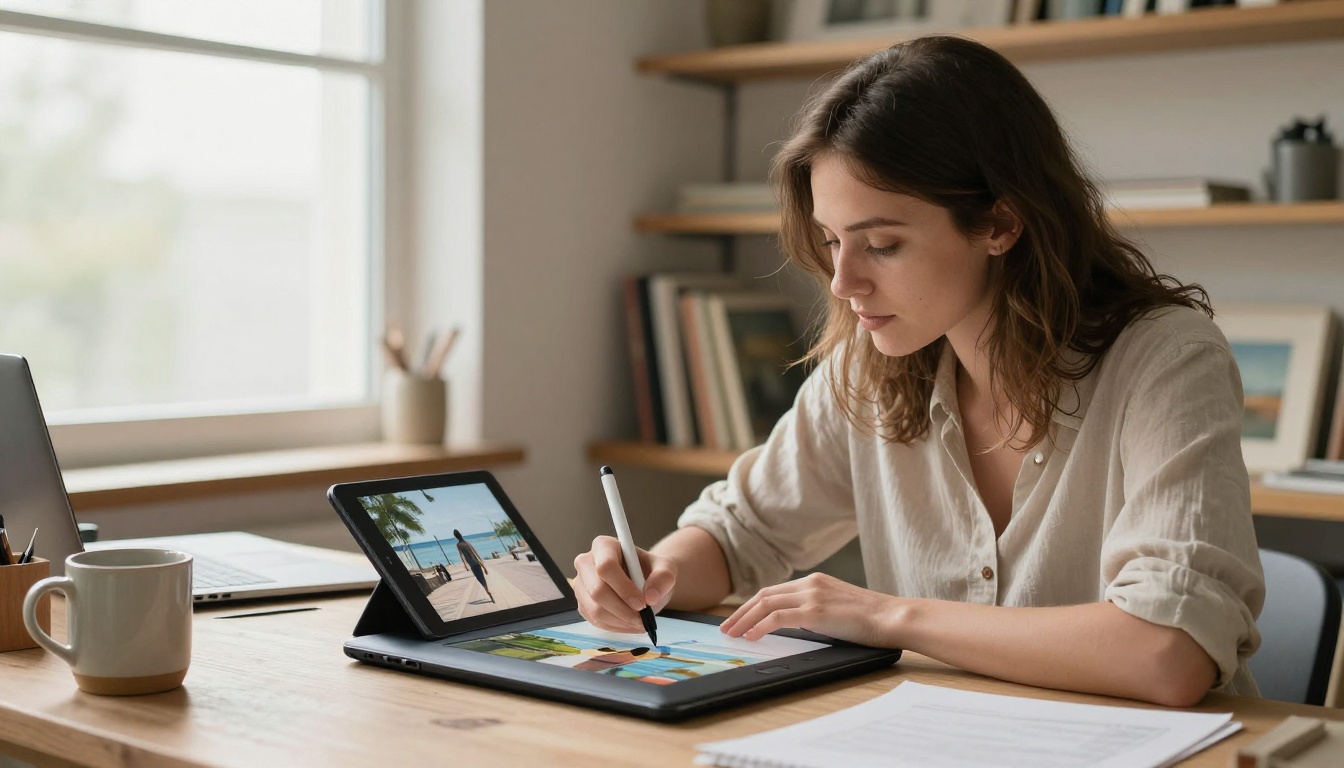
Real Jobs It Handles Well
Time of day and weather
This is the cleanest use case. Same street, same cyclist, same drift of the camera, but flat gray morning becomes long amber shadows, or dry pavement becomes rain. At adhere or low flex settings the geometry of the scene survives and mostly the light changes, which is the exact request that otherwise costs a second shoot day.
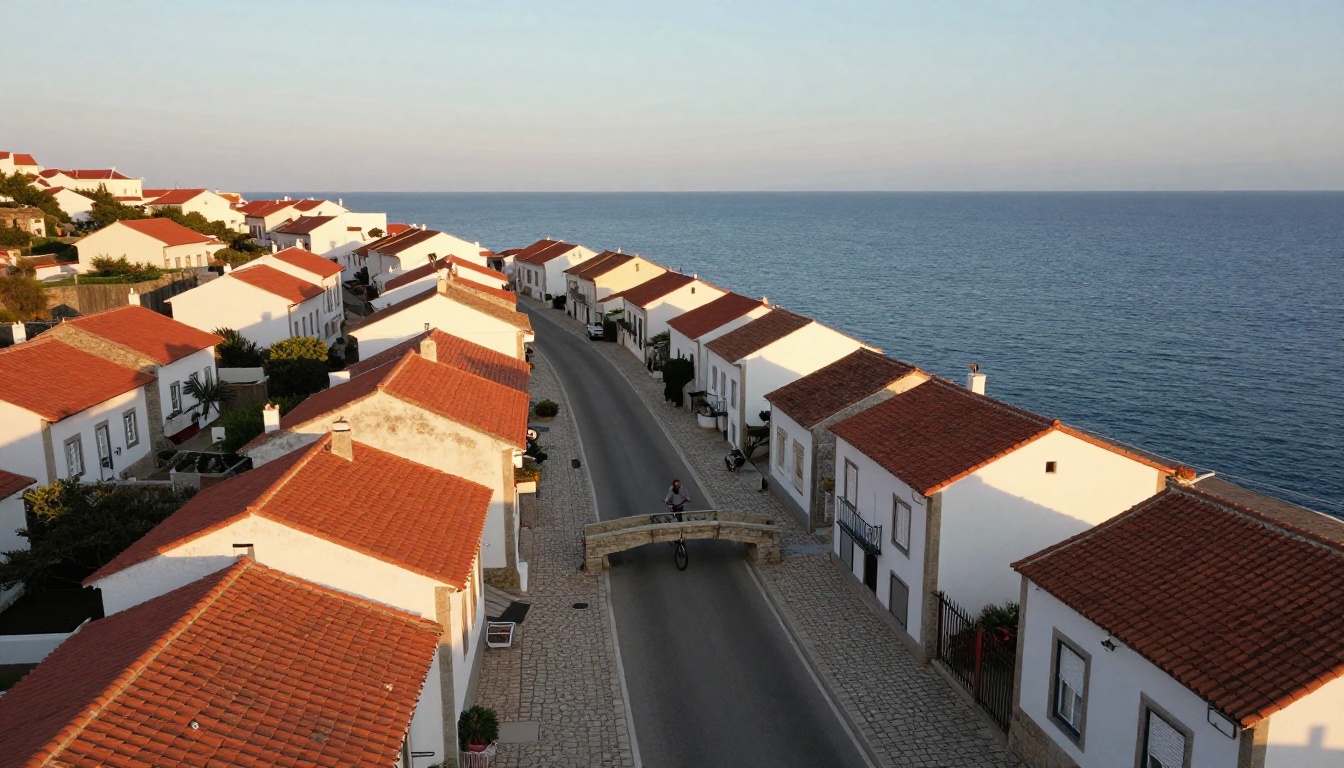
Mention the direction of the light in the prompt, for example "low sun from the right," so shadows fall consistently across the whole clip instead of flipping between frames.
Product and social clips
A single product clip can become a family of variations. The Modify Video model page lists this directly: generate multiple style variations of a product video by running the same clip with different prompts. Shoot a watch on slate once, then produce a warm editorial version, a cool minimal version, and a dark, moody version without touching the softbox again.
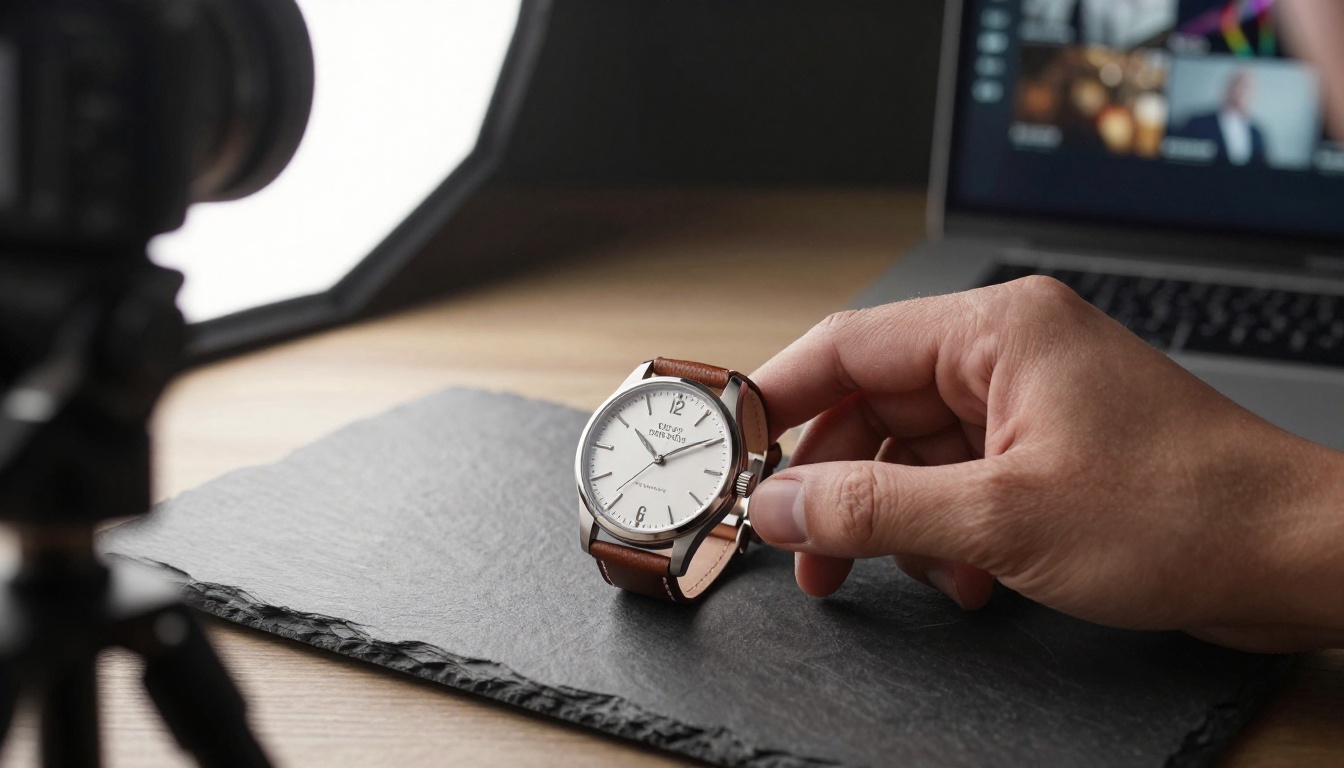
Short-form creators get the same leverage. One piece of footage can carry several visual identities for different channels, or serve as a quick test of which look lands before you commit to a full edit. PicassoIA accepts clips up to 30 seconds, long enough for most vertical posts, and runs finish in minutes rather than hours.
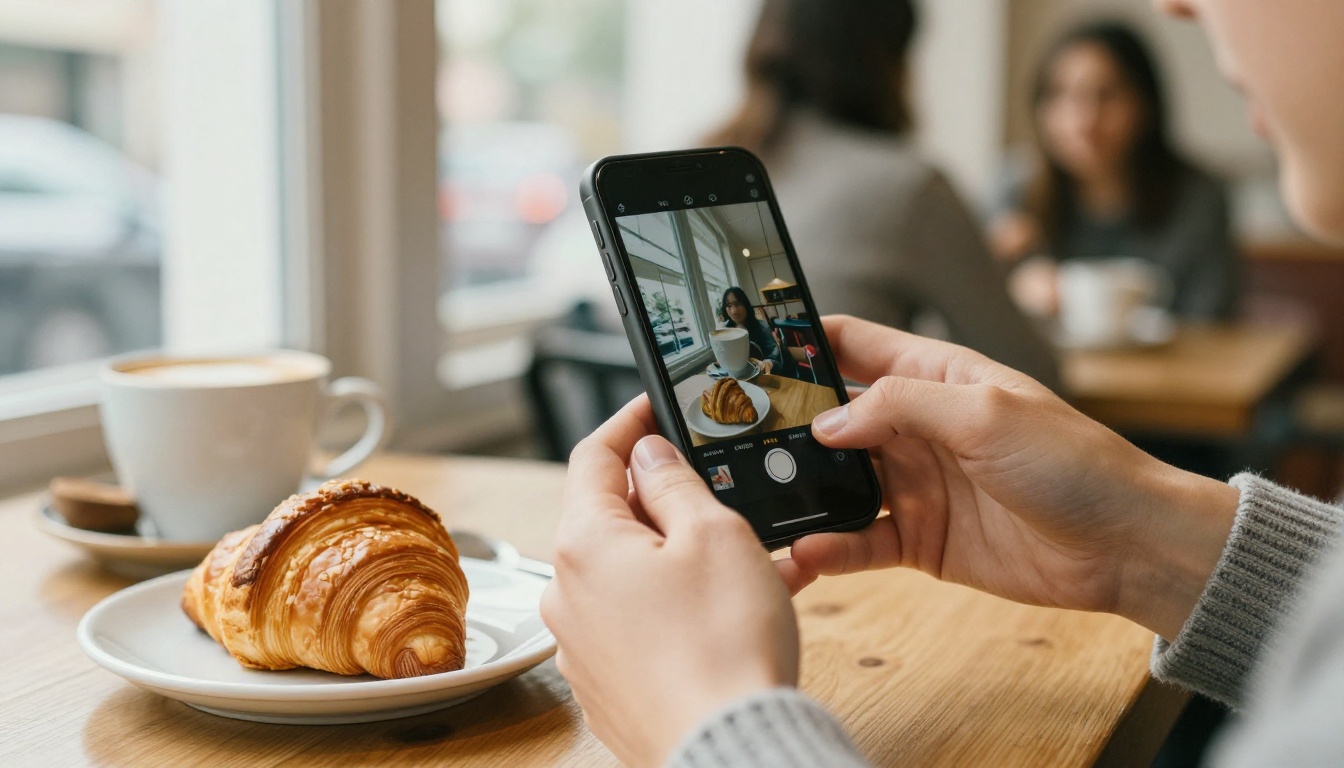
How to Use Modify Video on PicassoIA
Step by step
- Open the Modify Video page on PicassoIA.
- Upload your source clip. The limits are 100 MB and 30 seconds. If your footage is longer, trim it first with Trim Video.
- Optional: upload a restyled first frame, as described above.
- Pick a mode. Start with
flex_1 for a style change or adhere_1 for a grade.
- Write the prompt using the patterns from the previous section.
- Run the model and wait. The example generations on the model page took roughly two to three minutes, between 115 and 185 seconds.
- Review the result. If it is too timid, move one step up the mode ladder. If it mangles faces or props, move one step down.
Settings to try first
| Goal | Starting mode | Prompt focus |
|---|
| Subtle grade, film grain | adhere_1 | Color, grain, light |
| Swap a material or the weather | adhere_2 or adhere_3 | Surfaces and lighting |
| Art style such as sketch or anime | flex_1 | Medium plus locked motion |
| New location, same action | flex_2 | Setting plus performance |
| Character becomes something else | reimagine_1 | What the subject becomes |
💡 Change one variable per run. Keep the prompt fixed and move through the modes, then keep the best mode and rewrite the prompt. Changing both at once makes it impossible to tell which one caused the result.
Where It Struggles
Faces, text, and fine detail
Because frames get re-rendered, do not expect pixel-perfect faces, readable signage, or a background that stays untouched at higher strengths. Adhere lowers the risk and reimagine raises it. If a face has to stay recognizable, stay in the adhere band and add a first frame. If a sign or package label has to read correctly, plan to composite the real text back in your editing app after the restyle.
When another model fits better
Modify is a restyle tool. Other video editing models on PicassoIA are built for narrower jobs:
Treat these as neighbors, not replacements. Run the same clip through two of them and compare, since each model interprets a prompt differently.
Length is the other limit worth planning around. Footage past 30 seconds or 100 MB will not upload as one piece, so a longer scene has to be cut into shots first. That is usually a good habit anyway, because a restyle can drift a little over time, and shorter shots keep each one close to its own first frame. Cut on natural edit points, restyle each shot with the same prompt and the same mode, and join them afterward so the whole sequence reads as one consistent look.
A Repeatable Restyle Workflow
Shoot with the restyle in mind
In practice, clean and stable source footage restyles best. Hold the camera steady or move it on purpose, keep the main subject clear of the frame edge, and shoot only the length you need. A tidy source gives the model less to guess about.
Keep a small log while you work. Write down the clip name, the mode, the exact prompt, and whether a first frame was used. Restyling is iterative, and two days later nobody remembers whether the best version came from flex_1 with the sketch prompt or flex_2 with the shorter one. A five-column note in a spreadsheet saves you from regenerating a result you already had.
Test short, then finish clean
Cut a 5 second slice with Trim Video and try three modes on it. Pick the winner, then run the full clip. Once the restyle is locked, polish the output: sharpen it with Video Increase Resolution and recut it for vertical platforms with Reframe Video.
Try Your Own Restyle on Picasso IA
Pick one clip you already like and one look you wish it had. Open Modify Video on Picasso IA, start at flex_1, and write a single sentence that names the style and locks the motion. Run it, then run it again one mode higher and one mode lower. Three runs will teach you more about how this model behaves than any amount of reading.
Need a source clip to experiment with? Generate one with Ray 3.2, then restyle it with Modify to build a set of alternate looks from a single shot. Start small, change one thing at a time, and keep the versions that surprise you.


