You generated a beautiful image, but it came back soft, grainy, or smeared with artifacts that make it look half-rendered. This happens constantly with AI-generated photos, and the fix is not always obvious. Some images need deblurring. Some need denoising. Some need both, applied in the right order. Getting this wrong wastes your result, but getting it right turns a mediocre output into something you can actually use.
This article covers every method that works for removing blur and noise from AI-generated photos, including which PicassoIA models handle each job best.
Why AI Photos Come Out Blurry and Noisy
AI-generated images are probabilistic outputs. The model picks the statistically likely value for each pixel based on its training data and your prompt. When that process falls short, you get one of three artifacts:
- Blur: The model averaged adjacent pixels instead of committing to sharp edges.
- Grain/Noise: Random pixel-level variations that look like film grain but without film's charm.
- Compression Artifacts: Blocky patterns, especially in skies and flat color areas, from JPEG compression during generation or export.
These three problems look similar but require different fixes.
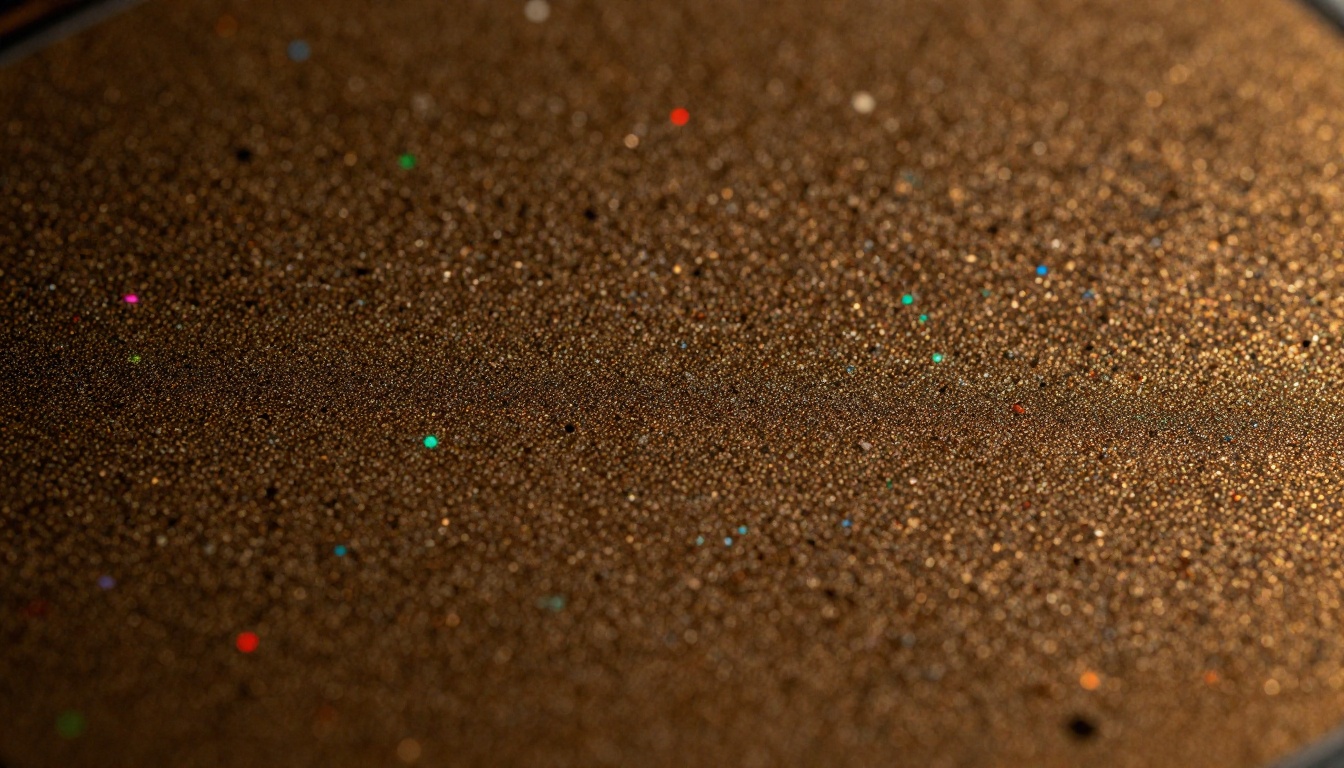
The resolution problem
Most AI generators output at 512x512, 768x768, or 1024x1024 pixels. That sounds like enough until you zoom in or print. At web size, low-frequency blur is invisible. At 200% zoom or on paper, it jumps out. The image was never really sharp to begin with, and no sharpness slider in post will recover frequency information that was never captured.
What makes AI blur different
Traditional photography blur comes from motion, optics, or focus error. AI blur comes from the generator's tendency to smooth ambiguous areas. A face at a distance, hair at the edge of the frame, fabric textures, backgrounds behind a subject: these are the spots where the model hedges its bets. The result looks like a soft focus filter was applied selectively, but it was baked in at the latent level.
💡 Important: Applying a standard Photoshop Unsharp Mask to AI blur often creates halos without recovering the underlying detail. You need frequency-aware upscaling, not traditional sharpening.
Two Problems, One Workflow
The standard mistake is treating blur and noise as the same issue. They are not.
| Problem | Cause | Wrong Fix | Right Fix |
|---|
| Blur | Generator averaging, low resolution | Unsharp mask | Super-resolution upscaling |
| Noise | Stochastic generation, high CFG scale | Nothing (gives up) | AI denoise model |
| Compression blocks | JPEG artifacts | Sharpening (makes it worse) | AI restoration, then re-export as PNG |
| Soft edges | Model ambiguity | Increase contrast | Upscaler with detail synthesis |
The correct order is always: denoise first, then upscale/sharpen. If you upscale a noisy image, the model amplifies the noise along with the detail. If you denoise after upscaling, you risk softening the detail you just recovered.
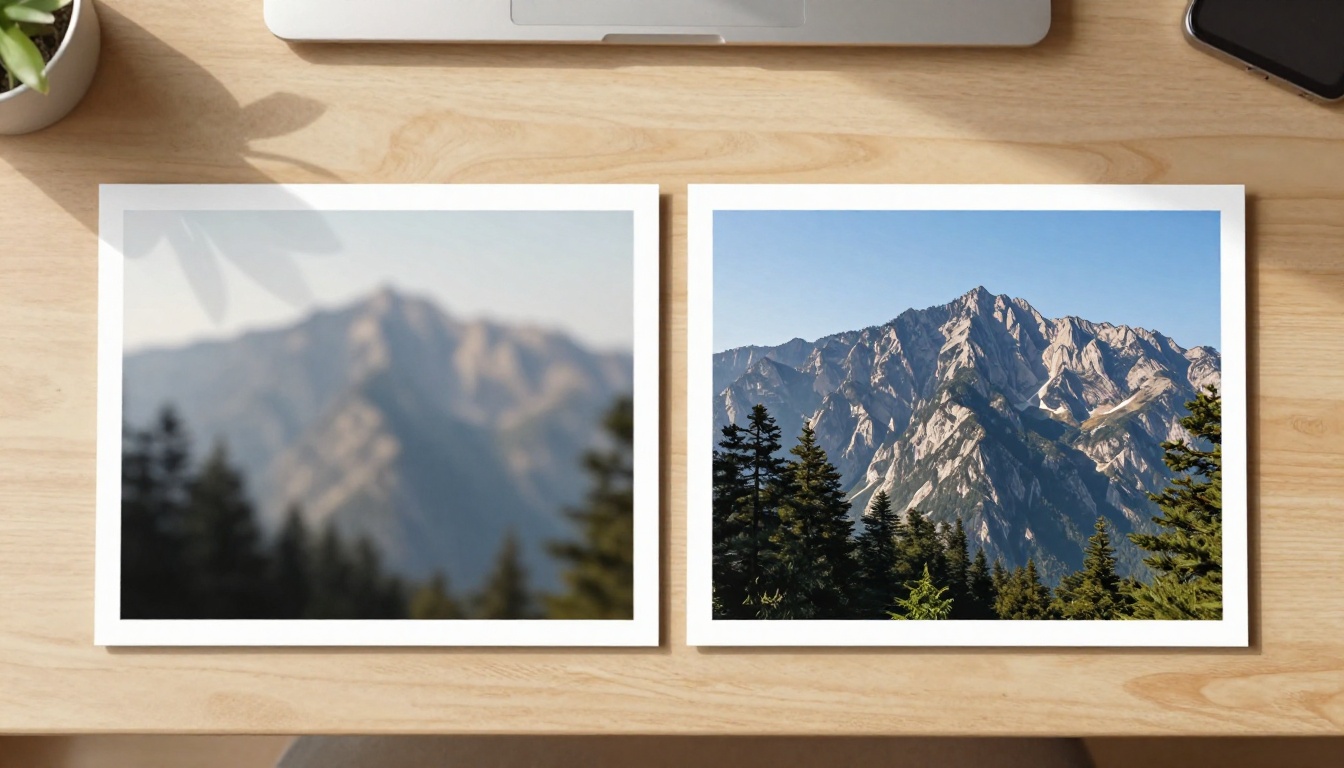
Noise Reduction That Actually Works
What AI denoise actually does
Traditional noise reduction, like Lightroom's Luminance slider, blurs the entire image slightly to hide grain. It works by averaging nearby pixels, which destroys fine detail in the process. AI denoise models work differently. They were trained on paired clean and noisy images and learned to separate noise from signal. This means they can remove the grain while preserving:
- Fine hair strands
- Fabric texture
- Skin pores
- Edge sharpness
The main parameter in most AI denoise tools is the denoising strength. Set it too low and the grain stays. Set it too high and the image looks like a painting, with fine detail smoothed away.
💡 Pro tip: For AI-generated portraits, denoising strength between 0.3 and 0.5 typically removes grain while keeping skin texture. For landscapes, you can push to 0.6 to 0.7 without visible softening.
The CFG scale connection
If you generate with a very high CFG scale (guidance scale), your images will tend to be high-contrast, oversaturated, and noisier. CFG scale above 12 to 14 pushes the model hard toward your prompt but forces it to make more extreme pixel decisions. The result is an image that is technically crisp in terms of contrast but full of high-frequency noise. Lowering CFG scale during generation is the best prevention. For post-processing, you need a model that can handle synthetic high-frequency noise.
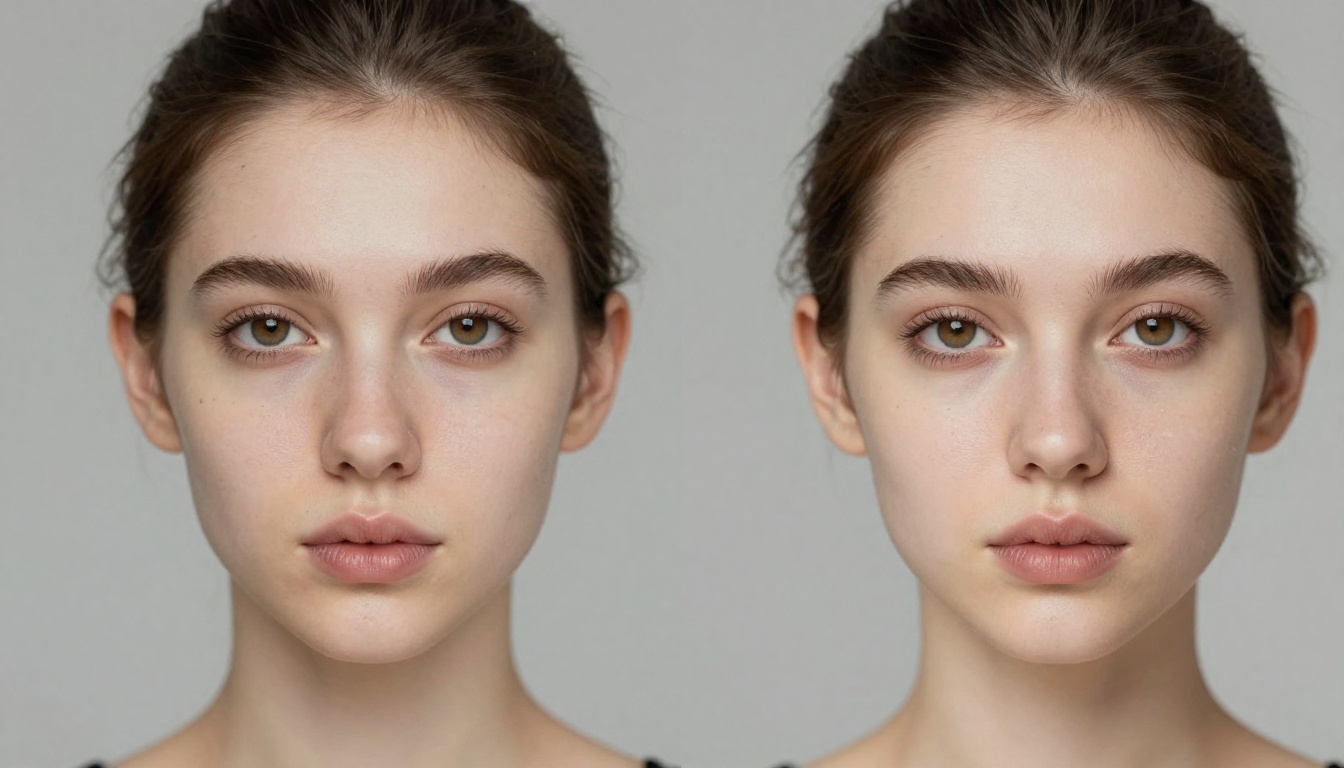
Sharpening Without Destroying Detail
The over-sharpening trap
Every sharpening tool works by increasing local contrast at edges. The problem is that noise has edges too. When you apply sharpening to a noisy image, you sharpen both the real edges and the noise. The result: crunchy-looking grain that is now higher contrast and more distracting than before. This is why the order of operations matters so much.
Super-resolution vs. simple sharpening
Simple sharpening increases what is already there. Super-resolution models synthesize new detail. They were trained on the relationship between low-resolution and high-resolution versions of millions of images, and they use that knowledge to fill in plausible high-frequency information that was never in the original.
When you run a 512px AI portrait through a 4x super-resolution model, the output is not just the original image made bigger. The model adds:
- Individual strand-level hair detail
- Pore-level skin texture
- Sharp iris and pupil detail
- Defined eyelashes
None of that was in the original 512px output. The model inferred it from context.
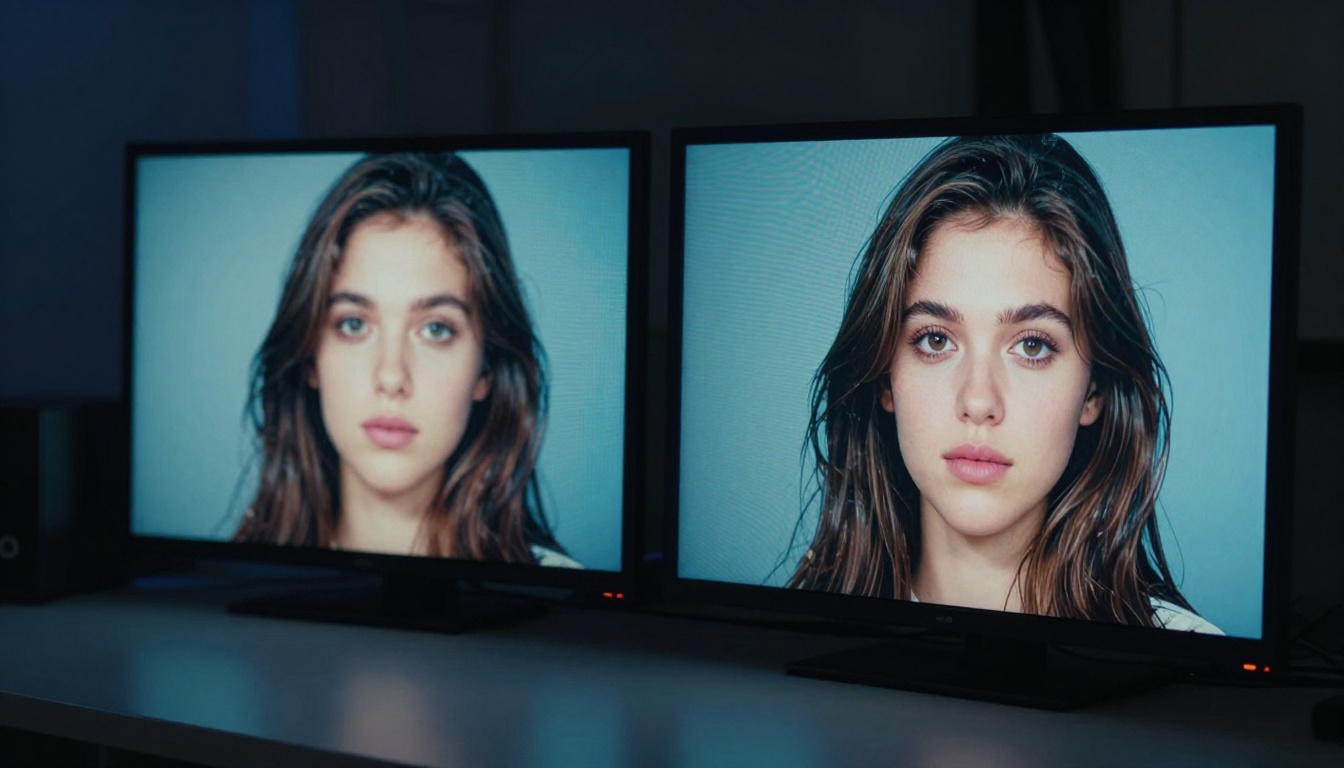
The Best Models on PicassoIA Right Now
PicassoIA has nine dedicated super-resolution models. Here is how they differ and when to use each.
For portraits and faces
Clarity Pro Upscaler by philz1337x is the top choice for AI-generated portraits. It runs a tile-based upscale pipeline that processes each region with context from surrounding areas. Faces get realistic skin texture added. Hair gets individual strand differentiation. This model is specifically optimized for the soft-face problem common in AI outputs.
Crystal Upscaler, also from philz1337x, is tuned specifically for portrait upscaling to 4x. If your subject is a person and the background matters less, Crystal Upscaler prioritizes facial detail synthesis over background texture.
P Image Upscale by prunaai is the fastest option, returning a sharpened result in about one second. For rapid iteration, when you need to check whether an image is worth full upscaling, this is the right first pass.
For landscapes and general scenes
Real ESRGAN remains a strong general-purpose model. It handles foliage, architecture, and complex textures well. The 4x upscale preserves edge character without over-smoothing, and it handles JPEG compression artifacts better than most models.
Google Upscaler provides 4x enlargement with a particularly strong grasp of architectural geometry. Straight lines stay straight. Repeating patterns like brickwork and windows maintain their periodicity without the wavy distortion you sometimes get from other models.
Recraft Crisp Upscale is excellent for images with sharp geometric content: product photos, flat-lay photography, and illustrations that started as AI outputs. It adds edge definition without synthesizing texture that was never there.
For maximum enlargement
Image Upscale by Topaz Labs is the only model in PicassoIA's catalog that goes up to 6x. When you need to go from a 512px output to a print-ready 3072px image, this is the only tool for the job. The detail synthesis is aggressive and impressive, though it can occasionally add texture that was not implied by the original. Best used on images with a clear subject and minimal ambiguous areas.
Increase Resolution by Bria handles 4x with good color fidelity. It is particularly strong on skin tones and avoids the desaturation that some upscale models introduce.
Recraft Creative Upscale takes a different approach: instead of purely reconstructing what should be there, it adds interpretive detail. Useful when the source image is so low-resolution or ambiguous that a photorealistic reconstruction model would just guess. Creative Upscale fills in plausible detail based on the overall mood of the image.
How to Use Clarity Pro Upscaler on PicassoIA
Clarity Pro Upscaler is the most frequently recommended model for AI-generated photo restoration. Here is exactly how to use it.
Step 1: Upload your image
Go to Clarity Pro Upscaler on PicassoIA. Upload your AI-generated photo. The model accepts PNG, JPG, and WebP.
Step 2: Set the scale factor
The default is 2x. For most AI-generated images at 512 to 1024px, use 2x for web output or 4x for print. Going beyond 4x with this model can over-synthesize detail.
Step 3: Adjust the creativity parameter
This controls how much new detail the model adds versus simply interpolating. Values below 0.4 produce a faithful reconstruction. Values above 0.7 produce impressively sharp results but may add detail that was not implied by the original.
Step 4: Use the tile overlap setting
For images with complex textures such as hair, foliage, or fabric, increase tile overlap to 32 or 64. This prevents visible seams where the model stitched together adjacent tiles.
Step 5: Download and verify
Zoom to 100% on the output. Check edge sharpness on the hardest areas: hair, eyelashes, fine text, and architectural edges. If any area looks over-processed, run the upscale again with a lower creativity value on just that crop.
💡 Workflow note: For the best results, export your original AI output as a lossless PNG before upscaling. Upscaling a JPEG adds compression artifacts into the pipeline before the model even starts. Always upscale from lossless source files.
What Each Problem Looks Like at 100% Zoom
Diagnosing the problem before picking a tool saves time. Here is a quick reference:
| Symptom | What You See at 100% | Probable Cause |
|---|
| Soft edges | Gradual transition between objects | Low resolution, generator averaging |
| Film grain pattern | Regular speckle, more visible in shadows | High noise schedule in generation |
| Color noise | Red/green/blue speckles in flat areas | High CFG, low sampling steps |
| Blocky areas | Square blocks in gradients and sky | JPEG compression artifacts |
| Waxy skin | Flat, smooth, slightly plastic look | Over-denoising in the generator itself |
| Halo edges | Bright fringe around subjects | Over-sharpening applied post-generation |
Each of these has a specific fix. Soft edges need super-resolution. Film grain needs AI denoise. Color noise needs color-channel-specific denoise. JPEG blocks need artifact removal first, then upscale. Waxy skin needs detail synthesis, not more smoothing. Halo edges need to be regenerated from scratch because they cannot be removed without affecting the edges they surround.
When Upscaling Falls Short
Super-resolution models are powerful but they have limits. Three situations where the model cannot help:
1. The subject is completely ambiguous. If the original image has a face that is unrecognizable even at 100% on the source, no upscaler will construct a coherent face from it. The model needs enough signal to work from. A palm-sized face in a wide shot gives it almost nothing.
2. You went too many generations deep. Each generation pass through a lossy format or a compression-heavy pipeline introduces artifacts that compound. An image that has been saved as JPEG, upscaled, saved as JPEG again, and then upscaled again will have layered compression artifacts that look structurally embedded. At that point, the image needs to be regenerated, not restored.
3. The original resolution is below approximately 256px on the short side. Most upscale models tile their processing. Below 256px, there is not enough context per tile for the model to make meaningful synthesis decisions. You might get a larger image, but the detail quality will be poor.
💡 Know when to re-generate: If the original generation was weak, sometimes the fastest path to a good image is adjusting the prompt and re-running the generation with more steps and a lower CFG scale. Restoration has real limits. Prevention is faster.
The Right Combination for Each Use Case
Here is the condensed decision flow for matching your problem to the right tool:
The nine super-resolution models available on PicassoIA cover every combination of subject type, output goal, and source quality you are likely to encounter. No single model is best for everything, but each one is best for something specific.
Start Fixing Your AI Images Now
Take an AI-generated photo that has been disappointing you because it came back soft or grainy, and run it through Clarity Pro Upscaler or Real ESRGAN. The difference is often dramatic enough that the image goes from unusable to portfolio-worthy.
PicassoIA has all nine super-resolution models available, plus the full suite of image generation tools that let you regenerate from scratch when restoration is not the right path. Browse the full model collection to find the right tool for your specific workflow, whether you are removing blur, recovering noise, or upscaling to print resolution for the first time.


