Rodin Gen 2.5 turns a photo into a textured 3D mesh in minutes, and what you pay depends less on the model than on the plan and the quality tier you pick. Most write-ups skip that part. This article puts the numbers in one place: what Hyper3D charges, what each quality level delivers, where image to 3D still falls apart, and how to run Rodin from inside Picasso IA.
One note before the figures. Pricing for AI 3D tools moves every few months, and some of the credit numbers floating around come from third-party hosts that resell Rodin with their own credit system. Where a figure comes from somewhere other than Hyper3D's own pricing page, this article says so. Check the live page before you pay for anything.
What Rodin Gen 2.5 Does
From One Photo to a Mesh
Rodin is Hyper3D's image to 3D and text to 3D generator. You give it one clear photo, or two to five photos taken from different angles, and it returns a textured mesh you can open in Blender, drop into a game engine, or send to a printer. It also takes a plain text prompt when you have no reference image at all.
The workflow is short:
- Upload a reference photo or a rough sketch.
- Pick a quality tier and a mesh mode.
- Wait anywhere from about a minute to about ten, depending on the tier.
- Download the file in the format your pipeline expects.
That speed is the whole point. A product photo that would take a modeler half a day to rebuild by hand becomes a usable starting mesh before your coffee goes cold. It will not replace a skilled artist on a hero asset, but it removes the blank-viewport problem, and that is where most small projects stall.
What the Upgrade Promises
Hyper3D describes Gen 2.5 as tuned for richer structure and smoother surfaces than earlier Rodin releases, with selectable quality settings that trade speed for detail. In practice that points toward cleaner hard-surface props (furniture, shoes, gadgets, mechanical parts) and characters with more believable proportions.
💡 "Smoother surfaces" is a vendor claim, not a measurement. The honest way to judge it is to feed the same three photos to two quality tiers and compare the meshes side by side. A simple test plan sits near the end of this article.
Rodin Gen 2.5 Pricing Breakdown
Plan Prices at a Glance
Hyper3D sells Rodin through subscription plans. As of October 2026, its pricing page lists these:
| Plan | Monthly price | Billed yearly | Estimated output | Notes |
|---|
| Free | $0 | n/a | Limited | Generate before confirming, 10 private assets, export from legacy models |
| Creator | $30 | $24 per month | About 60 models per month | Regular individual use |
| Business | $120 | $96 per month | About 416 models per month | Commercial license included |
| Enterprise | Custom | Custom | Custom | Negotiated terms |
The page only spells out a commercial license for Business. If you plan to sell anything made on Free or Creator, read the license text before you do.
Cost Per Model, Worked Out
The page's own output estimates make the arithmetic easy:
- Creator, monthly: $30 divided by 60 models is about $0.50 per model.
- Creator, yearly: $24 divided by 60 is about $0.40.
- Business, monthly: $120 divided by 416 is about $0.29.
- Business, yearly: $96 divided by 416 is about $0.23.
Those are estimates tied to a typical mix of quality tiers. If you run everything at the top tier you will burn through your allowance faster, so your real cost per model climbs. A sensible budget is $0.25 to $0.50 per generation at standard settings, plus a retry allowance. Image to 3D is not one shot, one keeper: if one generation in two is usable, your effective cost per usable model doubles.

The Credit Price Puzzle
The same pricing page lists pay as you go credits at $1.5 per credit. Set that beside the per-generation credit costs reported by third-party hosts (next section) and the math looks off: 20 to 35 credits at $1.5 each would be $30 to $52 for a single model, while the subscription math above lands under a dollar. Most likely the credit units differ between the hosts and Hyper3D, or the rate applies to a bundle. The public pages do not reconcile the two.
💡 Do not buy loose credits until you have confirmed what one credit buys in your own account. Run your first tests inside a plan or on the free tier, where the cost per model is predictable.
Quality Tiers Compared
Third-party hosts that resell Rodin Gen 2.5 list five quality levels. Their credit figures use the host's own scale, not Hyper3D's subscription units, but the ratios between tiers are still useful:
| Tier | Credits (host scale) | Typical time | Best for |
|---|
| Lowest | 20 | 30 to 90 seconds | Silhouette checks |
| Low | 20 | 30 to 90 seconds | Quick drafts |
| Medium | 30 | 2 to 5 minutes | Everyday props |
| High | 30 | 2 to 5 minutes | Final assets |
| Ultra | 35 | 5 to 10 minutes | Hero models, up to 2 million faces |
Going from 20 to 35 credits is 75% more money for Ultra, while generation time grows by roughly five times. The same hosts charge extra for options: about 5 more credits for multi-image input and about 10 more for a 4K texture pack.
Draft Tiers for Fast Checks
Lowest and Low finish in 30 to 90 seconds and cost the same. Use them to check whether your photo gives the model enough information. If the silhouette is wrong at a draft tier, it will be wrong at Ultra too, only slower and more expensive. Two or three draft runs with different photos tell you which angle to commit to.
Production Tiers and Ultra
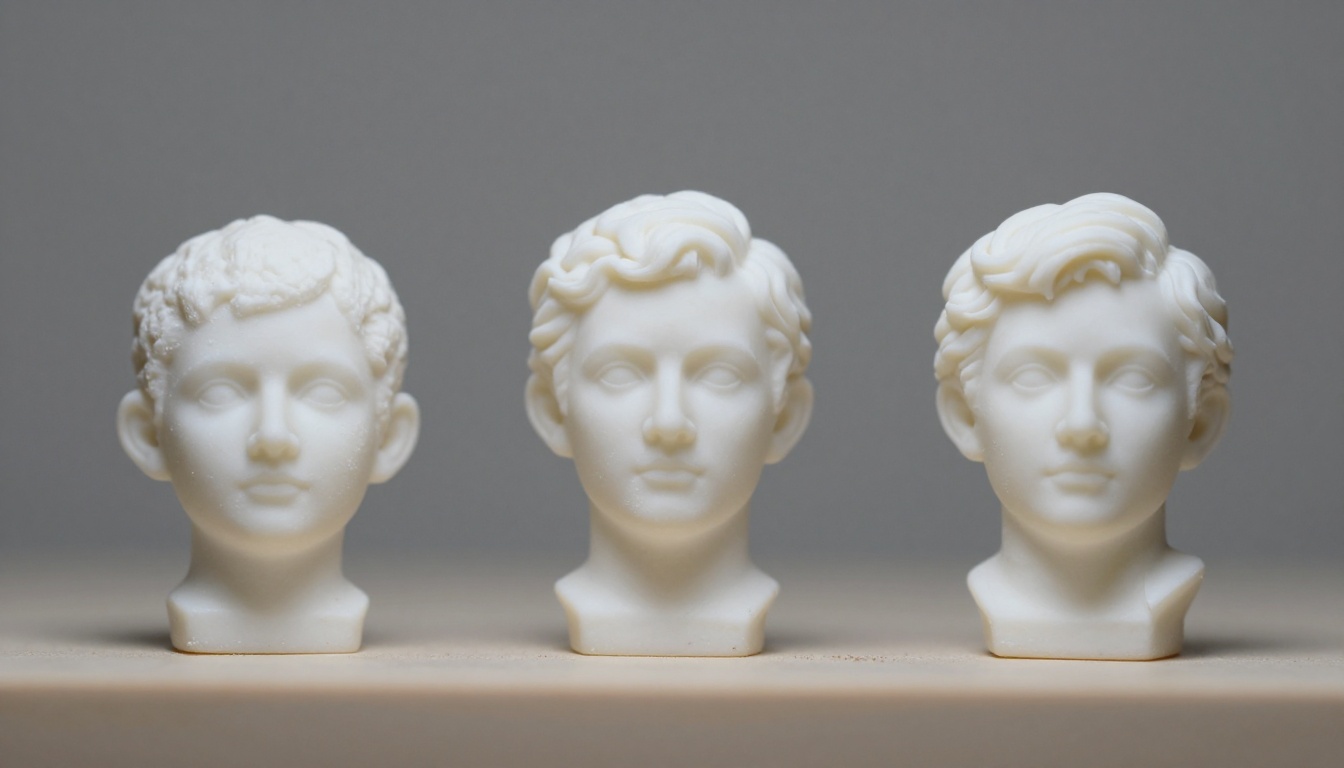
According to the host table, Medium and High share a price and a time band. If your host prices them the same, there is little reason to pick Medium when High is on offer. Ultra is the outlier: up to 2 million faces is a lot of geometry. That suits close-up renders and 3D printing, but a real-time engine will want the mesh decimated first, so Ultra can save you nothing if the next step is a polygon budget.
On Picasso IA the Rodin page uses a simpler ladder: extra-low, low, medium and high, plus a quality override that sets a custom poly count. Same idea, fewer rungs.
Image to 3D Quality in Practice
What Works Well
Single-image reconstruction rewards boring photos. The strongest results come from:
- Hard-surface objects with clear edges: sneakers, chairs, speakers, hand tools.
- Symmetrical shapes, where the model can infer the hidden side with confidence.
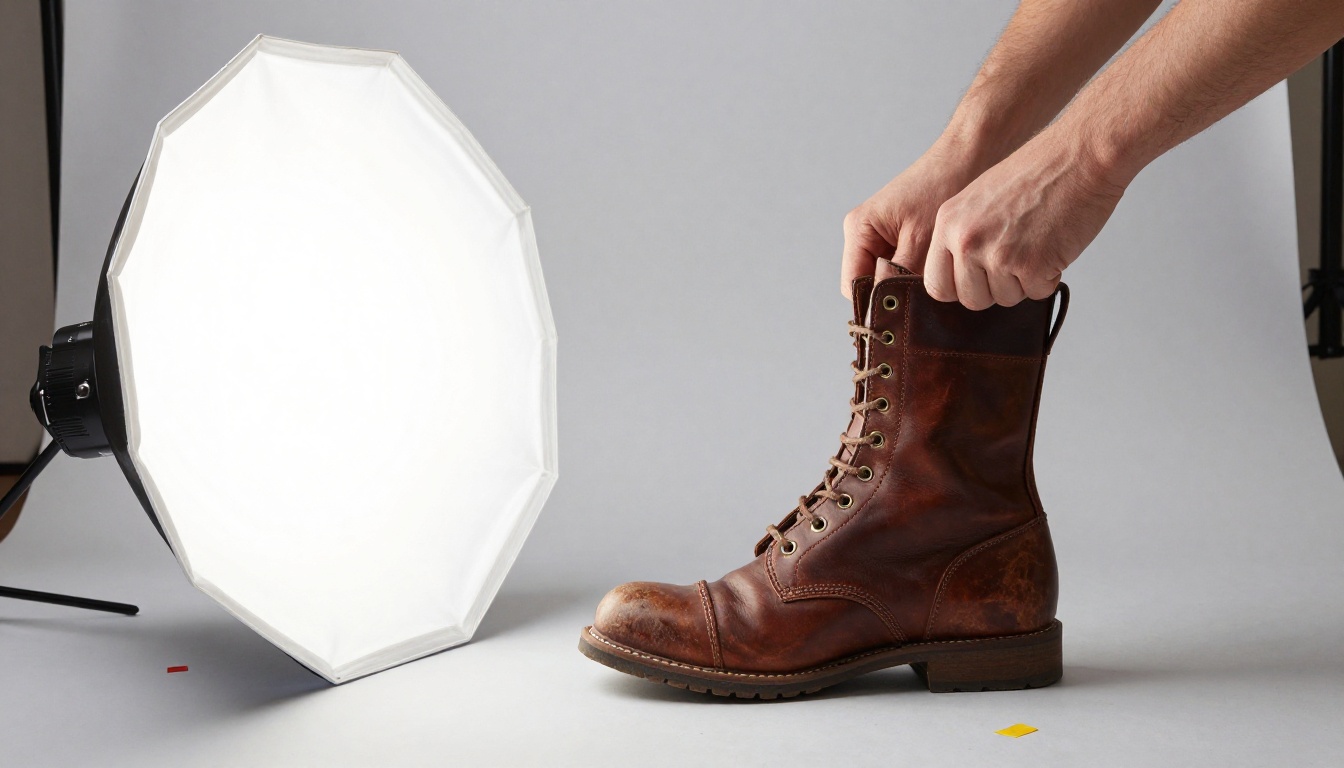
- Isolated subjects on a plain background with soft, even light.
- Rough sketches, where one host notes that Creative mode handles loose drawings better than Faithful mode.
A good reference photo is half the job. Shoot at a three-quarter angle, keep the object centered and filling most of the frame, avoid hard shadows and mirror-like highlights, and use a neutral backdrop. When the object matters, take two to five photos from different sides and use multi-image input; hosts report it gives the cleanest results.
Where It Still Breaks
These are limits of single-image reconstruction in general. Gen 2.5 may narrow them, but I would not expect it to remove them:
| Problem | Why it happens | Fix |
|---|
| Mushy back side | The model guesses what the camera never saw | Add a second photo from behind |
| Fused thin parts | Straps, cables and hair strands read as one blob | Model them separately or sculpt after |
| Warped glass and chrome | Reflections look like geometry | Use matte stand-ins or a polarizing filter |
| Blurred text and logos | Fine print becomes texture noise | Re-apply logos as decals |
| Wrong scale | A photo carries no ruler | Set the bounding box or scale in your 3D app |
Treat the output as a strong first draft, not a finished asset. For props that sit in the background of a scene, a draft is often enough. For anything the camera lingers on, budget cleanup time.
Quad or Raw
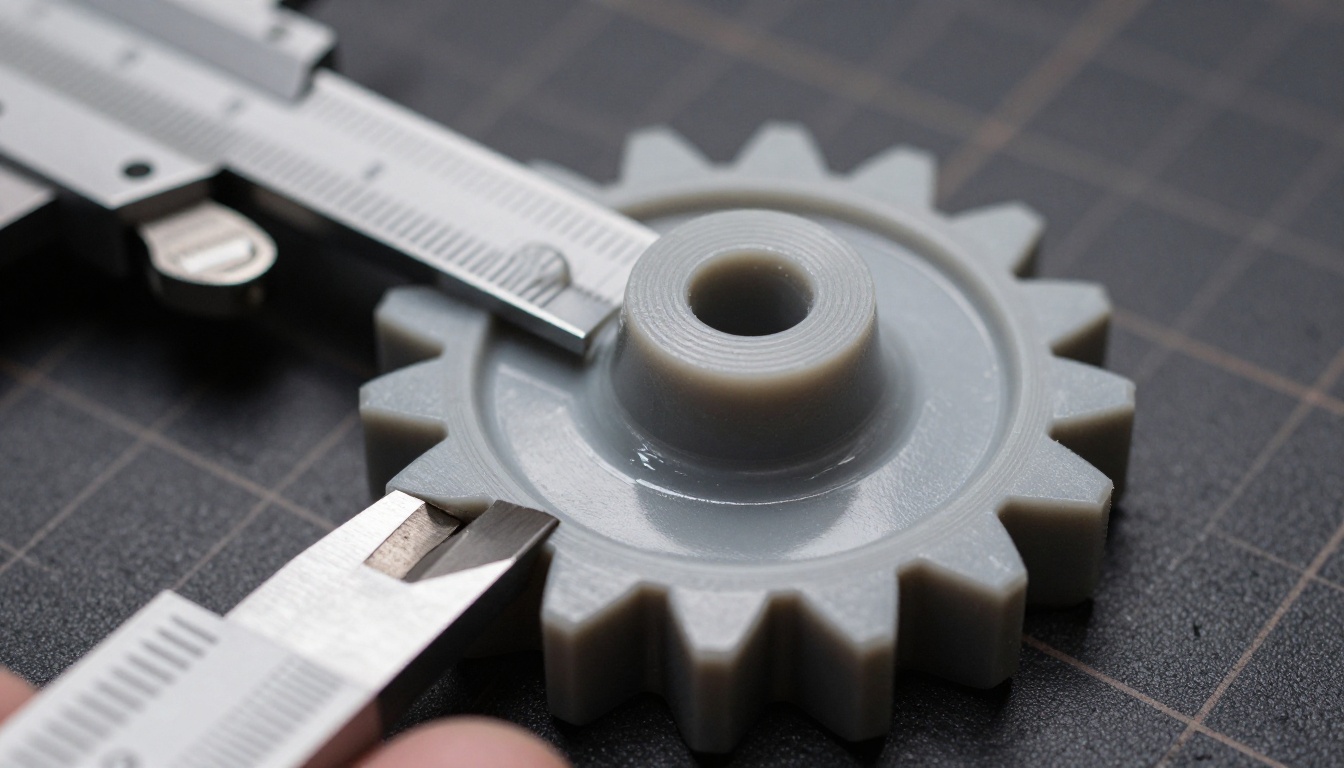
Rodin offers two mesh types. Quad builds quad-based topology, which deforms cleanly and suits animation and rigging. Raw produces triangles and favors surface detail, which suits renders and 3D printing. For humanoid characters there is also a T/A pose option that places the figure in a standard rigging stance.
A simple rule: pick Quad if the model will move, pick Raw if it will sit still or get printed.
Picking an Export Format
Textures come as PBR materials, so metalness and roughness work in modern engines. Some hosts add a delighting step that removes baked-in light so the model can be relit in your scene. The format you export decides where it can go next:
| Format | Best for | Watch out for |
|---|
| GLB | Web viewers, AR, quick game prototypes | Large files at high tiers |
| FBX | Game engines and animation | Material setups vary by engine |
| OBJ | Editing in Blender and similar apps | Textures arrive as separate files |
| USDZ | Apple AR previews | Limited editing support |
| STL | 3D printing | Geometry only, no color or texture |
How to Use Rodin on Picasso IA
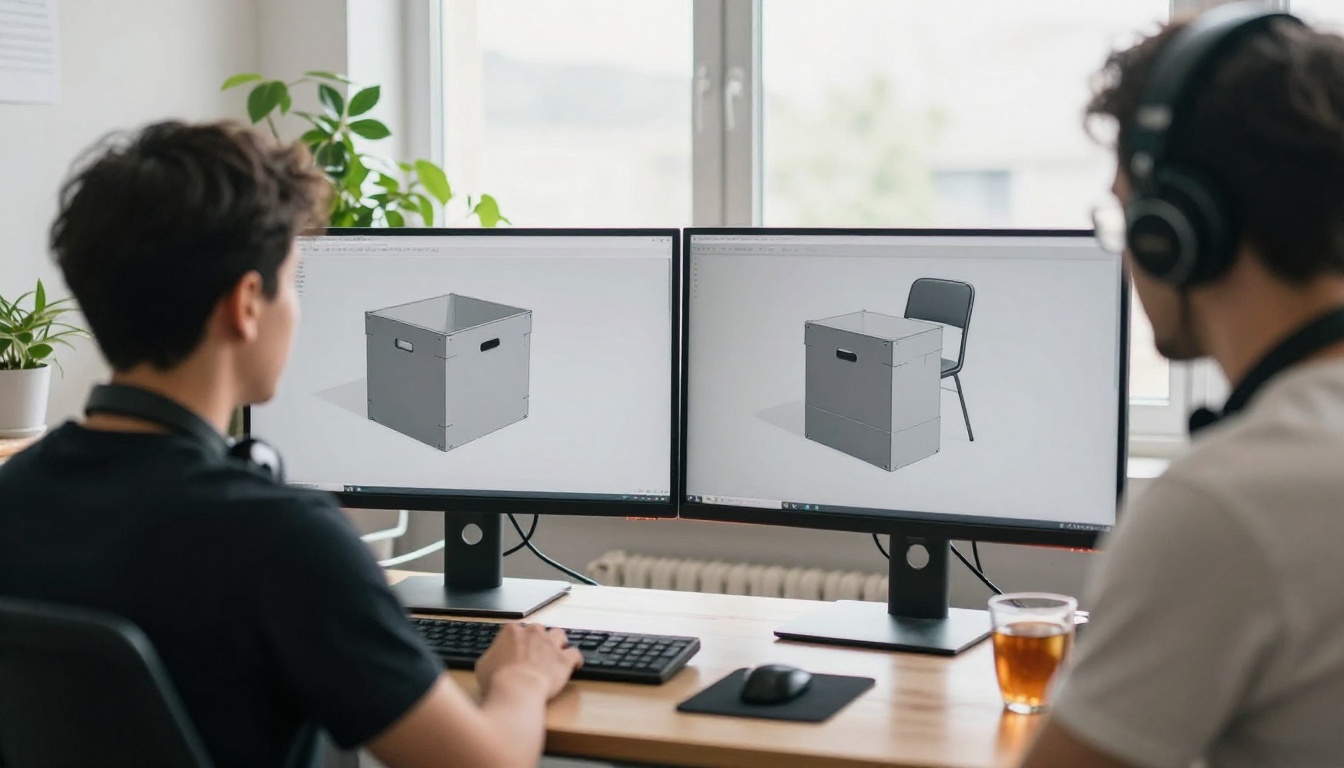
Rodin is available in the 3D models collection on Picasso IA, and you can upload up to five images per run.
💡 One honest caveat: the model page lists a tier field that defaults to Gen-2. I could not confirm a Gen 2.5 option in the listing, so check the tier field in your account before assuming you are running the newest version.
Step by Step
- Open the Rodin page in the 3D models collection.
- Upload one clear photo, or up to five photos from different angles.
- Write a short text prompt. The field is required even when you upload images, so describe the object in plain words, such as "worn leather sneaker, matte finish, studio product shot".
- Set quality to low for a first pass.
- Choose Quad for anything that will animate, or Raw for detail and printing.
- Keep the material on PBR and the format on GLB unless your pipeline needs something else.
- Generate, download, and check the mesh in a viewer before you spend more.
- If the draft looks promising, rerun at high with the same seed so the result stays comparable.

Settings Worth Changing
| Setting | Options | Change it when |
|---|
| quality | extra-low, low, medium, high | Drafts versus final output |
| mesh_mode | Quad, Raw | Animation versus printing |
| material | PBR, Shaded, All | You need baked color only or full PBR maps |
| geometry_file_format | glb, usdz, fbx, obj, stl | Your next tool demands it |
| tapose | on or off | The subject is a humanoid you plan to rig |
| seed | any integer | You want repeatable results across sessions |
| quality_override | custom poly count | You have a strict polygon budget |
| bbox_condition | width, height, length | The model must fit an exact space |
| use_original_alpha | on or off | Your photo already has a clean cutout |
Is It Worth the Credits?
Who Should Pay
| If you are | Verdict |
|---|
| An online seller | Yes, for 360 viewers and AR previews of simple products |
| An indie game developer | Yes for props and blockouts, but expect cleanup on hero characters |
| A 3D printing hobbyist | Yes, with Raw mesh mode and STL export |
| A character artist | Useful as a base mesh in Quad mode with T/A pose, then sculpt |
| An architect or visualizer | Maybe, for small props only, since scale and detail need checking |
If your volume is a handful of models a month, the free tier or Creator plan is enough to find out. If you generate dozens a week for clients, the Business math ($0.23 to $0.29 per model by the page's estimate) looks much better than paying per generation.
Alternatives Worth Testing
You are not locked into one model. Hunyuan 3D 3.1 also converts images to 3D models on Picasso IA, so you can run the same photo through both and compare the meshes. If your goal is a moving character, Create Character v1 auto-rigs 3D characters and Text To Motion Diffusion v2 animates them from a text description.
No reference photo yet? Generate one first with Flux 2 Pro or Nano Banana Pro, asking for a single object, centered, on a plain background with soft light. That is exactly the kind of photo image to 3D rewards.
A fair test in 30 minutes:
- Pick three subjects: an easy one (a mug), a medium one (a sneaker), a hard one (a plant or chair with thin legs).
- Run each at low and at high quality.
- Note generation time and how long each mesh takes to clean up.
- Judge by minutes to a usable asset, not by how good the preview looks.
Try It on Picasso IA
The numbers only tell you so much. The quickest way to see if Rodin fits your work is to run your own photo through it. Open Rodin on Picasso IA, upload a clean shot of an object you already own, run a low quality draft, then a high quality pass, and compare them in your 3D viewer.
When a source photo is missing, create one with an image model on Picasso IA and feed it straight into the 3D step. Draft cheap, check the silhouette, and spend your best tier only on the version that already looks right. Your first printable prototype could be a single upload away.