Shoppers cannot pick up your product, so the photo does all the selling. A sharp, evenly lit image says the item is real and the store is trustworthy. A dim phone snap on a cluttered table says the opposite. Shopify AI product photos close that gap in an afternoon instead of a week, and you do not need a studio, a stylist, or a lighting kit to get there.
The idea is simple. You start with one honest photo of your item, let AI remove the background, add a believable shadow, and place the product in a scene that fits your brand. A few clicks later you have a white-background packshot for your product page, a lifestyle image for your homepage, and a square crop for ads. This article walks through the exact workflow, the prompts that look real, the models worth using, and the mistakes that make AI photos look fake.
💡 Quick answer: For a Shopify store, the fastest route is Product Packshot for clean listing images, Product Shadow for depth, and Generate Background for lifestyle scenes.
Why Shopify Stores Need Better Photos
What Shoppers Notice First
Before anyone reads your description, they scan the image. Three things register almost instantly: sharpness, lighting, and consistency. A blurry edge or a yellow color cast reads as low quality, even when the product itself is excellent. Mismatched backgrounds across a collection page read as a store that cannot be bothered.

A phone photo taken on a kitchen table is a perfectly fine starting point. The product is real, the proportions are honest, and the details are in focus. What it lacks is a clean backdrop and flattering light. Both can be fixed after the shot, which is exactly where AI earns its place.
Here is what AI editing repairs best:
- Cluttered backgrounds that pull the eye away from the item
- Uneven color from mixed indoor lighting
- Missing shadows that make cutouts look pasted on
- Low resolution that falls apart when shoppers zoom
The Real Cost of Studio Shoots
A traditional shoot means booking a photographer, building or renting a set, shipping samples back and forth, and waiting for edits. For a catalog of fifty items, that adds up in both money and weeks. Every new colorway or seasonal launch starts the cycle again.
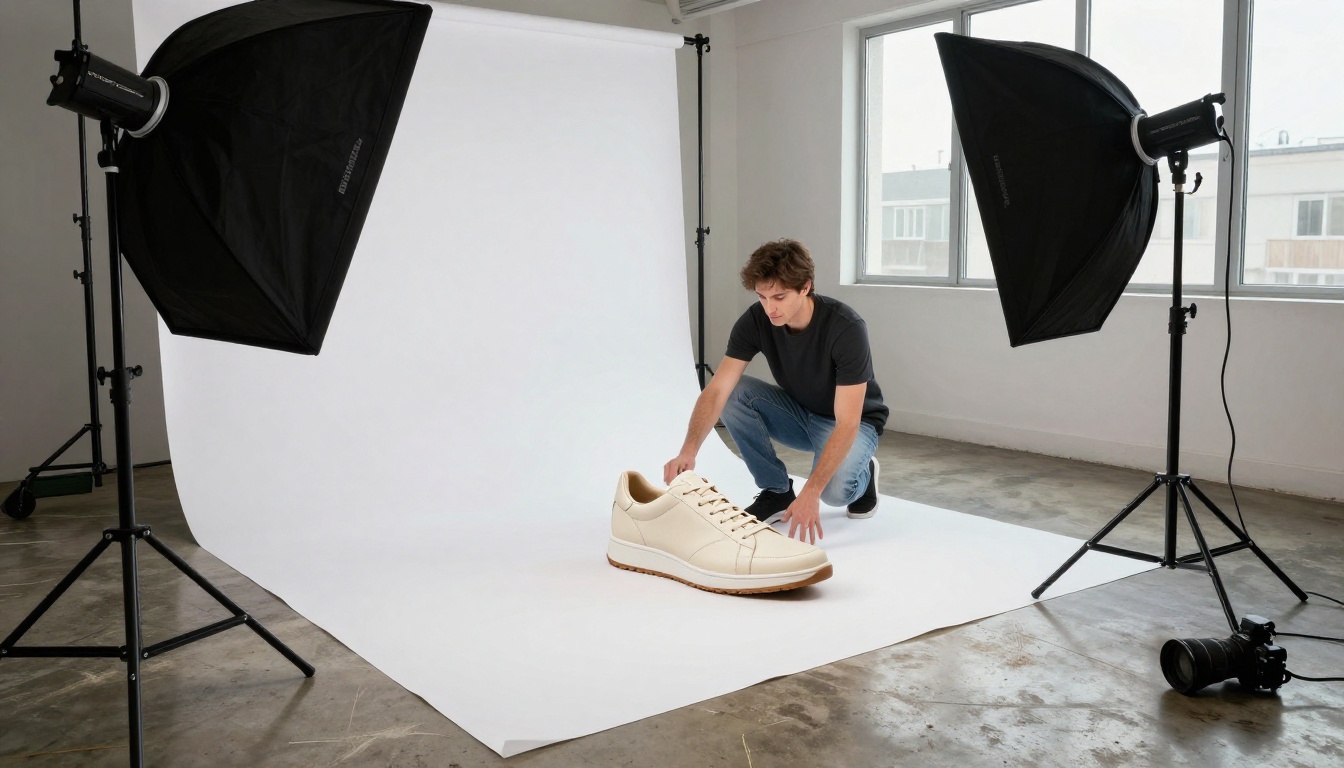
AI does not make professional photographers obsolete. A hero campaign for a flagship product can still justify a full production. For the long tail of your catalog, though, meaning the variants, the new arrivals, and the test products, the speed difference is hard to ignore.
| Factor | Studio Shoot | AI Workflow |
|---|
| Setup | Booking, set build, shipping samples | One phone photo per item |
| Turnaround | Days to weeks | Minutes per image |
| New backgrounds | Reshoot the product | Type a new scene description |
| Consistency | Depends on the day and the light | Same settings across every product |
| Best for | Flagship campaigns | Catalog, variants, tests, ads |
What AI Product Photos Can Do
Three jobs handle almost every store need: listing images, lifestyle scenes, and depth.
Clean White Packshots
The workhorse of any Shopify store is the white-background packshot: the product centered, evenly lit, nothing else in frame. Marketplaces and shopping feeds expect it, and collection grids look orderly when every tile matches.
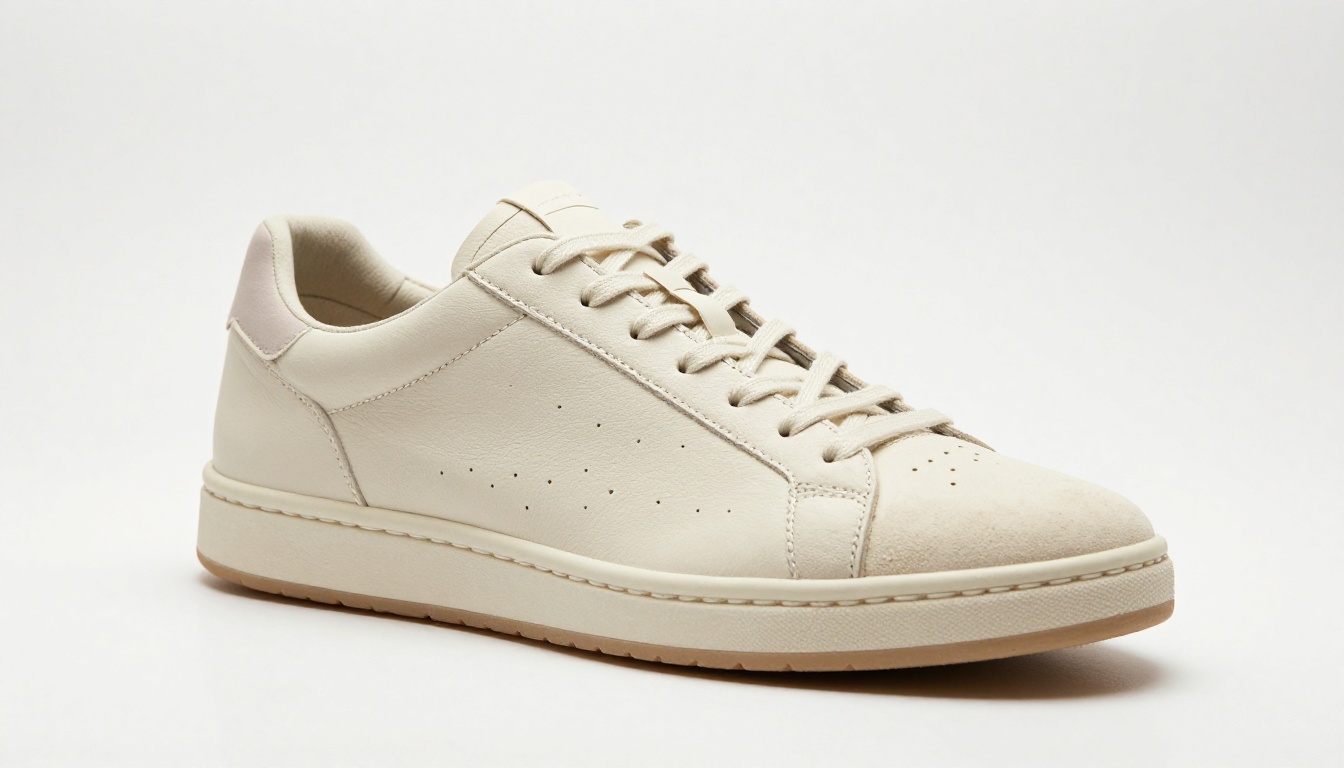
Product Packshot takes a raw photo, strips the background, centers the item, and exports a 2000x2000 pixel square. You can set any hex color for the backdrop or export with a transparent background, so the same file works on the product page and later in a design tool.
Lifestyle Scenes Without a Set
Lifestyle images show the product in use: the serum bottle on a marble shelf, the mug on a breakfast table. They answer the question shoppers cannot ask, which is "what will this look like in my home?"
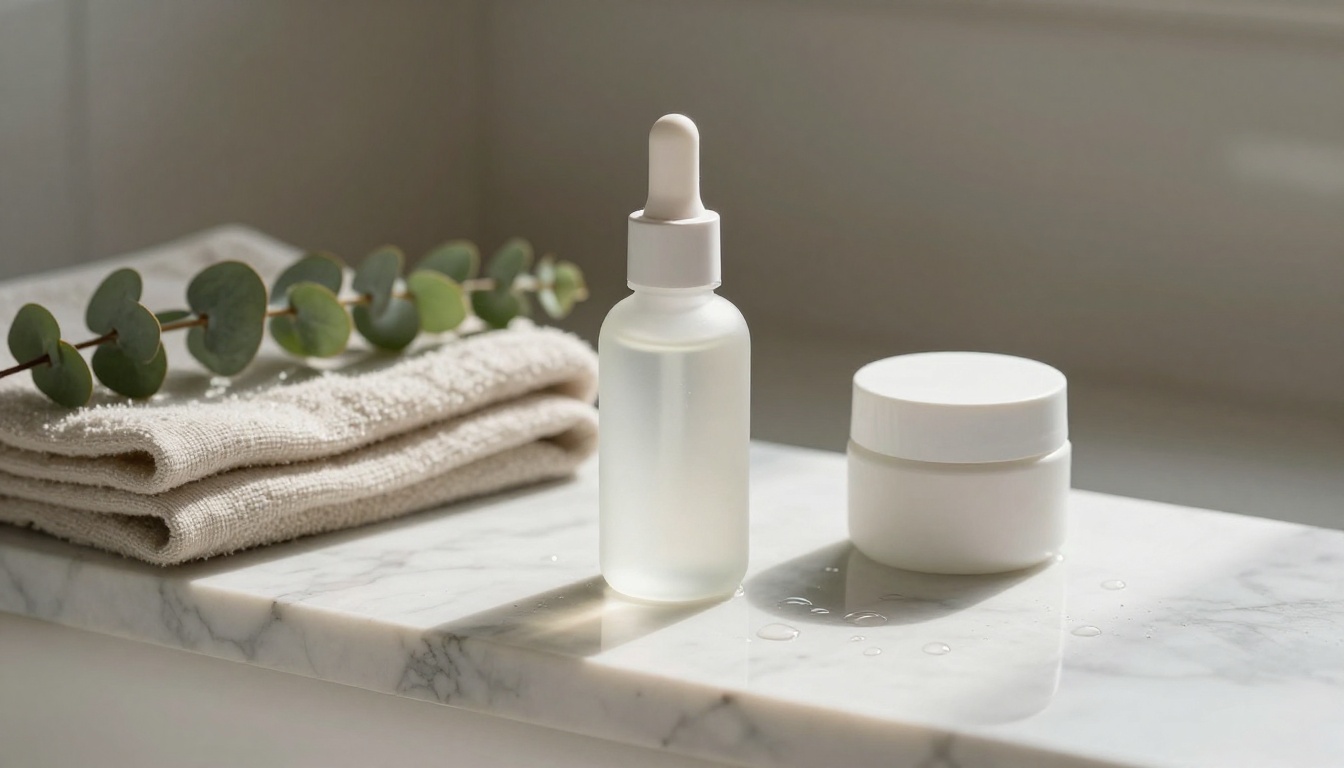
With Generate Background, you describe the scene in plain text or upload a reference photo, and the model builds the backdrop around your product while matching its lighting and perspective. For scenes built entirely from scratch, a text-to-image model such as Seedream 4.5 handles photorealistic interiors well.
Realistic Shadows and Depth
Cutouts without shadows look flat. Product Shadow adds either a grounded drop shadow or a floating elliptical one, with separate controls for blur, offset, color, and intensity. It is the cheapest upgrade for any product that looks pasted on.
Once the three basics are in place, the same assets stretch further than most owners expect. The white packshot becomes the main product image, a lifestyle render becomes the homepage banner, and a square crop becomes the ad creative. Seasonal refreshes get cheap too: keep the cutout, change the scene description from "bright linen tabletop" to "dark walnut table with pine branches", and your holiday collection page is ready without touching the product again.
The Fast Workflow, Step by Step

This is the order that gives the cleanest results. Each step feeds the next, so run all of them on your first batch before you start cutting corners.
Start With One Honest Photo
Shoot near a window, never under a ceiling bulb. Hold the phone level with the product, keep the whole item in frame with space around it, and wipe off fingerprints first. Take three angles: front, three-quarter, and top-down. Do not worry about the background. A tidy table is enough.
Adjust the shot list to the material:
- Shiny items such as glass, steel, and jewelry: shoot at an angle to the window so reflections show a soft gradient and not your own silhouette
- Textiles: lay them flat and smooth the wrinkles, because the AI will faithfully keep every crease
- Small items: get close and fill the frame, since tiny products lose detail during background removal
💡 Tip: Turn off flash and portrait mode. Flash creates hot spots, and portrait mode blurs product edges, which makes clean background removal harder.
Swap the Scene
Run the photo through Product Packshot for the white version, then through Generate Background for lifestyle versions. Reuse the same seed value across a product line so every scene shares one look.
Generate Background works at roughly one megapixel unless you switch on original quality, so treat its output as a preview size and upscale afterward.
Match the scene to the buyer, not to your own taste. A few pairings that tend to work:
- Skincare and candles: marble, linen, and soft morning light
- Apparel and bags: pale wood, plain plaster walls, a window in the corner
- Tech accessories: concrete, dark desks, directional lamp light
- Kitchen goods: a worn butcher block, a little steam, and plenty of daylight
Generate three versions per product, pick the most believable one, and discard the rest. Fast iteration is the real advantage here, so do not settle for the first output.
Upscale for Zoom Views
Shopify themes let shoppers zoom, and soft pixels show instantly. Run lifestyle scenes through an upscaler before publishing. Clarity Pro Upscaler is built for photorealistic results, while Real ESRGAN is a quick 4x option for simple items with clean surfaces.
Upload to Shopify Without Losing Quality
- Keep one square ratio for the main image so your grid stays aligned. 2000x2000 pixels is plenty.
- Name files after the product, for example
leather-sneaker-cream-front.jpg.
- Write alt text that describes the picture: "Cream leather sneaker on white background, three-quarter view".
- Put the white packshot first and the lifestyle images after it.
- Let Shopify's image delivery handle format conversion instead of squeezing files by hand.
Product Packshot is built for exactly this job: one upload in, one publish-ready file out. The settings are short, so a full catalog goes quickly once you pick your recipe.
Upload and Pick a Background
- Open Product Packshot on PicassoIA.
- Upload your product photo into the image field. A JPG or PNG with the full product visible works best.
- Set background_color to
#FFFFFF for a marketplace-style white, any hex code to match your brand, or transparent for a cutout.
- Leave force_rmbg off unless your file already has a transparent layer that you want stripped.
- Switch on content_moderation only if you process customer-submitted photos.
- Run it and download the 2000x2000 pixel result.
Add Depth With Product Shadow
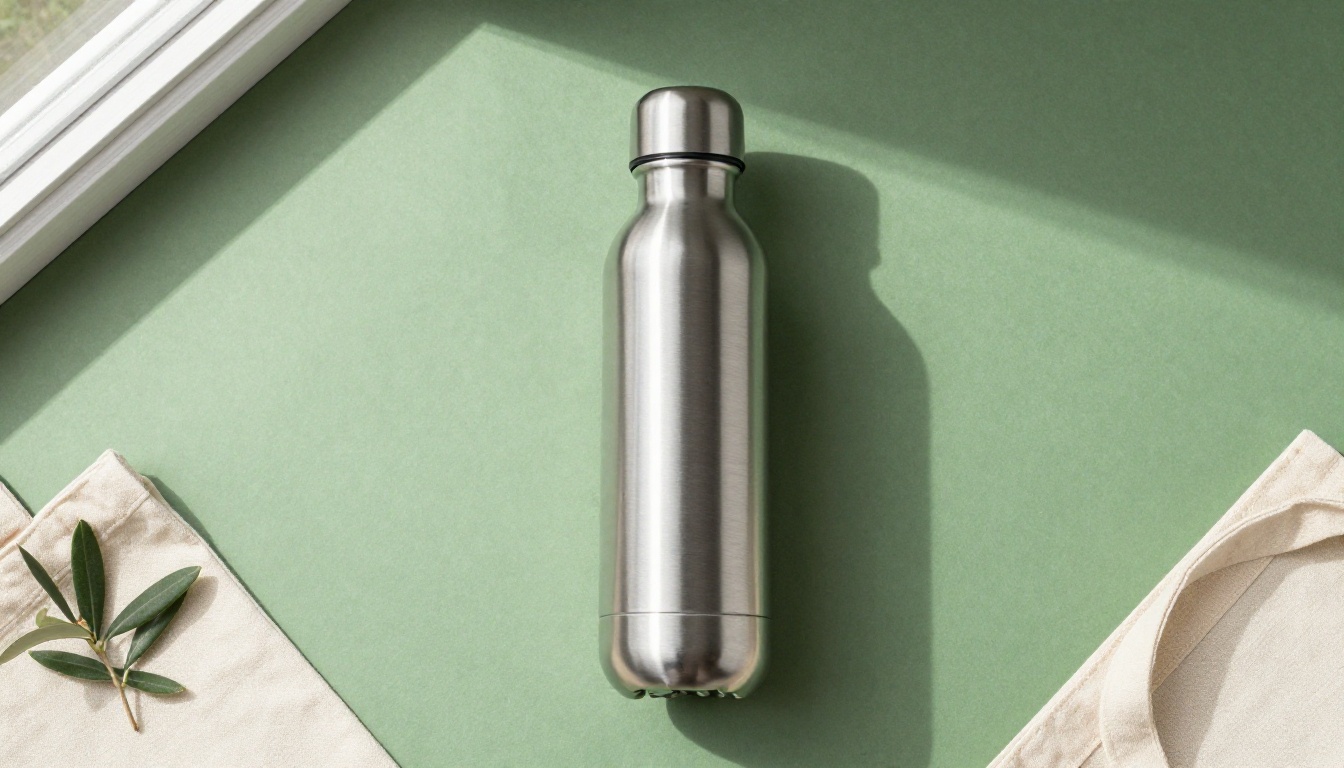
Feed the packshot into Product Shadow next:
- Upload the cutout or packshot.
- Choose shadow_type:
regular for objects that rest on a surface, float for items that should hover.
- Start with shadow_intensity at 60 and shadow_offset_y at 15, then adjust by eye.
- Raise shadow_blur for soft, diffused light and lower it for hard window light.
- Match shadow_color to the backdrop: pure black on white, a darker tint of the brand color on colored backgrounds.
- Keep preserve_alpha on if you plan to place the result in a design tool.
💡 Tip: Use identical shadow settings for every product in a collection. A matching shadow angle and softness is what makes a grid look shot on the same day.
Prompts That Look Real
A Prompt Formula That Works
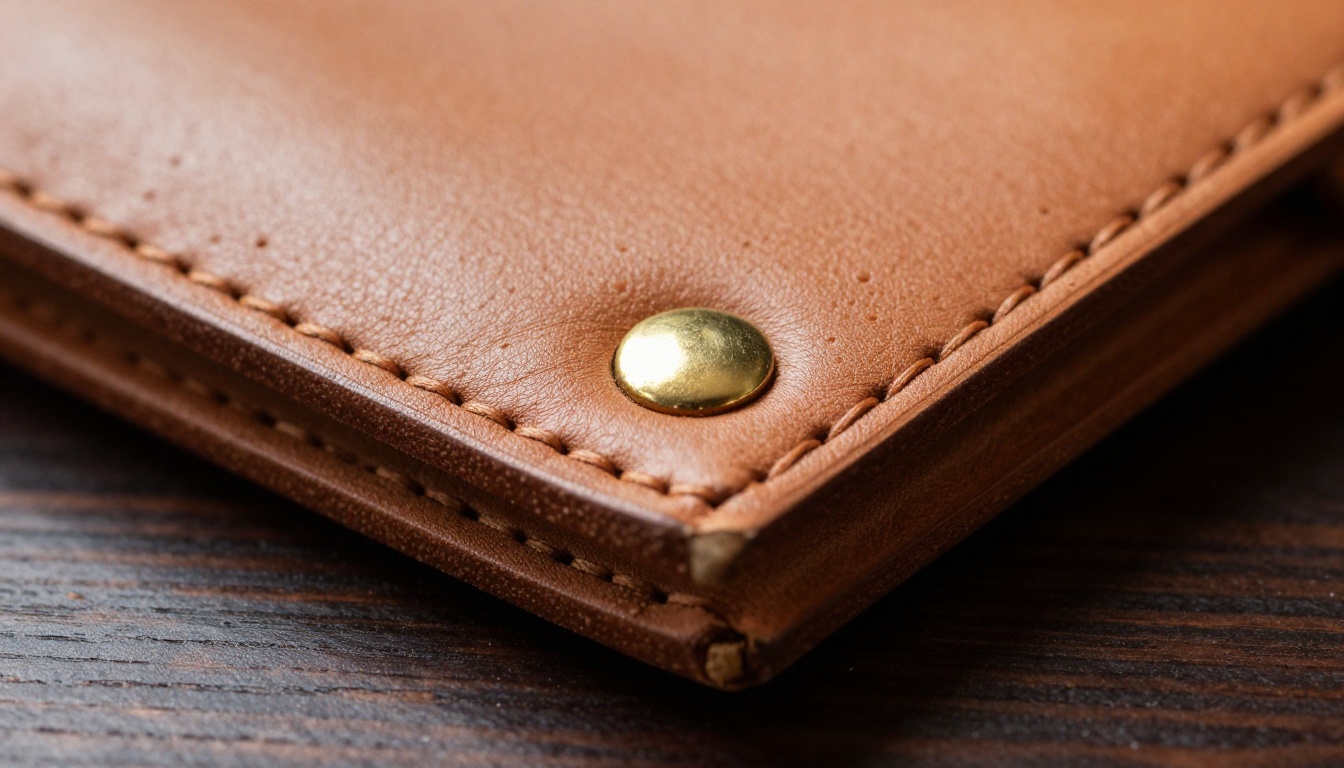
Text-to-image and background prompts follow one pattern: subject + surface + light direction + lens + texture. Photographic language tells the model to produce a photograph and not an illustration. Strong phrases include "soft window light from the left", "85mm f/1.8", "visible wood grain", and "Kodak Portra 400". Weak phrases include "beautiful", "amazing", and "high quality", because they describe nothing the camera could record.
Stacked quality tags such as "ultra HD" and "hyper-detailed" tend to push surfaces toward a plastic look. Describe the material instead: waxed thread, brushed steel, wet marble.
Prompts to Copy
| Store type | Prompt |
|---|
| Candles | Hand-poured soy candle in amber glass on a linen-draped wooden table, soft window light from the left, 85mm f/1.8, warm shadows, visible wax texture, Kodak Portra 400 |
| Apparel | Folded oatmeal knit sweater on a pale oak bench, soft overhead daylight, 35mm lens shot from above, visible wool fibers and stitching, neutral background |
| Skincare | Frosted glass serum bottle on a wet marble ledge, side light from the right, 100mm macro, water droplets, cool tones, shallow depth of field |
| Electronics | Matte black wireless earbuds case on a concrete shelf, diffused overhead light, 50mm f/4, fine surface grain, soft contact shadow |
Writing thirty prompts by hand gets old fast. A language model such as Claude Sonnet 5 or Gemini 3.5 Flash can turn one product description into ten scene prompts, and write the alt text and product copy in the same pass. Paste the product name, material, and brand mood, then ask for one prompt per season.
Picking the Right Model
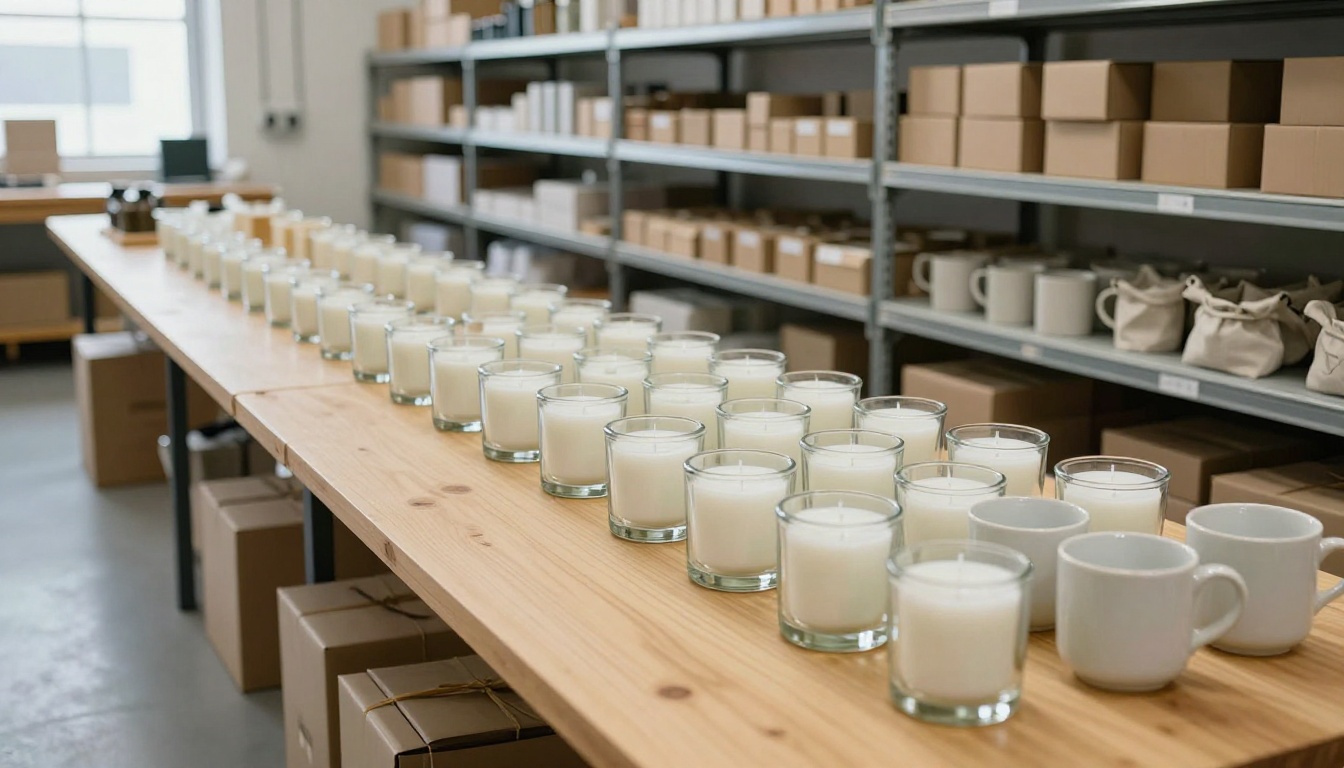
No single model wins every job. Match the tool to the task:
Whatever you choose, stay with one recipe per collection. Same background color, same shadow settings, same crop. Shoppers read that sameness as professionalism, and it makes your store feel like a brand and not a pile of listings.
A practical split is speed for the catalog, detail for the hero. Run every product through the packshot, shadow, and background tools for consistent output, then spend extra time on the three or four images that carry your homepage and ad campaigns, where a premium model earns its cost. Try the same prompt in two models side by side before you commit to one for a whole collection.
Mistakes That Make Photos Look Fake
Warped Labels and Text
Image generators still struggle with small printed text. If your product carries a label, a logo, or a size mark, never regenerate the product itself. Start from the real photo and replace only the background, so the label stays pixel-accurate. This is why background-swap tools beat full text-to-image generation for branded items. A picture that differs from what arrives at the door leads straight to returns.
Wrong Light Direction
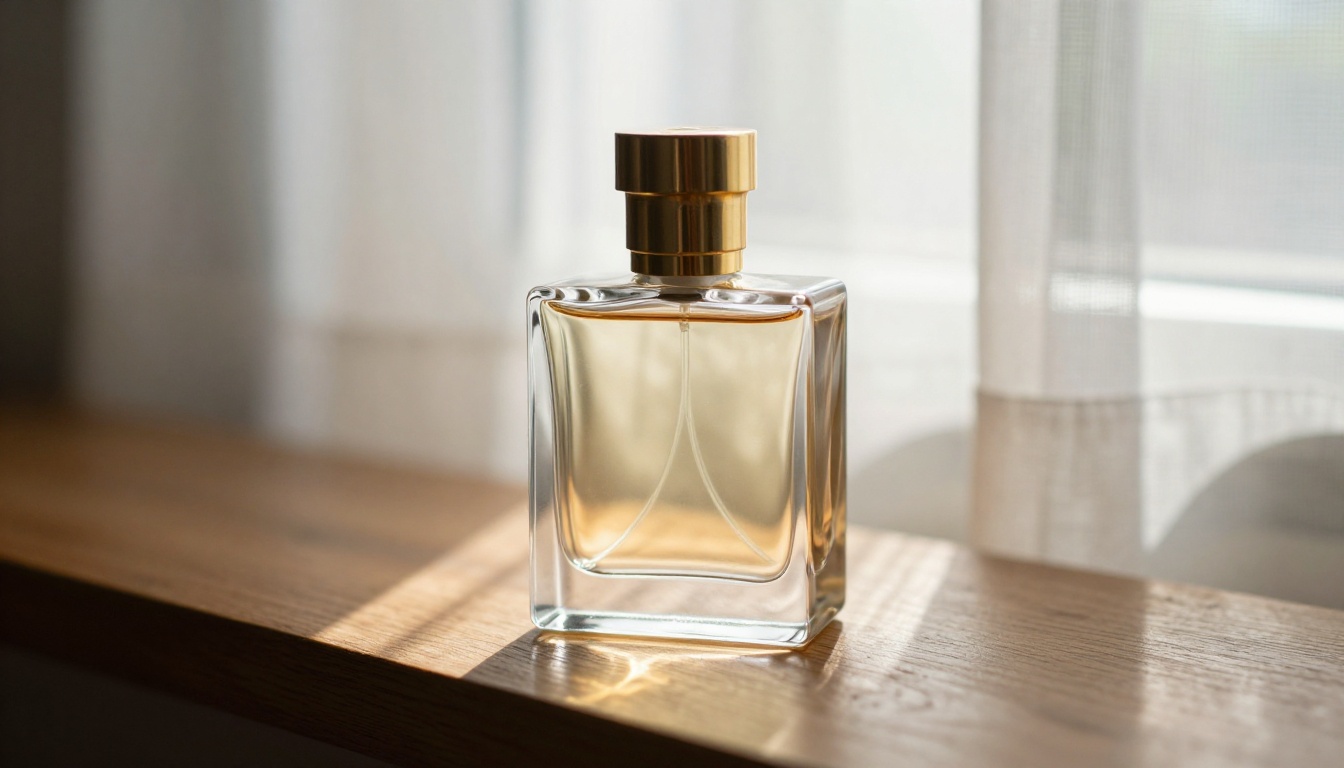
If the shadow falls left but the new scene is lit from the right, the eye catches it at once, even when no one can say why. Pick a light side in your prompt and match the shadow offset in Product Shadow. Check reflections too. Glass and metal should mirror a believable environment, not a blank void.
Three more tells to watch for:
- Perfect symmetry: real scenes have small imperfections, a crumpled linen edge or a stray leaf
- Floating objects: a missing contact shadow makes the product hover by accident
- Color drift: compare the AI version against the real item under daylight, and fix any shift in shade before publishing
💡 Rule of thumb: AI may change the scene, the light, and the crop. It should never change the color, size, or features of the product you actually ship.
Try It on Your Own Products
Pick your five best sellers and give yourself one hour. Photograph each item near a window, then open Product Packshot on Picasso IA and run all five through the same settings. Add depth with Product Shadow, then place your favorite product in a lifestyle scene with Generate Background.
Upload the results to Shopify, put the white packshot first, and compare the product page against your old photos. The difference shows up immediately. From there, experiment: try a seasonal scene, a floating shadow, or a brand-color backdrop, and see which version your shoppers respond to.
A simple rollout keeps the project from stalling:
- Week one: replace the main image on your ten best sellers with white packshots
- Week two: add one lifestyle image and one shadow-grounded variant to each
- Week three: extend the same recipe to the rest of the catalog and your ad creatives
Ready to build your own store images? Browse the full model catalog at picassoia.com and start creating with Picasso IA today.


