Blurry AI renders are frustrating in a very specific way. The composition is right, the lighting looks solid, but the actual image quality falls apart the moment you zoom in. Skin looks like painted plastic, edges bleed into each other, and fine detail that should be there simply is not. The good news: this is almost always fixable, and the fixes are faster than most people expect.
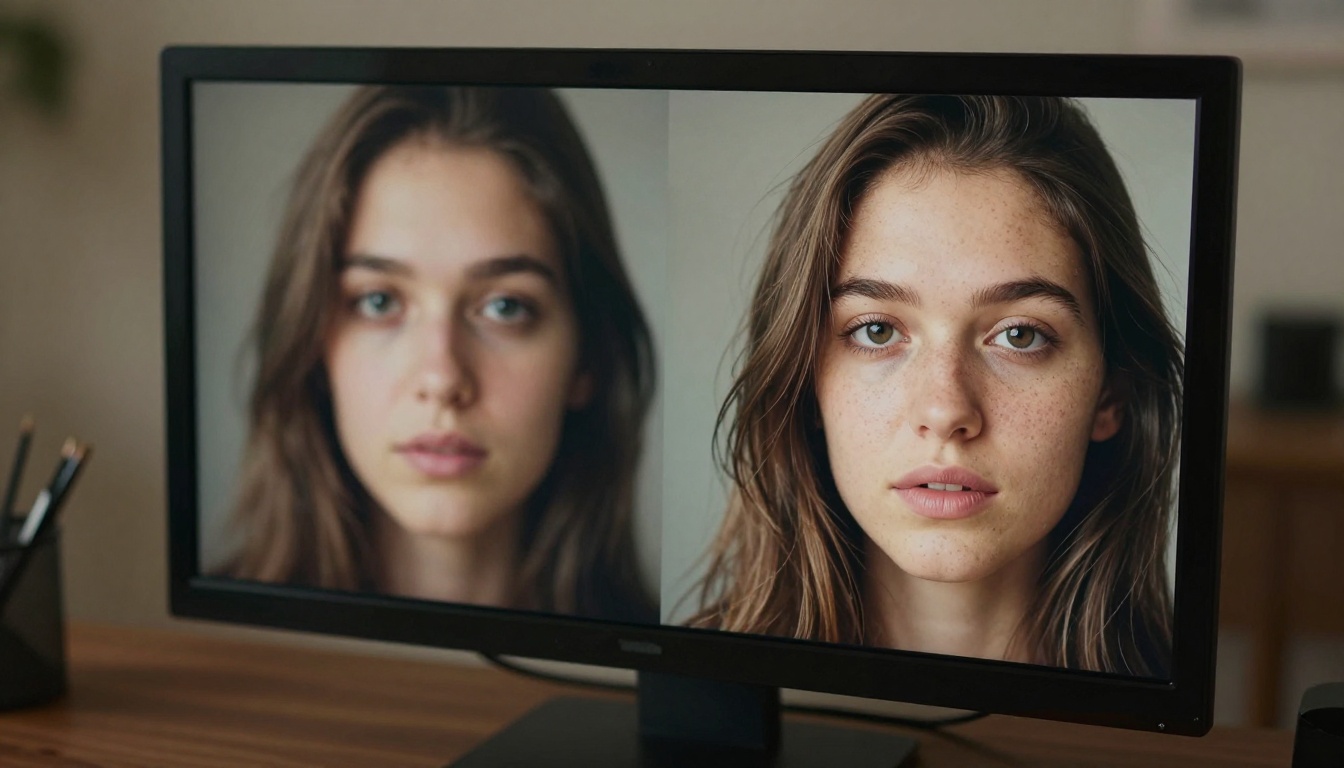
Why AI Renders Come Out Blurry
The root cause of blur in AI-generated images is almost never what people assume. Most blame the model or the prompt. The real culprits are usually resolution, sampling configuration, and the diffusion process itself.
The Resolution Gap Most People Miss
Most AI image models natively generate at relatively low resolutions, typically 512x512 or 768x768 pixels. When these outputs get upscaled to fit a 1920x1080 display, the software has to invent pixels that were never there. Bilinear or bicubic interpolation, the methods most basic upscalers use, average existing pixels to fill the gaps. The result is a smeared, soft image that looks like it was shot through a light fog.
The fix requires not just enlarging the image, but reconstructing missing detail using AI. That is the fundamental difference between a standard upscaler and a super-resolution model.
Sampling Steps and What They Do to Sharpness
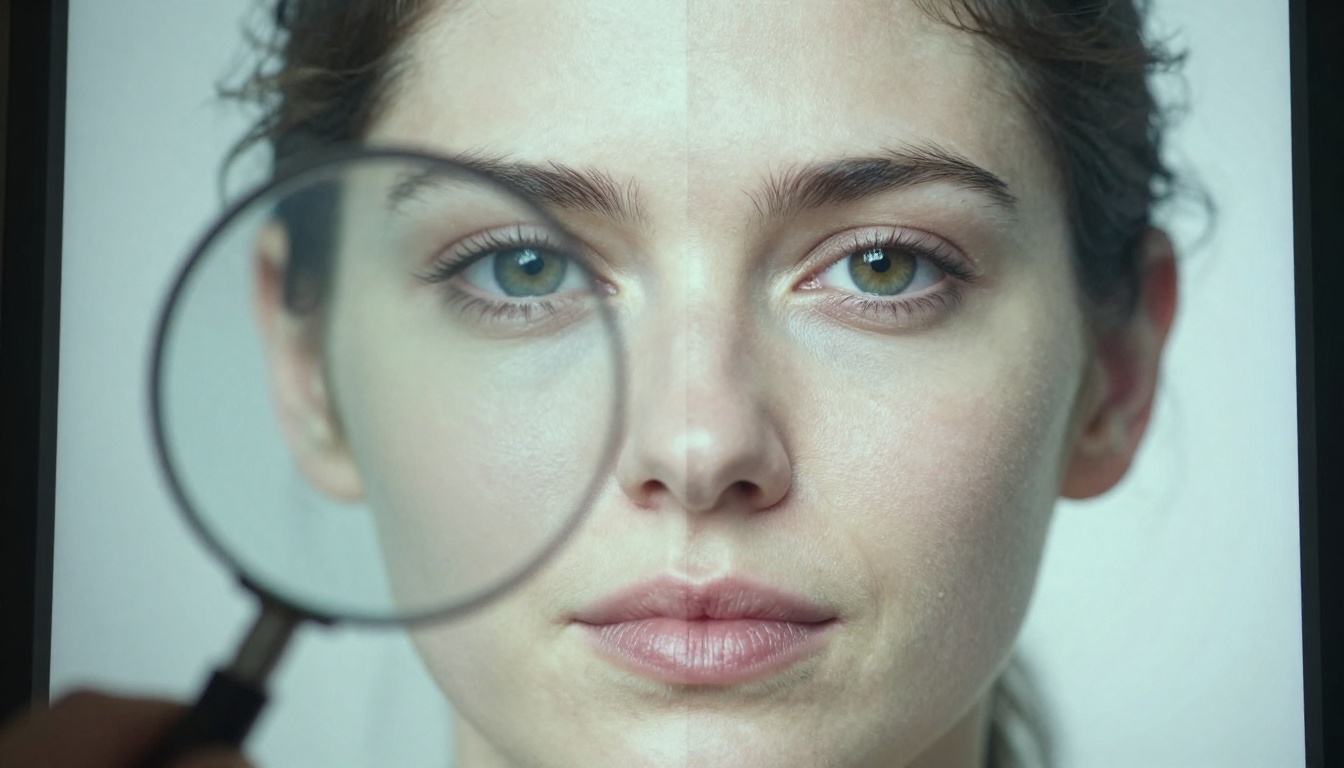
Every diffusion model generates images by iteratively denoising a random field of noise. Each iteration, called a sampling step, refines the image toward your prompt. Run too few steps, typically under 20, and the image never fully resolves from that initial noise. The result is a render that looks soft, undercooked, and lacking fine detail.
Most models produce their sharpest results between 25 and 50 steps. Beyond 50, improvements are usually negligible and you are mostly paying extra generation time for nothing.
💡 Quick fix: If your renders are consistently soft, the first thing to try before any post-processing is increasing your sampling steps to 30-40. This alone can dramatically improve sharpness at zero additional cost.
CFG Scale and Its Effect on Detail
CFG scale (Classifier-Free Guidance) controls how closely the model follows your prompt. A very low CFG (under 4) produces dreamy, impressionistic results with minimal detail. A very high CFG (above 12) introduces artifacts and edge halos that look like over-sharpening. For sharp, photorealistic renders, the sweet spot sits between 7 and 9.
Upscaling vs. Sharpening: Two Different Problems
These two words get used interchangeably, but they describe entirely different operations. Confusing them leads to applying the wrong fix to the wrong problem.
Upscaling increases the resolution of an image, adding pixels while attempting to preserve or invent detail. It is the right tool when your image is physically too small to use at its intended display size.
Sharpening increases local contrast around edges to make existing detail pop. It does not add resolution. It is the right tool when your image is the correct size but lacks definition and crispness.
When Upscaling Is the Right Call
| Situation | Best Tool |
|---|
| Image is under 1024px wide | Upscale first |
| Output looks soft at native size | Check sampling steps, then upscale |
| Printing or large-format use | Always upscale with AI model |
| Portrait needs skin or hair detail | AI upscaling with face-aware model |
When Sharpening Is the Right Call
If your image is already at a high resolution (1920px+) but looks flat and lacking definition, standard post-processing sharpening via unsharp mask or a clarity filter often fixes it without changing the file size. If the image is both low-res and blurry, always upscale first, then sharpen.
The Best Models to Fix Blurry AI Renders
PicassoIA has several super-resolution and sharpening models worth knowing. Each handles different types of images and produces different results.
Clarity Pro Upscaler
Clarity Pro Upscaler is one of the most respected upscaling models available. What separates it from basic upscalers is its ability to reconstruct plausible fine detail rather than just interpolating. Run a blurry portrait through it and it will add realistic skin pores, individual hair strands, and fabric texture that were not in the original. The results are consistently photorealistic.
It works best on portraits and photographic-style renders. For organic subjects like skin, hair, and clothing, the output quality is near-flawless.
Real ESRGAN
Real ESRGAN is one of the most battle-tested upscaling models in existence. It was specifically trained on real-world degraded images, making it excellent at removing compression artifacts, film grain noise, and JPEG blocking. If your AI render has been saved and re-saved as a JPEG, Real ESRGAN is the first tool to reach for.
It upscales by 4x and handles both photographic and illustrated styles reasonably well.
Topaz Image Upscale
Image Upscale by Topaz Labs can enlarge images up to 6x, which is the highest multiplier available on the platform. The results at 4x are exceptional. At 6x, some detail invention is visible but it holds up well for web and print use.
💡 When to use Topaz over Clarity Pro: If you need maximum resolution increase beyond 4x, Topaz Image Upscale is the right choice. For pure quality at 4x, Clarity Pro tends to produce sharper, more detailed results on portraits.
Recraft Crisp Upscale
Recraft Crisp Upscale takes a different approach. Instead of inventing detail, it focuses on cleaning and clarifying what already exists. This makes it the safer choice for product images and anything where accuracy to the source matters more than maximum sharpness.
Bria Increase Resolution
Increase Resolution by Bria provides up to 4x upscaling with strong performance on both synthetic and photographic images. It holds edge sharpness well and is particularly good on scenes with hard geometric lines, making it a solid choice for architectural and product renders.
Crystal Upscaler for Portraits
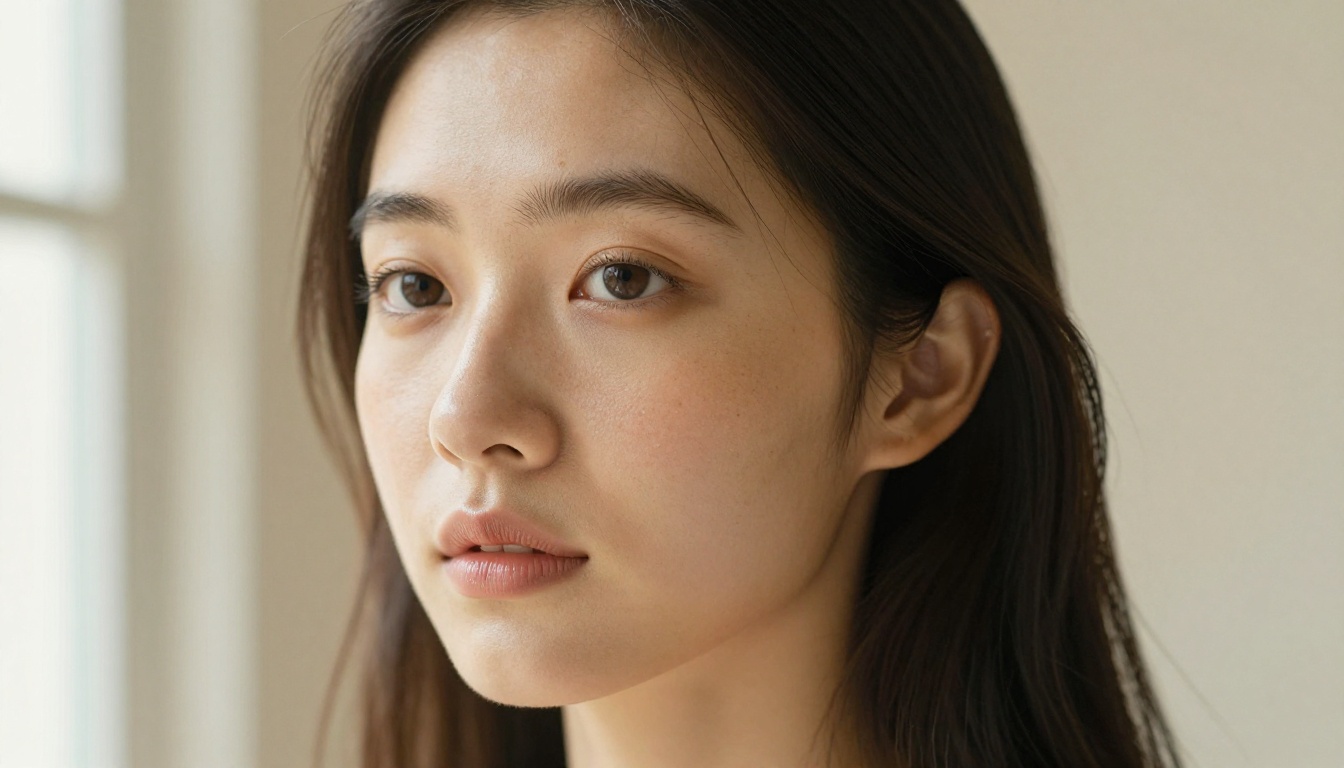
If your primary use case is portraits, Crystal Upscaler is purpose-built for faces. It uses face-detection logic to apply extra refinement to facial regions, recovering micro-detail in eyes, skin, and hair that general upscalers miss. For AI-generated portraits that look slightly plastic or doll-like, this model often produces the most dramatic improvement.
How to Use Clarity Pro Upscaler on PicassoIA
PicassoIA makes this workflow straightforward. Here is the exact process for fixing a blurry AI render using Clarity Pro Upscaler.
Step-by-Step Process
- Open PicassoIA and go to the Super Resolution category.
- Select Clarity Pro Upscaler.
- Upload your blurry AI render.
- Set the scale factor: 2x for images already at 1024px+, 4x for anything under 768px.
- Enable face refinement if your image contains a person. This applies targeted facial sharpening on top of the general upscale.
- Set creativity between 0.3 and 0.5. Below 0.3, the model behaves mostly as a standard interpolation upscaler. Above 0.6, it starts inventing significant detail that may not match the original.
- Run the model and review the result at 100% zoom.
Getting the Most Out of the Parameters
| Parameter | Low Value Effect | High Value Effect | Recommended Range |
|---|
| Scale | Less resolution gain | Maximum resolution | 2x-4x depending on source |
| Creativity | Conservative, safe | Aggressive, inventive | 0.3-0.5 |
| Face Refinement | Off | On | On for any portrait |
| Resemblance | Drifts from original | Strict to original | 0.7-0.9 |
💡 Pro tip: Always check the result at 100% zoom, not in the thumbnail. Compression in the preview can make a mediocre result look better than it is.
Prompt Tricks That Stop Blur Before It Starts
The most efficient fix for blurry AI renders is preventing them in the first place. These prompt strategies consistently produce sharper outputs before any post-processing is needed.
Detail Tokens That Actually Work
Certain words in a prompt consistently push diffusion models toward sharper, more detailed outputs. They work because they bias the model toward training images that were themselves high-detail and high-resolution.
High-signal sharpness tokens:
photorealistic, RAW photo8K resolution, ultra-detailedsharp focus, tack sharpfine detail, highly detailedCanon EOS R5, 85mm f/1.4film grain, Kodak Portra 400
The camera and lens specifications are particularly effective. They pull the model toward photographic training data, which is inherently sharper than illustrated or CG content.
Negative Prompts That Remove Blur
Most diffusion models support negative prompts, which explicitly steer generation away from undesirable qualities. These negative tokens consistently reduce blur and softness:
blurry, out of focus, soft, hazy, foggy, low quality, low resolution, pixelated, jpeg artifacts, compression artifacts, noisy, grainy, overexposed, washed out, flat
This list should go into your negative prompt for every generation where sharpness matters.
Composition Choices That Help Sharpness
One underrated factor: image composition. Renders with very dense, complex scenes, think dozens of overlapping figures or highly intricate backgrounds, force the model to allocate its detail budget across too many elements. The result is that no single area gets enough resolution. Simpler compositions with a clear subject in the foreground almost always come out sharper than crowded scenes.
Post-Processing Workflow for Sharp Results
Even with perfect prompt engineering and optimal sampling settings, some AI renders still benefit from post-processing. Here is a workflow that reliably produces sharp final outputs.
Step 1: Identify the Problem First
Before running any upscaler, identify what is actually wrong with the image. Is it blurry at native resolution? Is it too small? Does it have JPEG compression blocks? The answer changes which tool you use first.
If the image has compression artifacts, run Real ESRGAN first. It cleans those artifacts before upscaling, which prevents them from being baked into the larger version.
Step 2: Pick the Right Upscaler
Run your chosen upscaler at the appropriate scale:
Step 3: Optional Second Pass
For demanding use cases, a second pass through a lighter upscaler can add an extra layer of crispness. Run Recraft Creative Upscale after your primary upscaler for an additional round of detail refinement. The creative model adds texture and micro-detail that the standard crisp upscaler is too conservative to invent.
💡 Caution on stacking: Do not stack more than two upscalers. The third pass rarely adds visible improvement and risks over-processing the image, creating an unnatural, over-sharpened appearance.
Step 4: Review and Compare
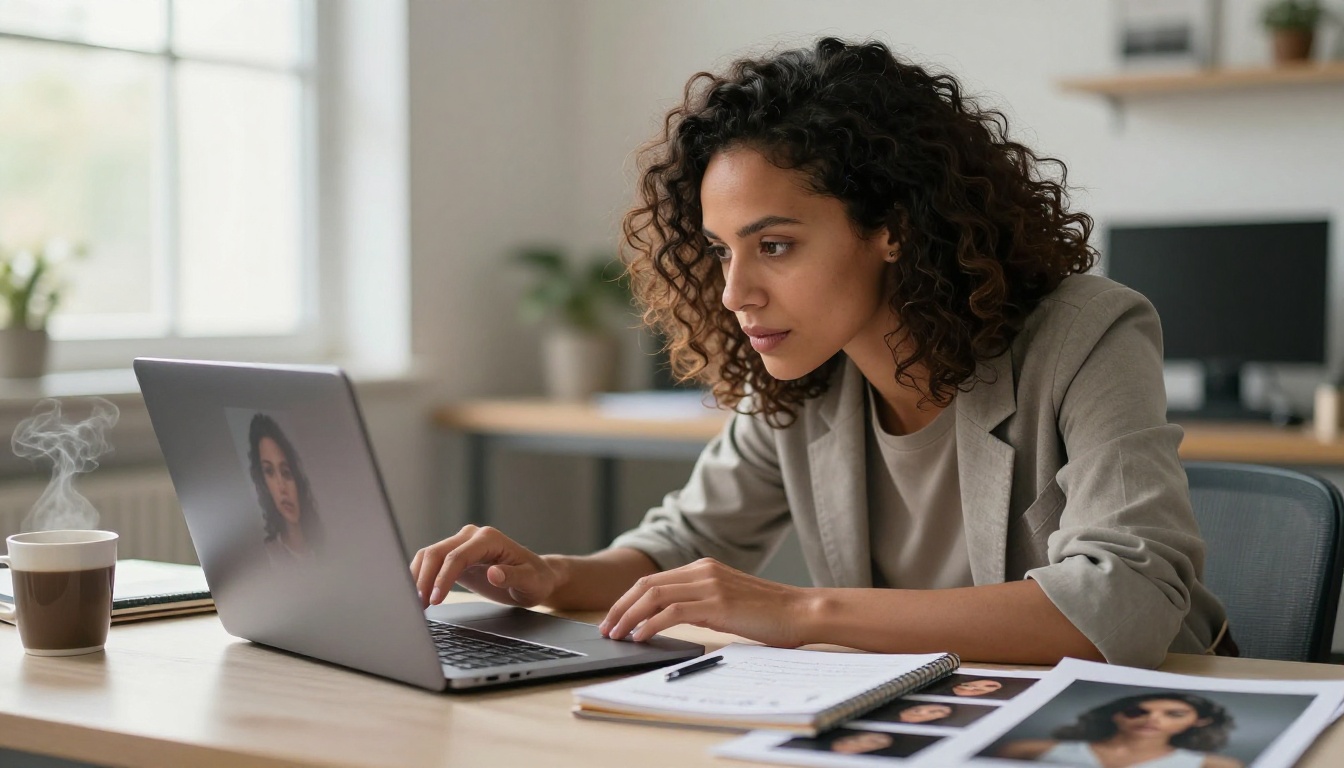
Always compare the result against the source at 1:1 zoom. The improvement should be immediately obvious in edge definition, texture clarity, and color separation. If it is not, revisit your upscaler choice or check your original sampling settings.
All Upscalers Side by Side
Sharpening AI Video Renders
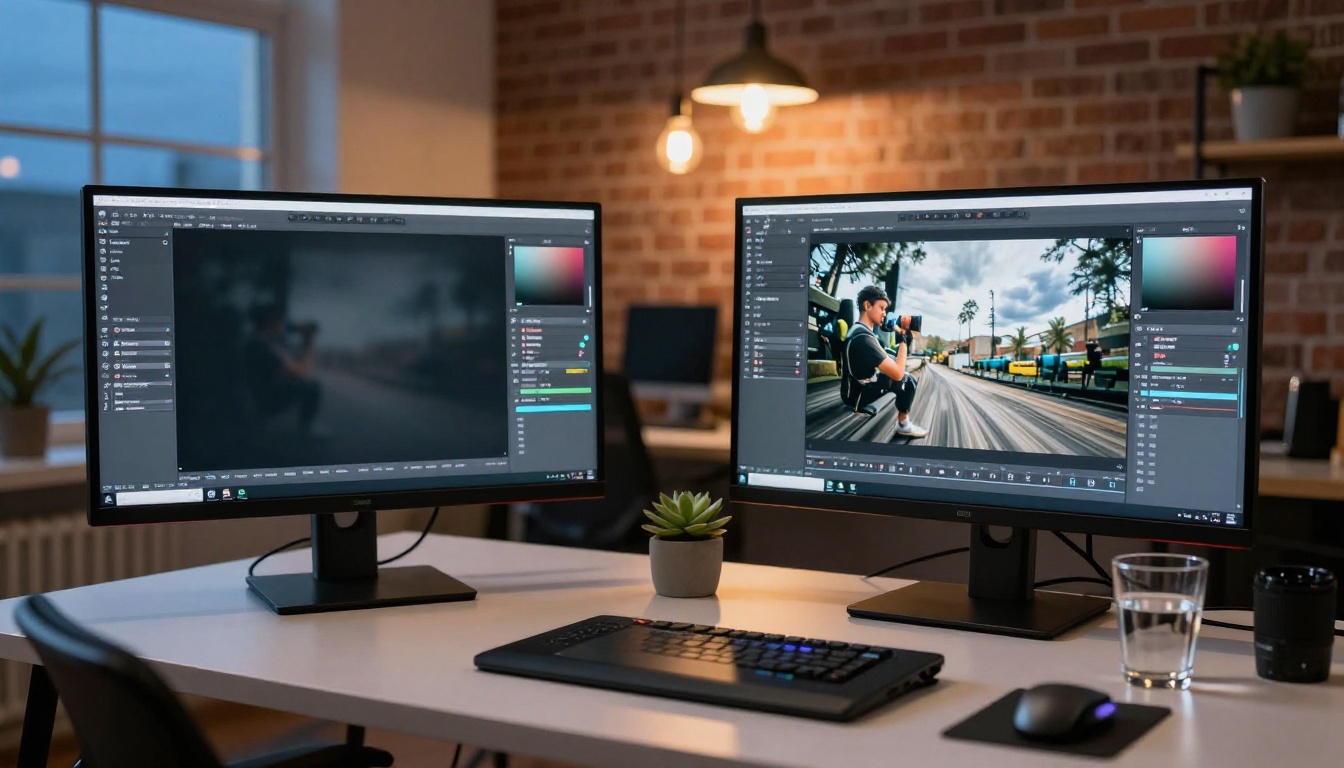
The same blur problem that affects still images shows up in AI video renders, and the fix requires dedicated video processing tools. PicassoIA offers Video Upscale by Topaz Labs, which processes video frames with temporal consistency. This means it tracks motion between frames to prevent the flickering and shimmering that happens when you upscale individual frames independently.
Upscale v1 by Runway handles 4K video upscaling with strong performance on cinematic content. Both models are asynchronous on PicassoIA: you submit the video and retrieve the result when processing is complete.
For video, the workflow mirrors still images: identify and clean compression artifacts first if present, upscale with the right model, then review at native playback resolution. The one extra consideration for video is render time, since each frame adds processing overhead. A 5-second clip at 24fps means 120 frames, all of which need individual upscaling with temporal coordination between them.
Start Creating Sharper Images Now
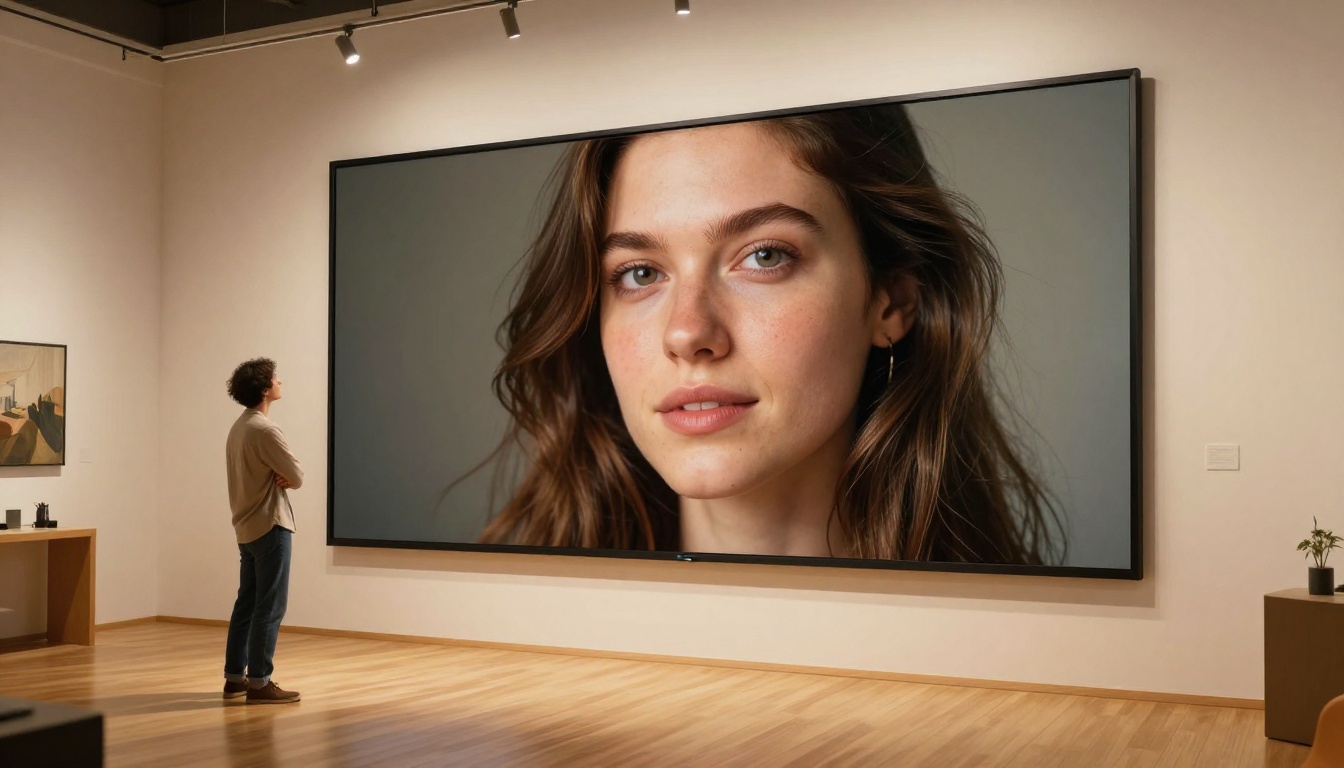
Everything covered here is available directly on PicassoIA without installing any software or managing local GPU resources. The platform brings together all nine super-resolution models in one place, so you can pick the right tool for each image type and run it in seconds.
If you are generating AI portraits, start with Clarity Pro Upscaler or Crystal Upscaler. For anything with JPEG artifacts or noise, Real ESRGAN is where to start. If you need maximum output size, Topaz Image Upscale goes up to 6x. And if accuracy to the source matters more than sharp invention, Recraft Crisp Upscale is the conservative choice.
Take any blurry render you have sitting around and run it through one of these models. The difference at 100% zoom will tell you immediately what kind of sharpening your specific outputs need, and from there, the workflow becomes repeatable.
Visit picassoia.com/en/all-models to see everything available on the platform.


