You finished the record. The mix is tight, the release date is booked, and then the artwork lands in your inbox with the title misspelled, a color cast that makes the sky look sick, and a mood that does not match the songs. Redoing everything from scratch means another week and another invoice. An AI album art editor removes that wait: you upload the existing image, type what should change, and get a new version back while the composition stays where it was.
This article walks through exactly how to change text, colors, and style on album artwork online, for free, using real prompts, a model comparison table, and a step by step workflow on PicassoIA. Whether you are an independent artist, a label manager, or a designer who needs ten variations before lunch, you will see what works and what to avoid.
What an AI Album Art Editor Does
Traditional editing means layers, masks, and hours inside desktop software. An AI editor flips that process. You describe the result in plain language, and the model rebuilds the pixels that need to change while preserving the rest.
Edit Instead of Rebuild
Most people assume AI image tools only generate from nothing. Editing models work differently. They take your existing image as the starting point and apply an instruction on top: "change the title to NIGHT SHIFT", "make the palette warmer", "turn this into a grainy 1970s film photo". The subject, the framing, and the light direction mostly survive, which is exactly what you want when the artwork has already been approved by the band.
Who Benefits Most
- Independent artists who cannot afford a second round with a designer.
- Label teams that need regional versions of one release, with different titles or palettes.
- Playlist curators and podcasters who want matching square art in a consistent look.
- Designers who use AI for fast drafts before polishing in their own software.
- DJs and producers who release often and need artwork that changes with every single.
💡 Tip: Keep the original file untouched. Save every AI edit as a new version so you can always return to the approved master.
How to Change Text on Artwork
Text is the part everyone worries about, and for good reason. Early image models mangled letters. Current editing models handle short titles far better, though they still need clear instructions.
Remove the Old Lettering First
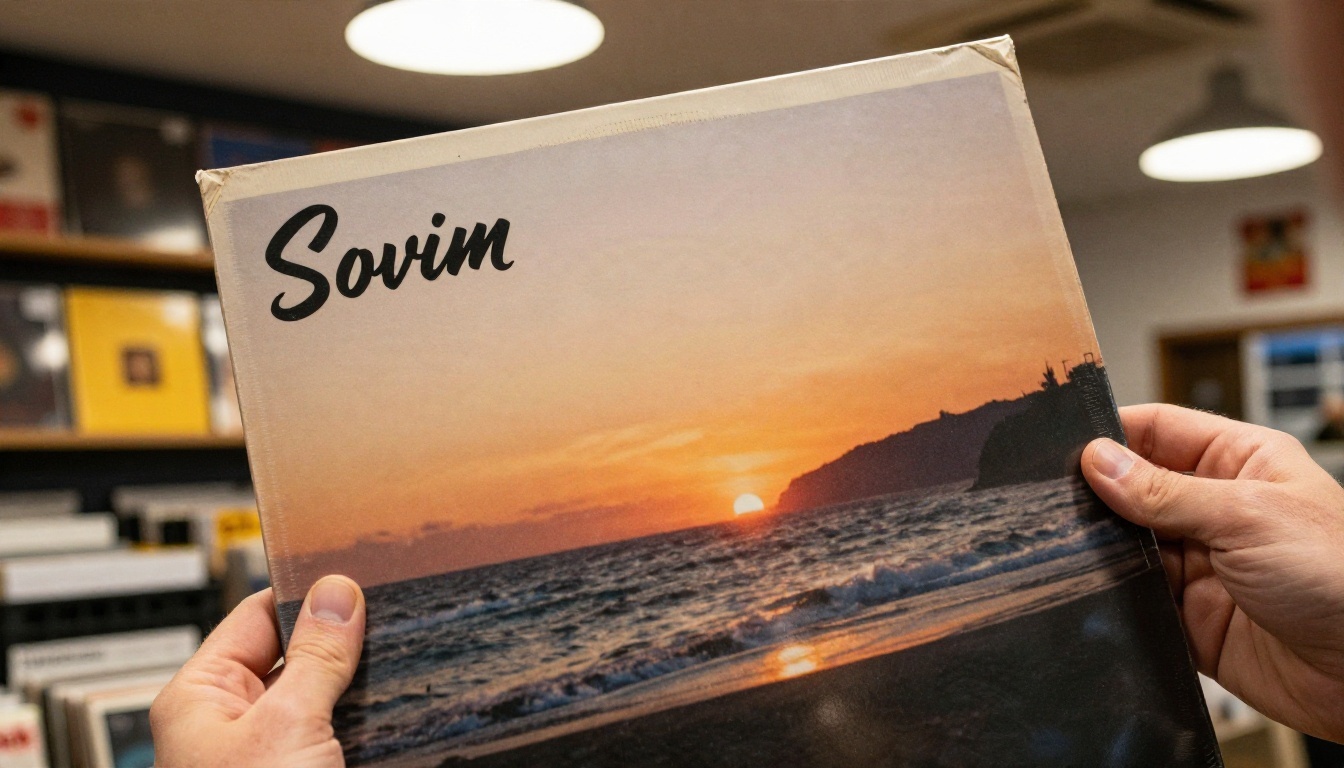
If the existing title is wrong, do not try to write over it. Strip it out first. The Text Removal model is built for this single job: it erases lettering and fills the area with matching background texture. Run that first, check that the sky, grain, or pattern looks natural, and only then add new words.
Add New Lettering the Right Way
Give the editor four details: the exact words in quotes, the position, the style of the letters, and the color. A prompt that works well:
"Add the title 'NIGHT SHIFT' in white condensed sans-serif capitals across the lower third, slightly letterspaced, with a subtle film grain so it sits in the photograph."
Short titles of one to three words give the cleanest results. Models such as Ideogram v4 Quality and GPT Image 2.5 Sunburst are built with typography in mind, so they are good picks when the lettering is the star of the artwork.
Fix Garbled Letters
Sometimes a letter comes back warped. Do not regenerate the whole image. Run a second edit with a narrow instruction: "Correct the second word so it reads exactly 'SHIFT', keep everything else unchanged." If two attempts fail, shorten the text, remove punctuation, or switch to another model from the table later in this article.
| Text Problem | Fastest Fix |
|---|
| Wrong spelling in the existing title | Remove text, then add new lettering |
| New text looks pasted on | Ask for "grain and the same lighting as the photo" |
| Letters warped or doubled | Shorten the title, retry with a typography focused model |
| Tiny credits unreadable | Add credits in your own layout software, not the AI step |
💡 Tip: Put the artist name and title in the AI edit, but add small credit lines, catalog numbers, and logos by hand. Tiny text is where every model struggles.
Changing Colors Without Losing Detail
Color carries the emotion of a release before anyone hears a note. A cold teal says isolation. Amber says late summer. Muted pink says nostalgia. Changing it should not flatten the photograph.
Whole Image Color Grading
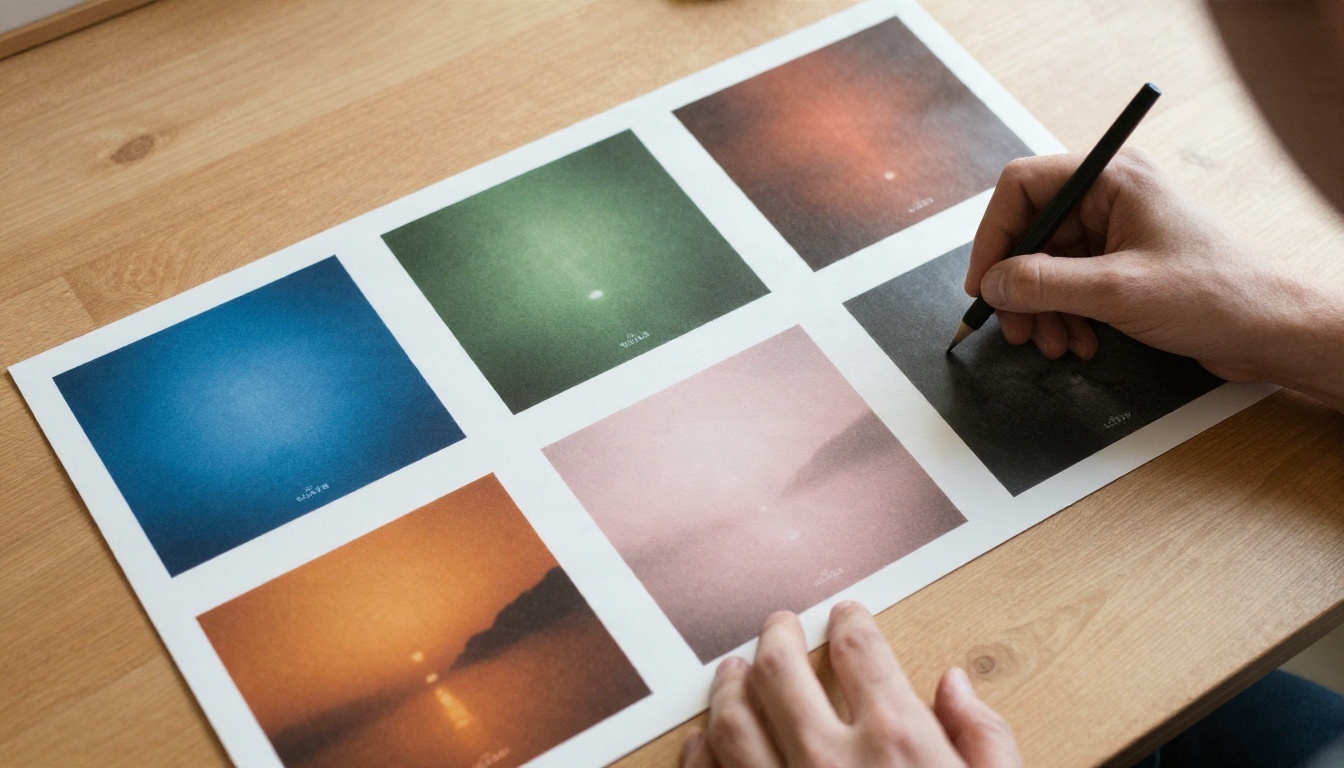
The quickest edit is a global shift. Prompts that work: "Warm the whole image with golden hour tones, keep skin natural", "Convert to black and white with deep contrast", or "Give it a faded sepia look, lifted blacks". Generate three or four versions and lay them side by side, like the prints on the table above. Seeing options together makes the decision easier than flipping back and forth.
Targeted Color Swaps
Sometimes only one element needs to change: a red jacket that should be mustard, or a blue door that clashes with the title. Name the object and the new color: "Change the woman's red coat to deep forest green, leave the snow and background untouched." Flux Kontext Fast is quick for these object level changes, and Qwen Image Edit Plus holds fine detail well when the scene is busy.
Match the Mood of the Music
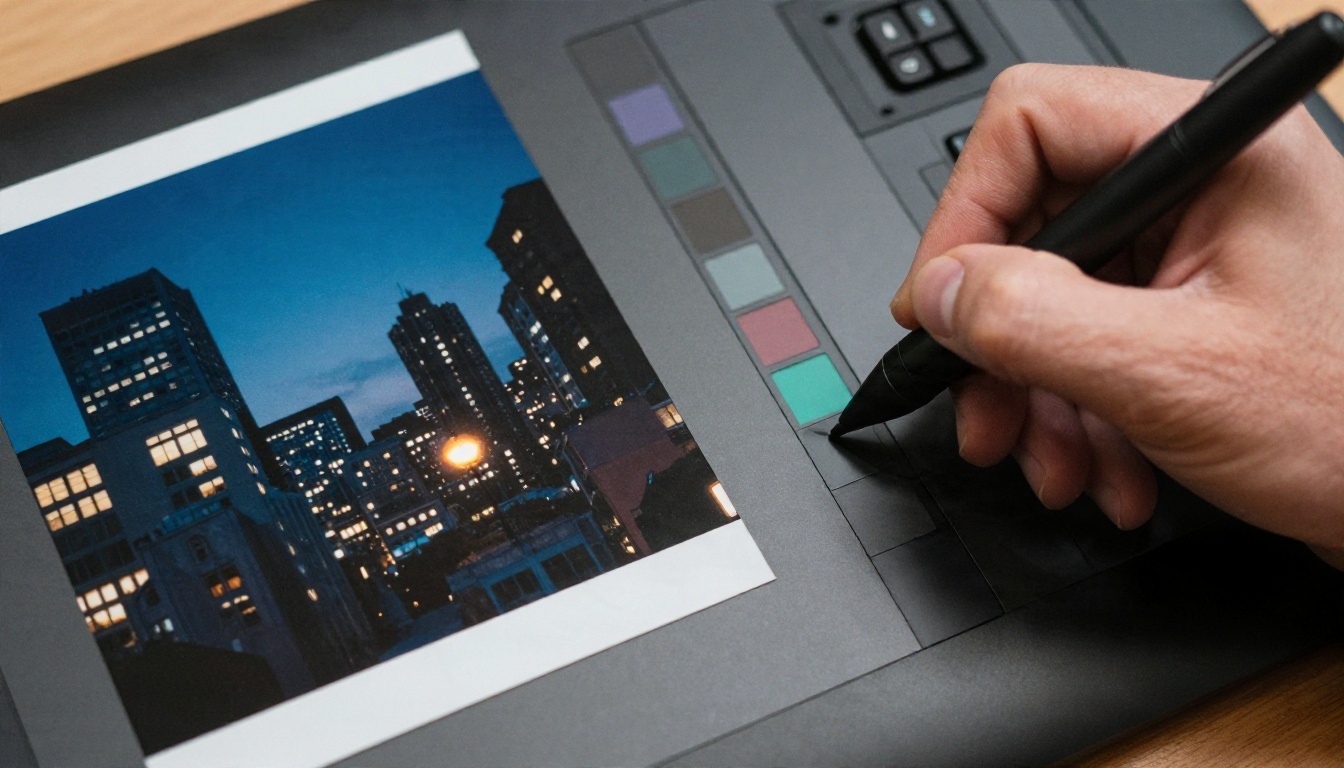
A practical shortcut: describe the sound, then translate it into color.
| Genre or Mood | Palette That Fits | Prompt Phrase |
|---|
| Lo-fi and chill | Dusty peach, faded blue | "soft pastel tones, lifted shadows" |
| Indie rock | Warm brown, muted red | "worn film look, warm highlights" |
| Ambient | Cool grey, pale green | "foggy, desaturated, quiet" |
| Soul and funk | Mustard, deep orange | "1970s warm tones, rich saturation" |
| Dark electronic | Deep blue, near black | "low key lighting, cold shadows" |
Notice that none of these ask for neon or glowing effects. Natural, photographic palettes tend to age better and look more credible on a streaming thumbnail.
Switching Style While Keeping the Subject
Style edits go deeper than color. You are changing how the image feels as an object: a crisp digital photo becomes a grainy film frame, a bright snapshot becomes a moody portrait.
Photographic Looks That Work
Reference real film stocks and lighting setups rather than abstract adjectives. The editor understands phrases like these:
- "Shot on 35mm film, visible grain, slightly faded colors"
- "Low key lighting from a single lamp on the right"
- "Overcast documentary look, flat natural light"
- "Polaroid style with soft edges and warm cast"
- "High contrast black and white street photograph"
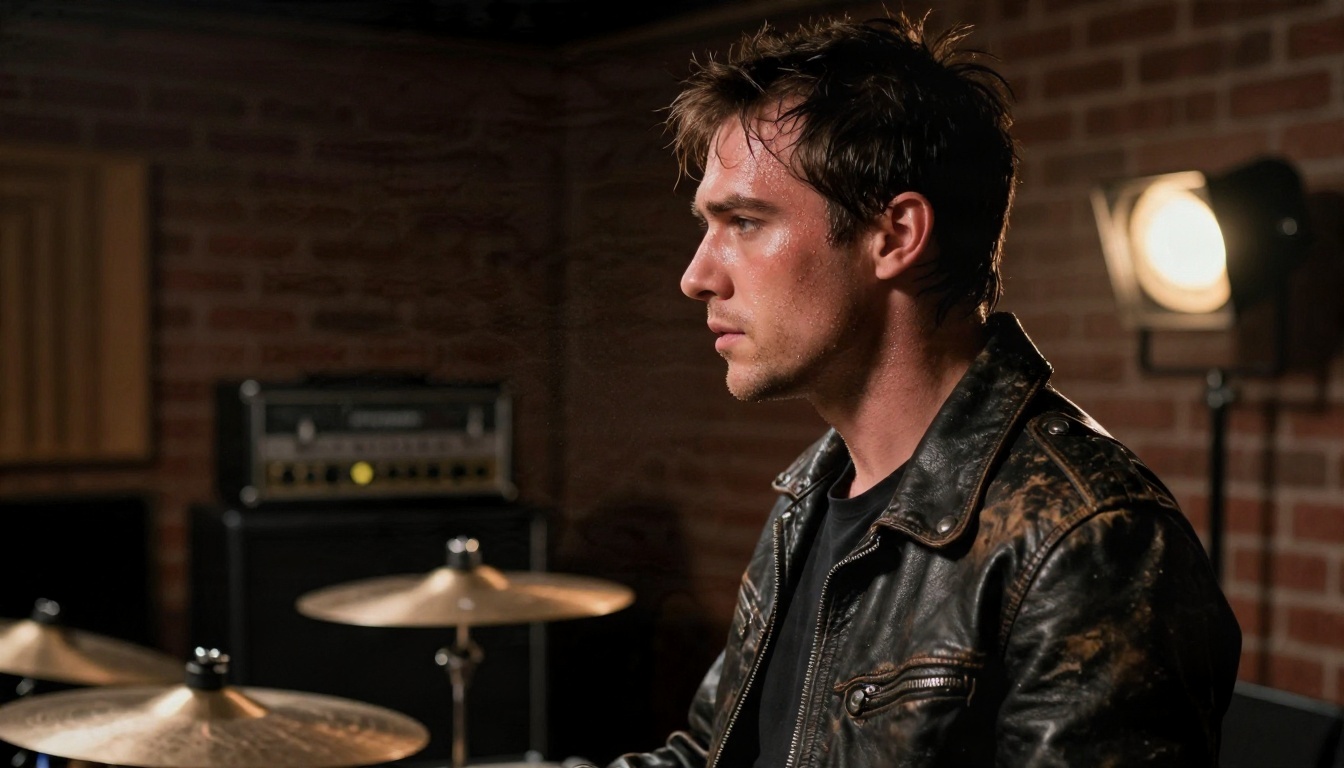
The portrait above shows what a single practical lamp does: shadows deepen, skin texture shows, and the image reads as raw and honest. That is a style decision you can request in one sentence.
Era Based Looks
Genre and decade are linked in listeners' minds. A 1980s synth record might call for warm sunset gradients and a vintage print texture. A 1990s alternative release might lean on harsh flash photography and muted colors. Ask for the era plus the physical medium: "like a 1994 magazine photograph, slightly overexposed flash, soft print grain."
Keep the Subject Locked
The biggest risk with style edits is drift: the face changes, the pose shifts, the background becomes something else. Reduce it with a clear instruction at the end of every prompt: "Keep the same person, pose, and composition." If the result still drifts, pick a model designed for editing rather than free generation. Nano Banana and P Image Edit are both built around changing an existing photo instead of replacing it.
How to Use PicassoIA Image Editor Pro
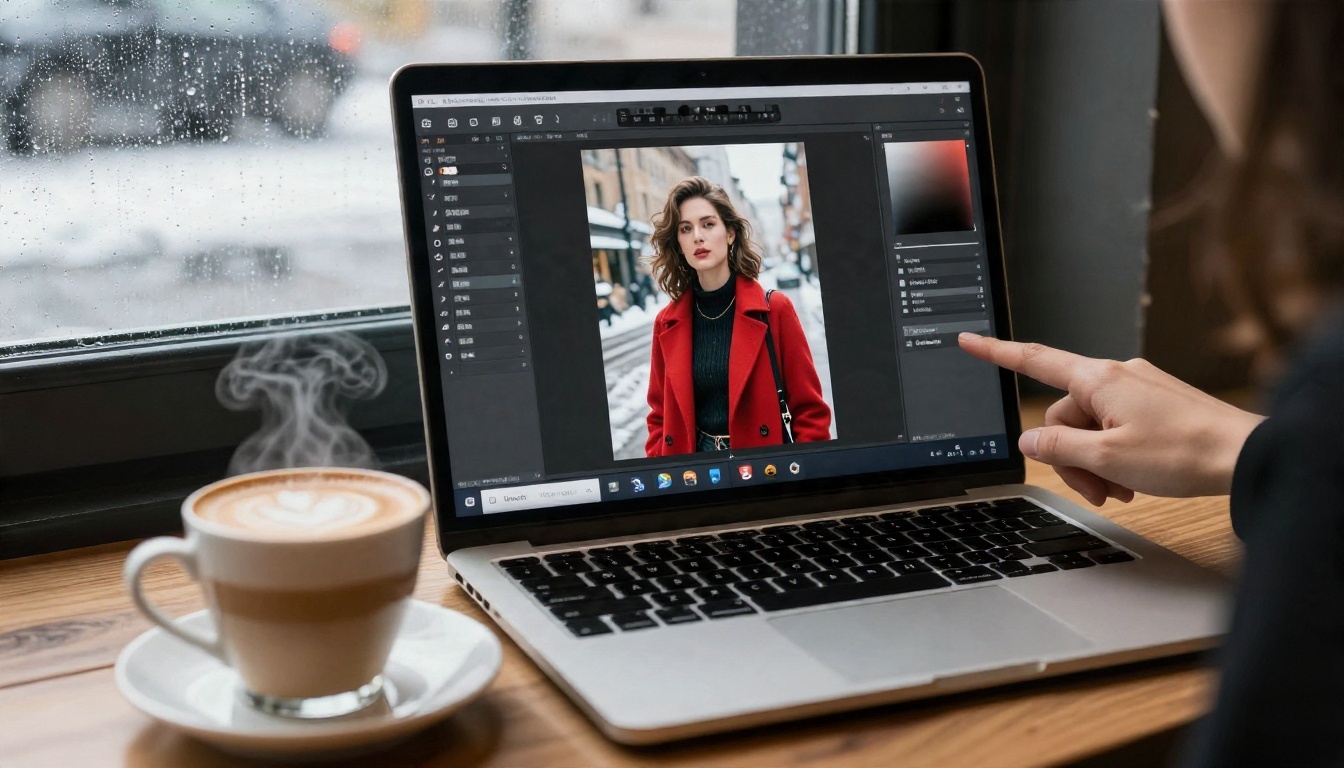
For most album art tweaks, one tool covers the lot. PicassoIA Image Editor Pro lets you upload an image and describe the edit in a sentence, with unlimited generations so you can iterate until the artwork feels right.
Step by Step Workflow
- Open the model page. Go to PicassoIA Image Editor Pro and sign in.
- Upload your artwork. Use the highest resolution file you have. A square image of at least 3000 by 3000 pixels is the common standard for streaming platforms, so start as close to that as you can.
- Write one instruction. Change one thing at a time: text, or color, or style. Stacking three changes in one prompt raises the chance that something drifts.
- Generate and compare. Run the edit several times. Small wording differences give noticeably different results.
- Chain the edits. Take your favorite result and use it as the new input for the next change. A typical order is text removal, then color, then style, then new lettering last.
- Save the final file. Download it and keep the original beside it with a clear filename.
Prompt Formula That Holds Up
Use this structure: [Action] + [Specific element] + [New look] + [What to keep].
"Change the sky to a deep amber sunset, keep the lone figure and the road exactly the same, add subtle film grain."
Short, specific, and with a protective clause at the end. Avoid piling on adjectives; three precise words beat ten vague ones.
💡 Tip: If a result is close but not right, do not start over. Send the near miss back in with a one line correction such as "less saturated" or "move the title higher".
Which Model Fits Which Job
Different editing models have different strengths. Here is how they line up for album art work:
Fast Tweaks vs Final Art
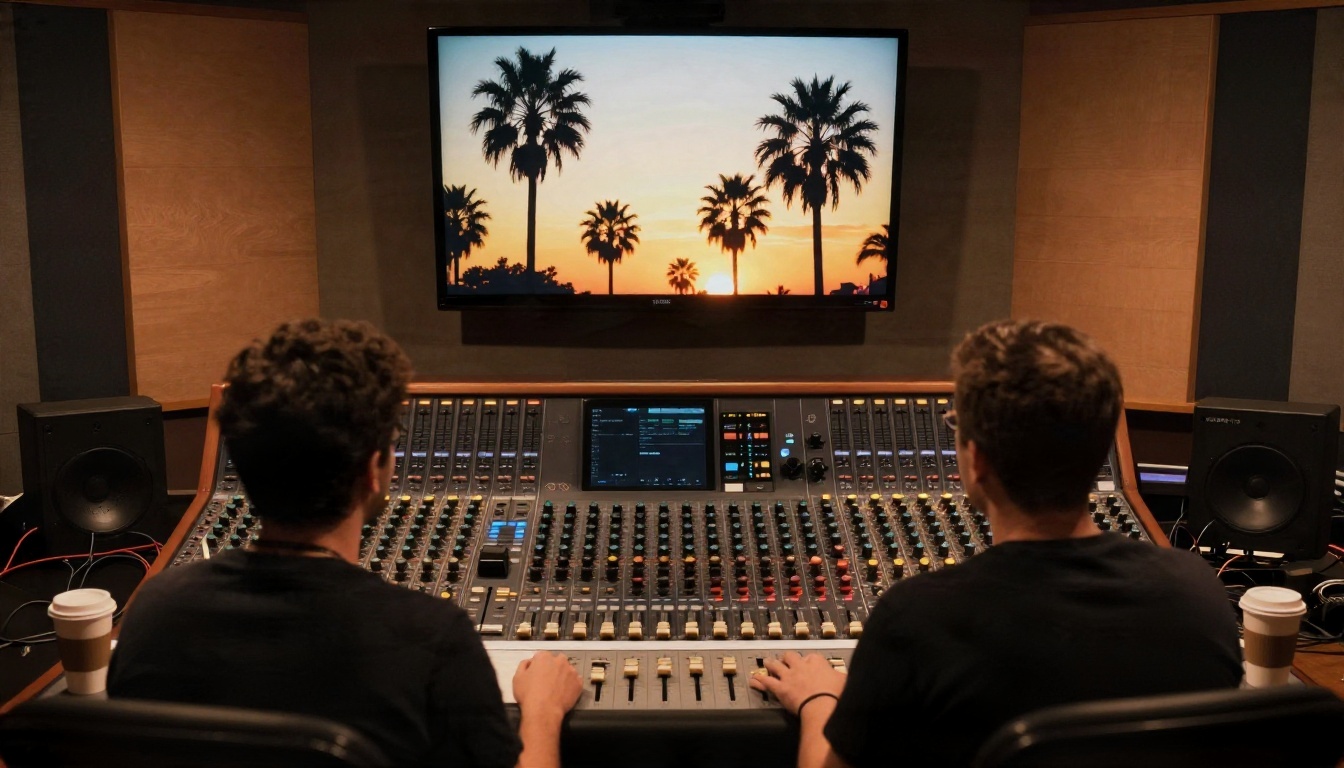
Use quick models during the review stage. When a band is sitting in the studio arguing over three palettes, speed matters more than perfection. Once everyone agrees, run the chosen version through a sharper model such as Seedream 4.5 to produce a clean, high resolution master. That two stage approach saves time and keeps the final file crisp.
When to Use Two Models
Mixing models is normal. A common chain: Text Removal to clear the old title, Nano Banana for a color and style change that respects the subject, then Ideogram v4 Quality for the final lettering. Each model does the job it is best at.
Free Editing: What to Expect
"Free" online tools vary, so it helps to know what counts as reasonable. Free access usually means you can upload, edit, and download without building a design project from zero. Limits tend to appear in resolution, queue time, or number of daily generations. On PicassoIA, Image Editor Pro is the place to start because of its unlimited generations, which suits trial and error.
Common Mistakes to Avoid
- Changing everything at once. One edit per pass keeps results predictable.
- Using a tiny source file. Low resolution input gives soft output, no matter how good the model is.
- Skipping the zoom check. View the result at 100 percent. Small letter errors and odd textures hide at thumbnail size.
- Ignoring the thumbnail test. Streaming apps show your artwork at roughly the size of a thumbnail. Shrink your edit to that size and check that the title is still readable.
- Forgetting rights. Only edit artwork you own or have permission to change. Photographs and illustrations by others carry their own licenses.
Quality Checklist Before You Export
| Check | What to Look For |
|---|
| Spelling | Every letter of the artist and title is correct |
| Edges | No halo or smudge around the new text |
| Skin and faces | Natural texture, no waxy look |
| Color | Palette matches the mood and looks the same on phone and laptop |
| Square crop | Nothing important is cut off at the edges |
From Screen to Print
An edited file only matters once it leaves the screen. Streaming platforms want a square image, and physical products want more.
Digital Release Specs
Export a square file, at least 3000 by 3000 pixels, in a standard color format, and keep the file size reasonable. Keep important elements away from the edges, because some platforms round the corners or crop slightly in playlists. If your edited result is smaller than the target, upscale before exporting rather than letting a platform stretch it.
Vinyl, Posters, and Merch
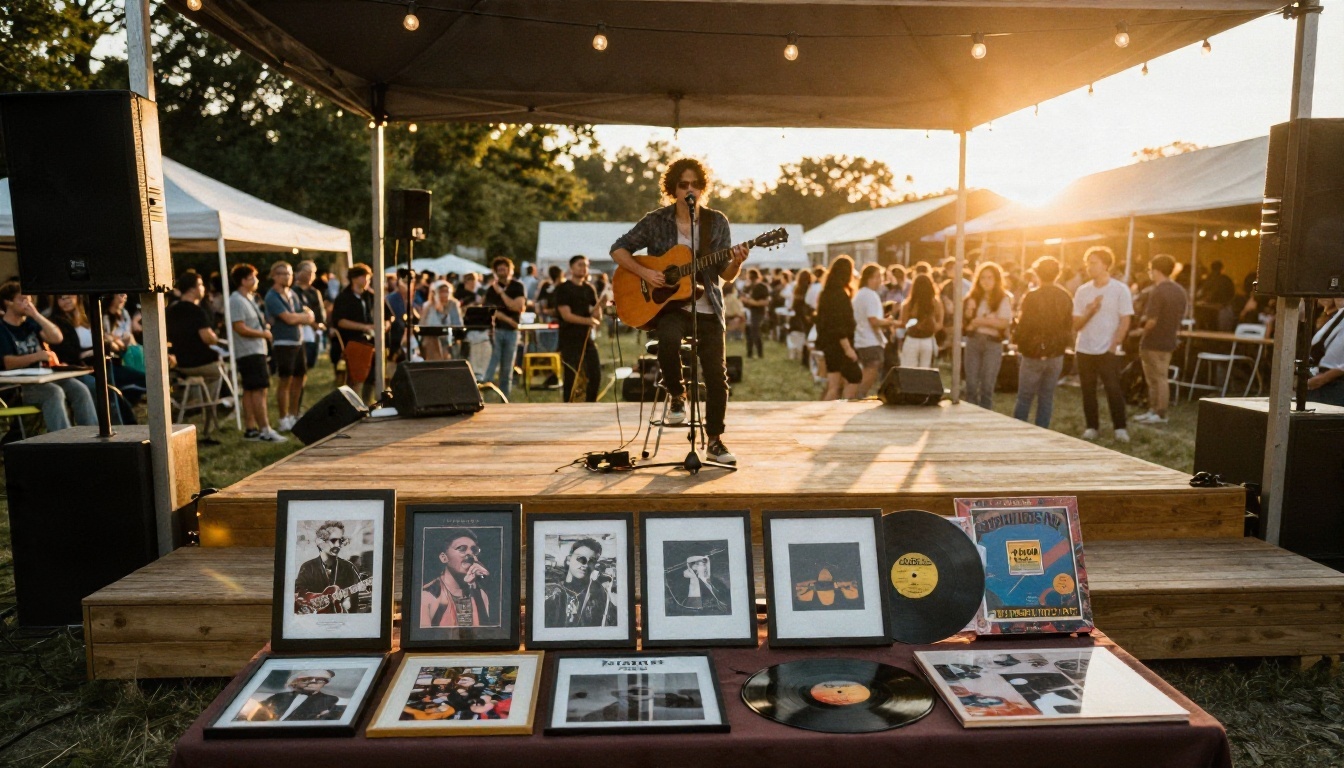
Print needs more pixels and a bit more caution. Colors that look rich on a backlit screen can print darker, so ask for slightly lifted shadows when you know the artwork is headed for a sleeve. Order a single test print before a full run. The merch table above shows how the same image travels across prints, frames, and sleeves; a good master file makes that possible.
💡 Tip: Create alternate edits for each format at the start: a clean square for streaming, a version with extra space for a poster, and a text free version for social banners.
Start Editing Your Own Artwork
You do not need a design degree or a second invoice to fix a title, warm a palette, or give a record a new visual identity. Pick the artwork that is bothering you most, open PicassoIA Image Editor Pro, and make one small change: a corrected title, a warmer sky, a grainier film look. Compare the versions, send the best one through Seedream 4.5 for a sharp final file, and keep the rest of your energy for the music.
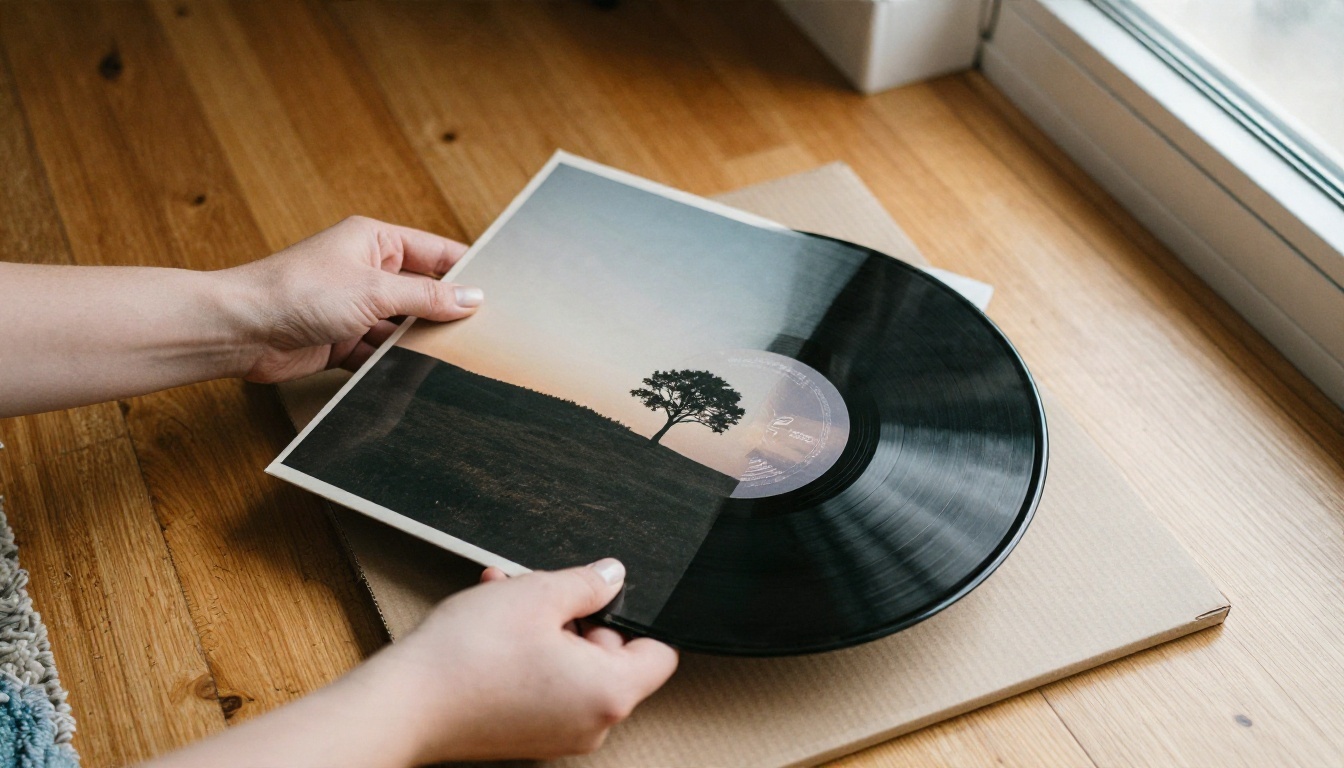
That moment of lifting a finished record out of its sleeve is the reason all of this matters. Try a few edits today on Picasso IA, test different prompts, and see how far one image can travel. When you are ready to try other tools, browse every available option at picassoia.com/en/all-models.


