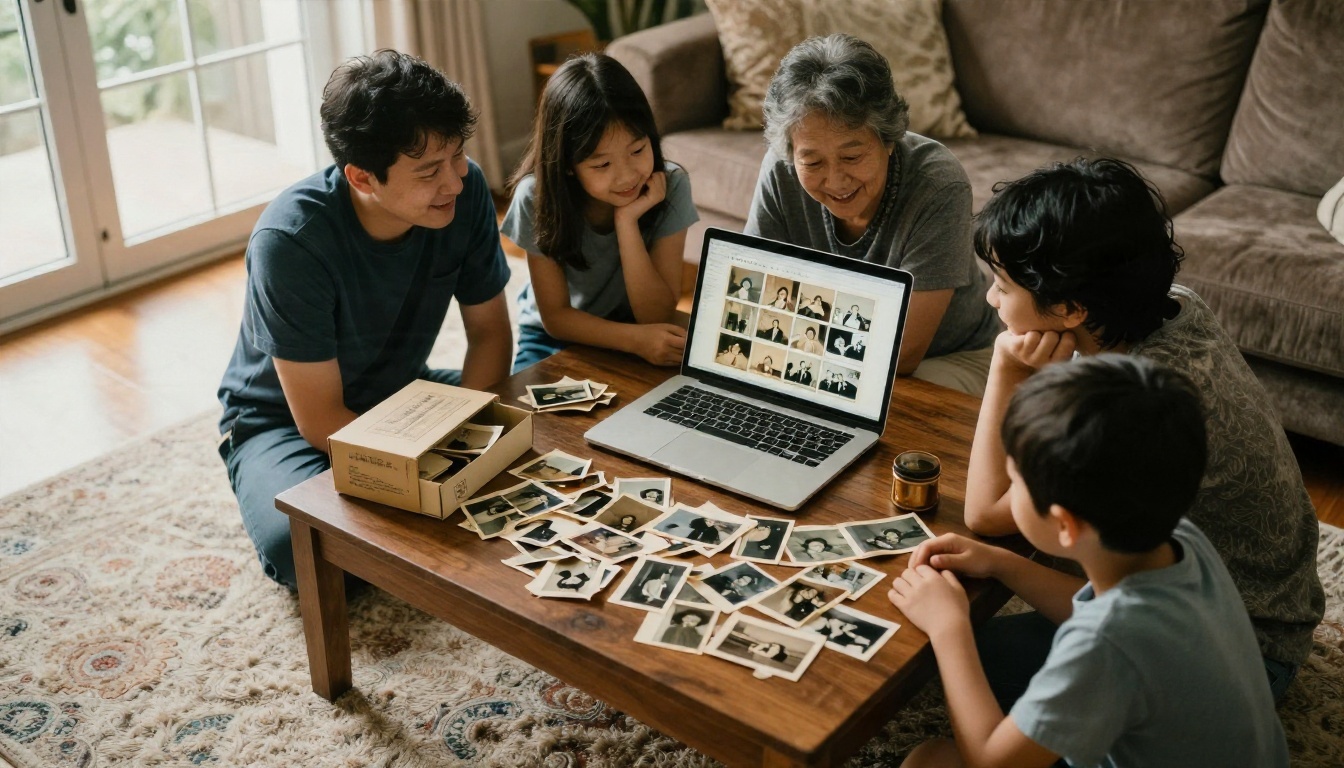
A shoebox of faded prints, a MacBook on the desk, and one question: what is the fastest way to turn that cracked, yellowed snapshot into something you would proudly frame? Ten years ago the answer was hours of manual cloning in Photoshop. Today, AI photo restoration for Mac can repair scratches, remove stains, sharpen faces and even add believable color in a few minutes, and a surprising amount of it is free.
The catch is that the options are scattered. Some run natively on Apple Silicon, some live in your browser, some quietly upload your family photos to a server you know nothing about, and a few promise miracles while delivering waxy, over-smoothed faces. This article sorts through all of it so you can pick the right route for your photos, your Mac and your budget.
What AI Photo Restoration Actually Does
Restoration is not one single operation. It is a stack of small jobs that modern AI models handle together or one at a time:
- Scratch and crack repair: filling thin white lines and fold marks with content that matches the surroundings.
- Stain and mold removal: cleaning water damage, foxing and brown spots without erasing real detail.
- Denoising and deblurring: reducing film grain and soft focus from old lenses or shaky hands.
- Face reconstruction: rebuilding eyes, teeth and skin texture when a face is tiny or blurry.
- Upscaling: enlarging a small scan to print size without turning it into mush.
- Colorization: adding natural color to black and white or sepia prints.
- Color cast correction: fixing the orange or magenta tint that ruins old color photos.
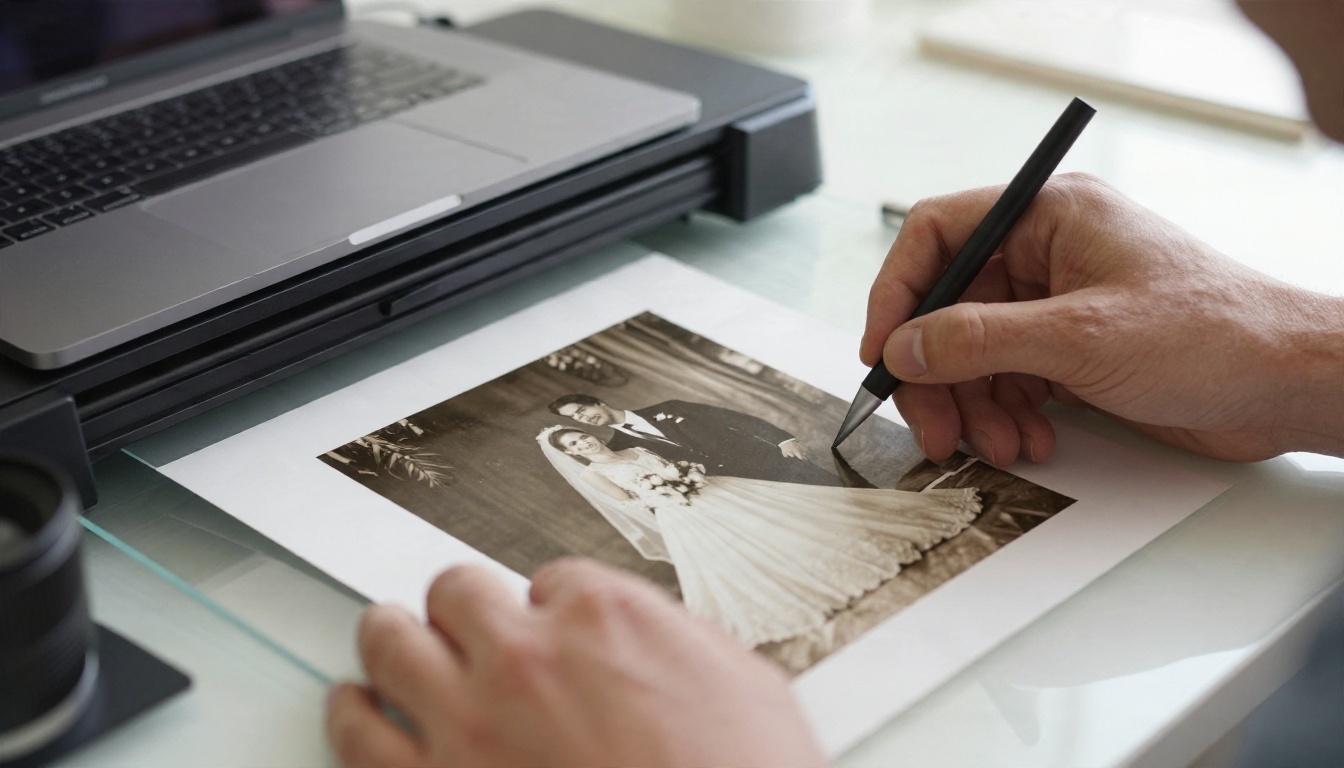
💡 Tip: Restoration quality starts at the scanner, not in the app. A 600 dpi scan of a small print gives the AI far more real information to work with than a quick phone snapshot taken under a ceiling light.
Why Mac Users Have an Edge
Macs with Apple Silicon chips (M1 and later) are very good at running image models locally. That matters for restoration because a local app never uploads your photos, works offline and has no daily limits. Some current Mac App Store restorers require macOS 13.5 or later and an M1 chip or newer, so older Intel Macs may be better served by browser tools.
Free Mac Apps Worth Installing
Free does not mean weak here. A few open projects are genuinely good at the heavy lifting, especially upscaling and cleanup.
Upscayl for Sharp Enlargements
Upscayl is a free, open source desktop app that runs on macOS, Windows and Linux. It enlarges images by 2x, 4x or even 8x using several built in models, and it processes everything on your own machine. It is not a scratch remover, so think of it as the final step after you have repaired damage elsewhere. For a blurry 800 pixel scan that needs to become a 20 centimeter print, it does a great job.
PhotoScape X and the Built In Tools
PhotoScape X has a free version with basic repair brushes, color correction and batch export. It will not rebuild a face, but it handles dust spots and curves quickly. And do not forget the tools already on your Mac: the Photos app offers auto enhancement sliders, and Preview can crop, rotate and fix perspective on a scan in seconds.
GIMP and Photopea for Manual Cleanup
GIMP (free, installs on macOS) and Photopea (free in a browser tab) give you healing and clone tools for manual repairs. They are slower than AI, but they shine when the model gets one small area wrong, such as a hand or a patterned dress, and you want to fix it yourself.
| Free app | Best for | Runs locally | Limits |
|---|
| Upscayl | Enlarging small scans 2x to 8x | Yes | No scratch or face repair |
| PhotoScape X (free tier) | Dust spots, color fixes | Yes | Basic tools only |
| GIMP | Manual healing and cloning | Yes | Steep interface |
| Photopea | Quick edits in a browser | Mostly browser | Manual work, ads in free tier |
| Preview and Photos | Crop, straighten, auto tone | Yes | No real restoration |
Paid Mac Software, Honestly Compared
If you restore photos often or for clients, a paid tool can save real time. Prices and licensing change often, so verify the current terms on each official page before buying.
- Topaz Photo AI is a long time favorite for denoising, sharpening and face recovery. Its licensing has been moving toward subscription, so check what you actually get.
- Adobe Photoshop includes a neural filter for photo restoration plus the best manual retouching tools anywhere. It is a monthly subscription, and the combination of AI and hand control is hard to beat for badly damaged prints.
- AVCLabs Photo Enhancer and Aiarty style desktop tools offer one click denoising, upscaling and face repair, with Mac versions and trial periods.
- RestoreAI and similar Mac App Store apps are the easiest to install, but check the macOS and chip requirements first.
💡 Tip: Always run the free trial on your worst photo, not your best. Easy photos make every tool look good. A water damaged print with a tiny face is the real test.
Online Restorers: Fast, With Trade-Offs
Browser based restorers work on any Mac, including older Intel models, and they need zero installation. Drag in a scan, wait half a minute, download the result. That convenience comes with questions worth asking before you upload anything.
What to Check Before You Upload
- Privacy policy: does the site delete your photos after processing, and does it train models on them?
- Output resolution: many free tiers return a small, watermarked preview and charge for the full file.
- Face behavior: some tools replace faces with generic, over-smooth versions that no longer look like your relative.
- Credits and limits: a "free" restorer that allows one image per day is a demo, not a workflow.

Where Browser Tools Win
They win when your Mac is older, when you are on a borrowed computer, or when a photo needs a heavy model that would crawl on a laptop. A top tier cloud model can also rebuild a face from far less information than a small local one can.
AI Image Editors as a Restoration Alternative
Here is the option many people miss. Modern image editing models do not just filter a photo, they understand what is in it and follow plain language instructions. That makes them excellent alternatives to single purpose restorers, because you can describe exactly what you want: "remove the crease across the face, keep the original expression, fix the yellow tint."
On PicassoIA, several models cover this style of work:
- PicassoIA Image Editor Pro is an unlimited prompt based editor that accepts up to three reference images, which is handy for fixing a damaged print using a second, clearer photo of the same person.
- Nano Banana and Nano Banana Pro are strong at edits that keep the identity of a face while changing everything around it.
- Flux Kontext Fast is quick for targeted changes like removing a stain or cleaning a background.
- Seedream 4.5 is a good pick when you want to rebuild a missing section of a scene in a realistic way.
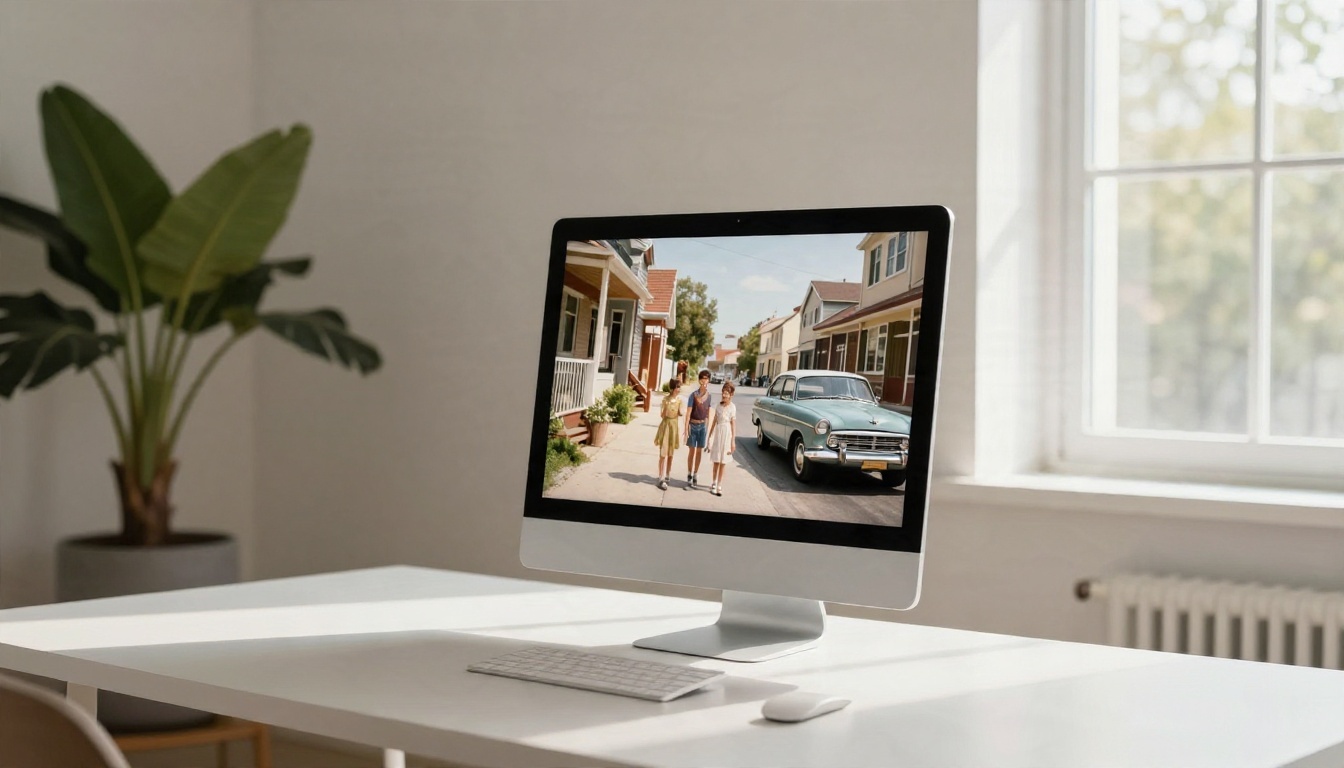
Upscaling: The Step That Makes Prints Possible
Even a flawless repair is useless if the file is 600 pixels wide. Upscaling is where an old scan becomes something you can print at 8x10 inches or larger. PicassoIA has several dedicated models for this:
💡 Tip: Keep the creativity setting low on portraits. A high value invents detail, and invented detail on a grandparent's face can make them look like a stranger.
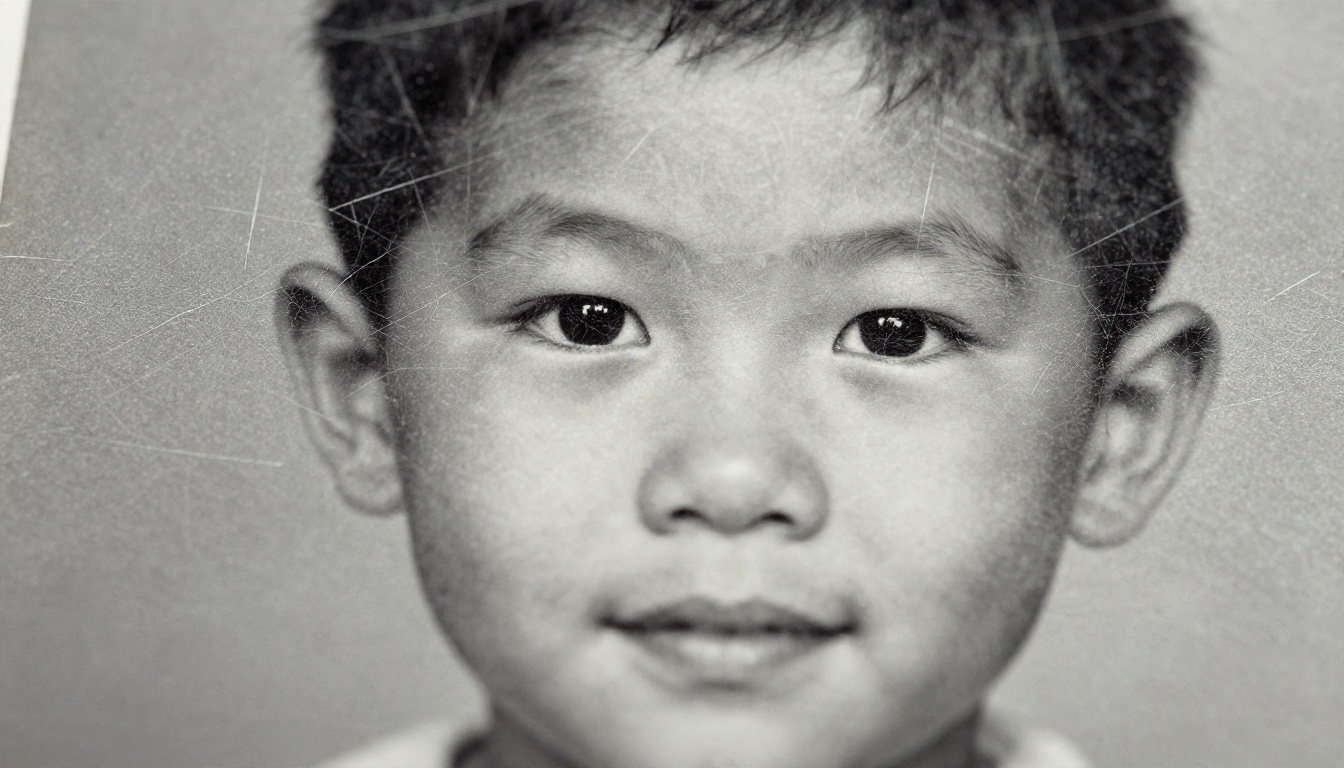
How to Restore a Photo on PicassoIA
You do not need to install anything on your Mac for this, because everything runs in the browser. Here is a workflow that mixes repair and upscaling.
Step 1: Scan Properly
Clean the print gently with a soft brush, scan at 600 dpi (or 1200 dpi for tiny prints) and save as TIFF or PNG. Crop away the scanner bed, but keep the border if you like the vintage look.
Step 2: Repair With Image Editor Pro
Open PicassoIA Image Editor Pro and follow these steps:
- Upload your scan in the Images field. It will be treated as the primary image.
- Write a specific prompt such as: "Restore image 1: remove scratches, cracks and stains, correct the yellow tint, keep the faces and expressions exactly the same, keep the original clothing and background."
- Leave Aspect ratio on
match_input_image so the framing does not change.
- Choose png as the output format if you plan to upscale next, and set the Output quality high.
- Generate. Because there is no per edit cap, run several variations and compare them, using a different Seed each time if you want controlled variety.
Step 3: Upscale With Clarity Pro Upscaler
Take your favorite result to Clarity Pro Upscaler:
- Upload the repaired image.
- Set scale_factor to 2 or 4 for most prints. Use 8 or 16 only for very small crops.
- Keep creativity at 0 or slightly negative for faithful faces. Raise it a little only if the result looks too soft.
- Pick png for archiving or jpg for sharing.
Step 4: Add Color If You Want It
Return to Image Editor Pro, upload the repaired black and white version and ask for natural colorization: "Colorize image 1 with realistic period appropriate colors, natural skin tones, do not change faces." Compare it against the original so the colors stay believable.
Which Option Fits You
Different people need different tools. Use this quick decision list:
- You have a few photos and a modern Mac: start with Upscayl for enlargement and an AI editor for repair.
- You have an older Intel Mac: use browser tools, because they do not depend on your chip.
- Privacy matters most: stay with local apps and check any online service's deletion policy.
- You restore photos professionally: a paid suite plus an AI editor covers both speed and manual control.
- You want creative control: a prompt based editor lets you describe the fix instead of hunting for sliders.
| Situation | Best route |
|---|
| One precious damaged print | AI editor, then a portrait upscaler |
| Hundreds of snapshots | Batch friendly upscaler, light cleanup |
| Tiny blurry face | Face aware model, low creativity |
| Faded color photo | Color correction prompt, then sharpen |
| Large framed print | Upscale 4x or more, check at 100 percent |
Mistakes That Ruin Restorations
Over-Smoothing Faces
The most common failure is skin that looks like plastic. If the result lacks pores and fine lines, lower the strength or creativity and try again. Real faces have texture, even in old photos.
Changing Identity
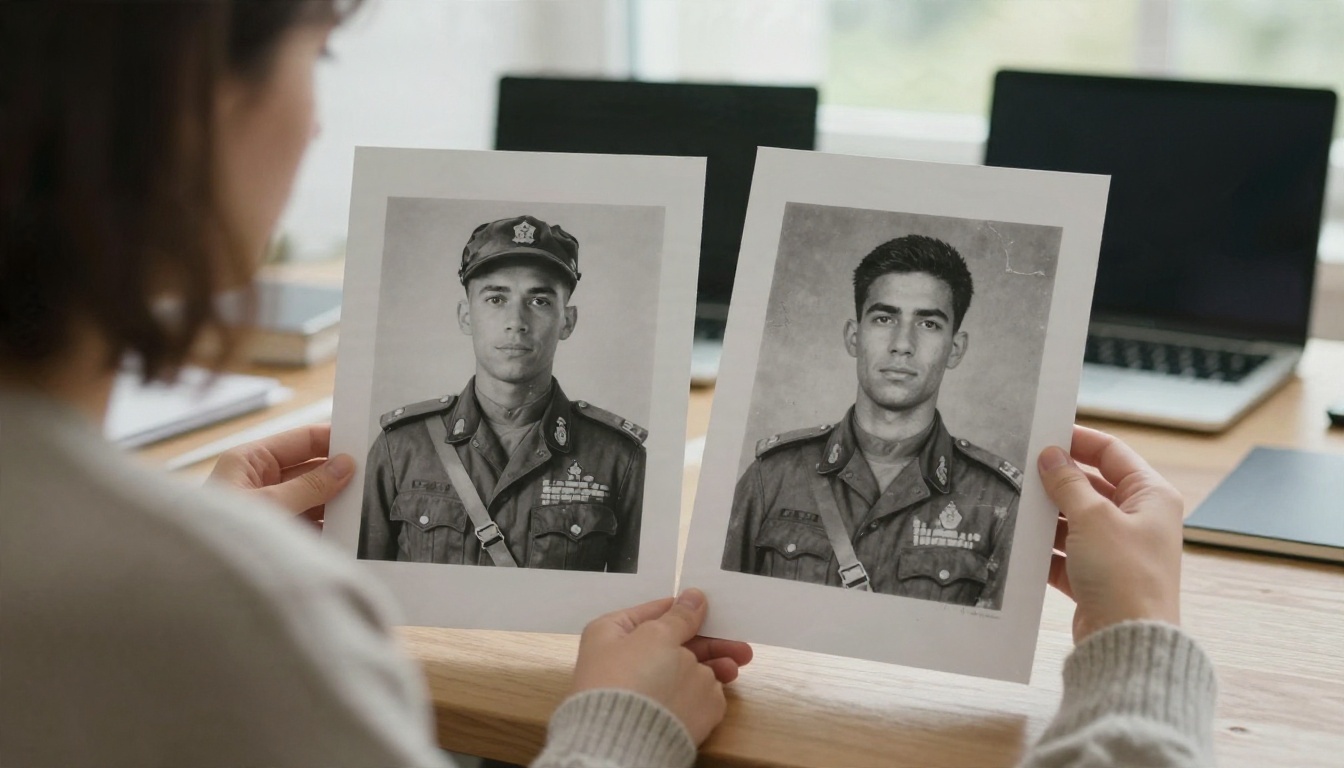
Some models "improve" eyes, noses and smiles. Always compare the restored face side by side with the original. If a family member no longer looks like themselves, the restoration failed, no matter how sharp it is.
Skipping the Original Scan
Never overwrite your source file. Keep the untouched scan, then save each restored version with a clear name. Better algorithms arrive constantly, and you may want to rerun your best photos in a year.
Upscaling Before Cleaning
Enlarging a scratched image makes the scratches bigger and teaches the model to treat them as detail. Repair first, upscale second.
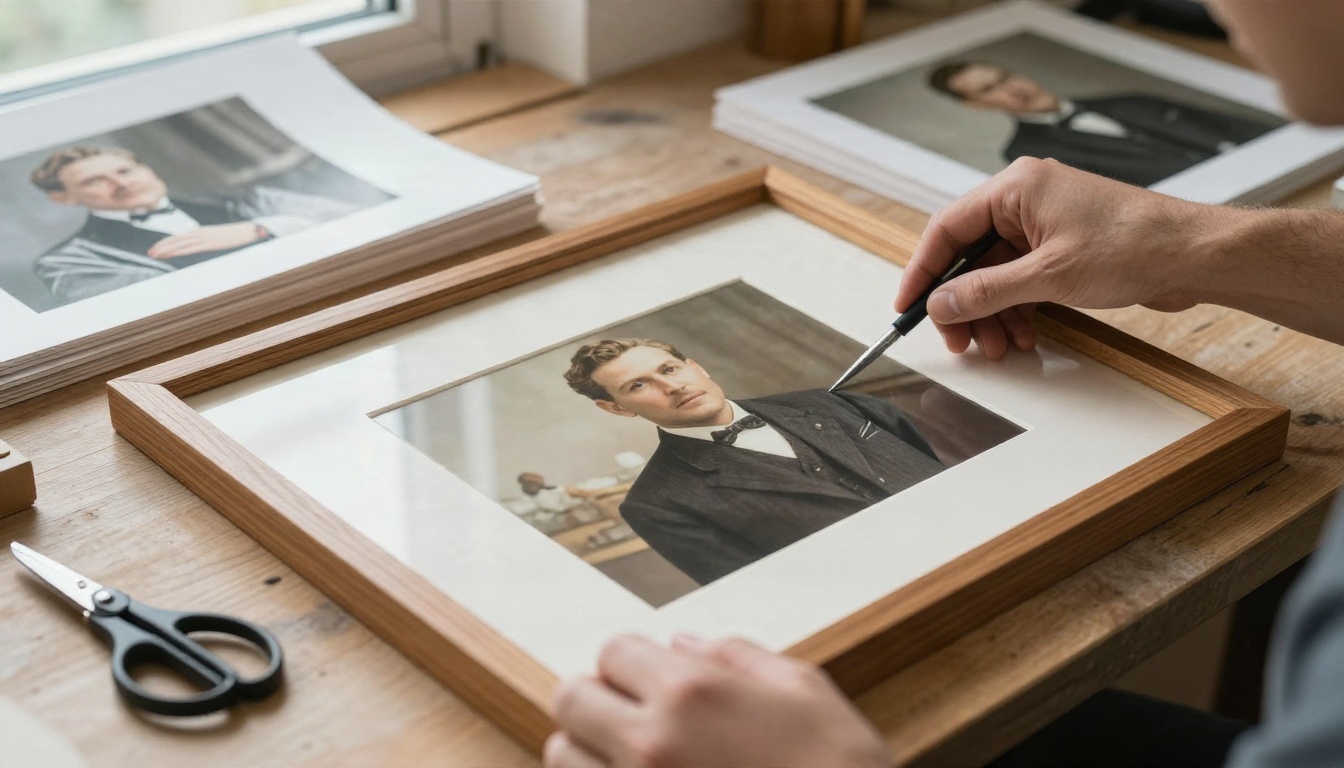
Print, Share and Preserve
A restored photo deserves a good home. Export a lossless PNG or TIFF master and keep it in two places, such as an external drive and cloud storage. For sharing with relatives, a high quality JPG is enough. When printing, a matte or lustre paper usually looks more natural than glossy for vintage portraits, and checking a test print before ordering a large format saves money.
Do not forget the story. Add names, dates and places to the file name or the metadata, and ask older relatives to help you identify faces. A perfectly restored photo with no names is still a mystery to the next generation.
Start Restoring Your Own Photos
You now know the full range of choices: free Mac apps for enlargement and manual repair, paid suites for professionals, cloud restorers for older machines and AI editors that follow plain language instructions. The best results usually come from mixing them, with a careful scan, a gentle repair, a conservative upscale and a final side by side check against the original.
PicassoIA gives you the repair and upscaling pieces in one place, so you can go from a faded snapshot to a print ready file without installing anything. Pick your most damaged photo, try PicassoIA Image Editor Pro for the repair, run it through Clarity Pro Upscaler, and see how much of the original face comes back. Then browse everything else on picassoia.com/en/all-models and keep experimenting.